Key Takeaways
- Maple hardwood floors can be DIY refinished with great results if you follow the correct steps.
- You’ll need specific tools and materials like sandpaper, wood filler, stain, and sealer.
- Assess your floors for damage and thickness before starting to ensure they can be refinished.
- Room preparation, including removing furniture and sealing off areas, is important for a clean workspace.
- Sanding is a critical step that requires attention to detail and the right technique to avoid damage.
Understanding Maple Hardwood Floors
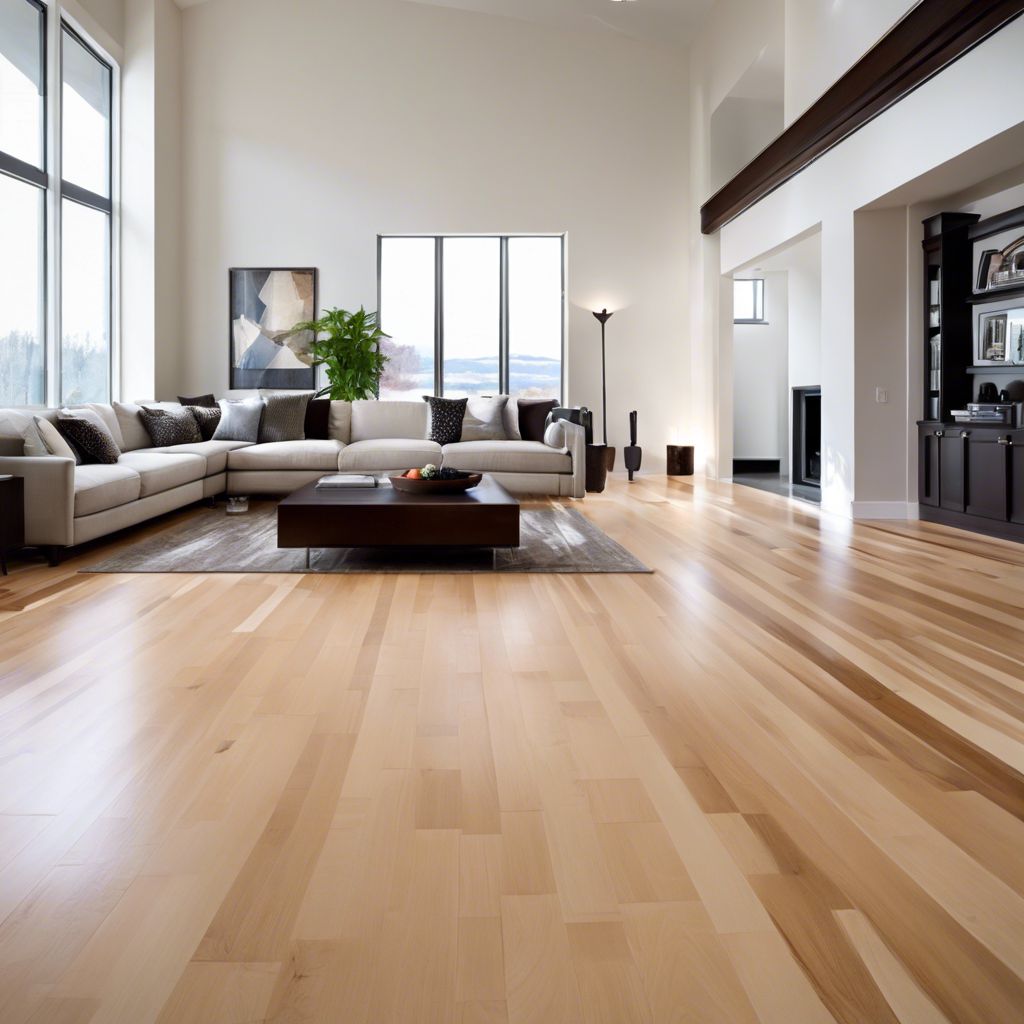
Maple hardwood is known for its durability and beauty, which makes it a popular choice for flooring. However, even the toughest floors need a refresh from time to time. Refinishing your maple hardwood floors is not just about aesthetics; it’s about protecting your investment and ensuring your floors stand the test of time.
One thing to remember is that maple wood has a tight grain pattern that can make it tricky to stain evenly. But don’t worry, with a little know-how, you can achieve a finish that looks like it was done by a pro.
Gearing Up for DIY Maple Hardwood Floor Refinishing
Before you begin, it’s important to understand that refinishing hardwood floors is a big job. It’s not just about slapping on some stain and calling it a day. It requires patience, precision, and a bit of elbow grease. But the transformation you’ll see in your floors is well worth the effort.
List of Essential Tools and Materials
- Sander (drum sander, edge sander, and hand sander or sanding block)
- Sandpaper in various grits (36, 60, 80, 100, 120, 150, 220)
- Wood filler compatible with maple wood
- Stain (choose a color that complements the natural hue of maple)
- Sealer (water-based or oil-based polyurethane)
- Brushes, rollers, or a lambswool applicator for applying stain and sealer
- Tack cloth and vacuum for dust removal
- Painter’s tape for protecting baseboards and trim
- Safety equipment (goggles, dust mask, ear protection)
Make sure to gather all the tools and materials before you start. There’s nothing worse than being in the middle of a project and realizing you’re missing something essential.
Assessing Your Hardwood Floors
Before diving into the refinishing process, you need to make sure your floors are a good candidate for refinishing. Here’s how to check:
- Look for signs of major damage. If you find deep scratches, warping, or structural issues, you may need to repair or replace sections before refinishing.
- Check the thickness of your hardwood. Floors that have been sanded down multiple times might be too thin for another round. You should have at least 3/32 of an inch of wood above the tongue of the floorboards.
- Take note of any creaking boards. These might need to be secured before you start.
If your floors pass these checks, you’re ready to move on to the fun part—transforming your space!
DIY Maple Hardwood Floor Refinishing Steps
Now, let’s walk through the steps to refinish your maple hardwood floors. It’s a journey, but by the end, you’ll have floors that look brand new.
Step 1: Room and Floor Preparation
First things first, clear the room of all furniture and remove any fixtures that might get in the way. You’ll want a blank canvas to work on. Next, seal off the room with plastic sheeting to keep dust contained—it’s going to get messy.
Most importantly, ensure the room is well-ventilated. Open windows and use fans to circulate air and help with drying later on.
Step 2: Cleaning the Workspace
Before you start sanding, clean the floors thoroughly. Any dirt or debris can get caught under the sander and scratch the floor. A good vacuuming followed by a wipe-down with a damp cloth should do the trick.
Remember, the cleaner the floor, the better the finish will be.
Step 3: Removing Old Finish and Repairing Damage
Use your sander to remove the old finish. Start with a coarse grit like 36 to strip away the top layer, and then move through progressively finer grits to smooth the wood. Always sand in the direction of the grain to avoid scratches that are tough to remove.
After sanding, fill any cracks or gouges with wood filler that matches the color of your maple floors. Let it dry completely before you proceed.
Step 4: The Sanding Saga
Sanding is arguably the most important step in the refinishing process. It’s what prepares the wood to absorb the stain and sealer evenly. But it’s also where a lot of DIYers make mistakes. Take your time with this step—your patience will pay off.
Choosing the Right Sandpaper Grit
You’ll start with a coarse grit to remove the old finish and work your way up to a fine grit for a smooth finish. Here’s a quick guide:
- 36-grit: Start here if the old finish is stubborn or the floor is uneven.
- 60-grit: Moves you closer to a smooth surface without the rough scratches.
- 80-grit: Begins to polish the wood; you’ll start seeing the grain more clearly.
- 100 and 120-grit: These finer grits will eliminate any remaining imperfections.
- 150 and 220-grit: Use these for the final pass to create a glass-smooth surface.
Remember, never skip a grit! Each one has a purpose in the sanding process, and skipping steps can leave you with a less-than-ideal finish.
Sanding Techniques for a Smooth Surface
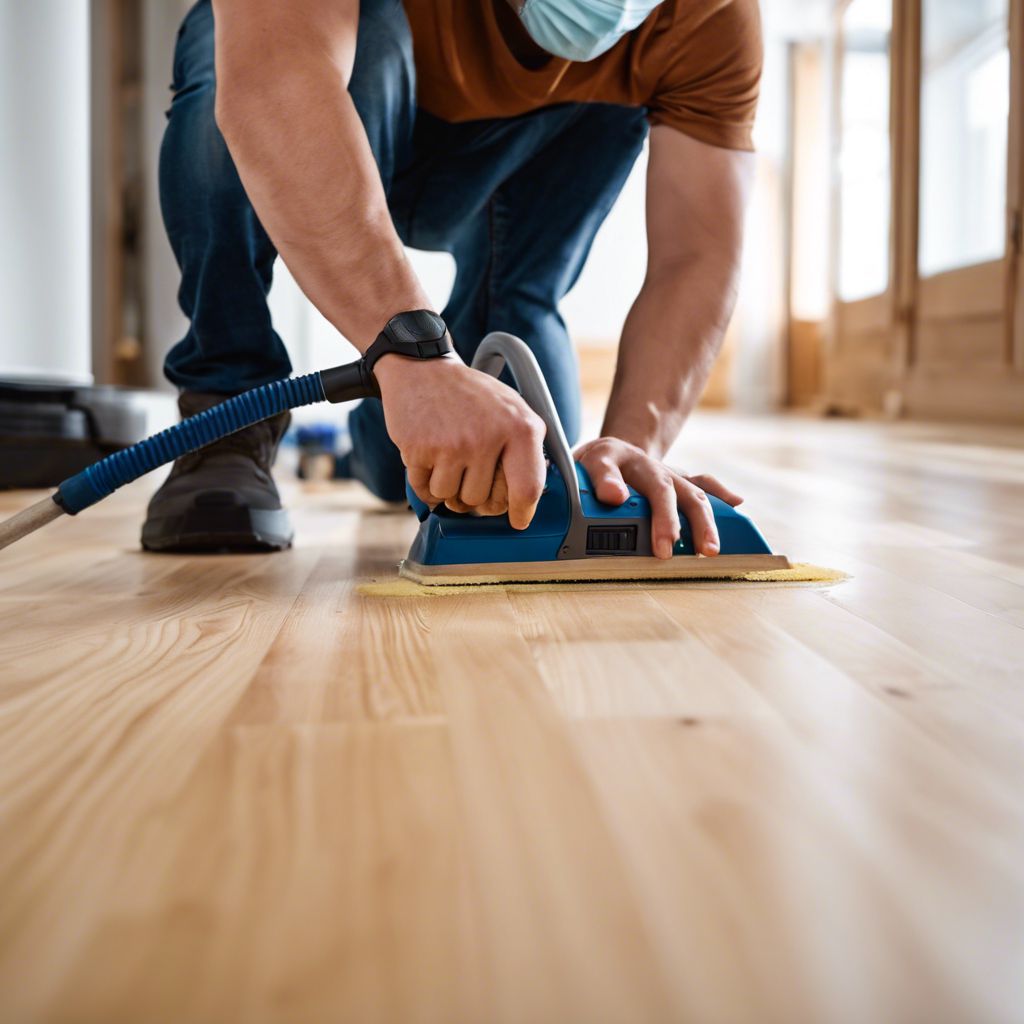
When sanding your floors, always move the sander in a straight line and with the grain of the wood. This helps to avoid creating swirls or cross-grain scratches that are difficult to remove. If you’re using a drum sander, keep it moving at all times while it’s on the floor to prevent gouging. For edge sanding, use a handheld orbital sander or a sanding block to get close to baseboards without damaging them.
After each pass with the sander, vacuum the floor to remove all the dust and debris. Then, run a tack cloth over the surface to pick up any remaining fine particles. This ensures that the next round of sanding is as effective as the last, and it prepares the floor for staining.
Step 5: Staining with Precision
Staining your maple hardwood floors is where the magic happens. It’s where you get to see all your hard work pay off as the beauty of the wood is enhanced by the color of the stain. But it’s also a step where things can go wrong if not done carefully. Maple tends to absorb stain unevenly, which can lead to blotching. To avoid this, apply a pre-stain wood conditioner designed for maple to help the wood absorb the stain more evenly.
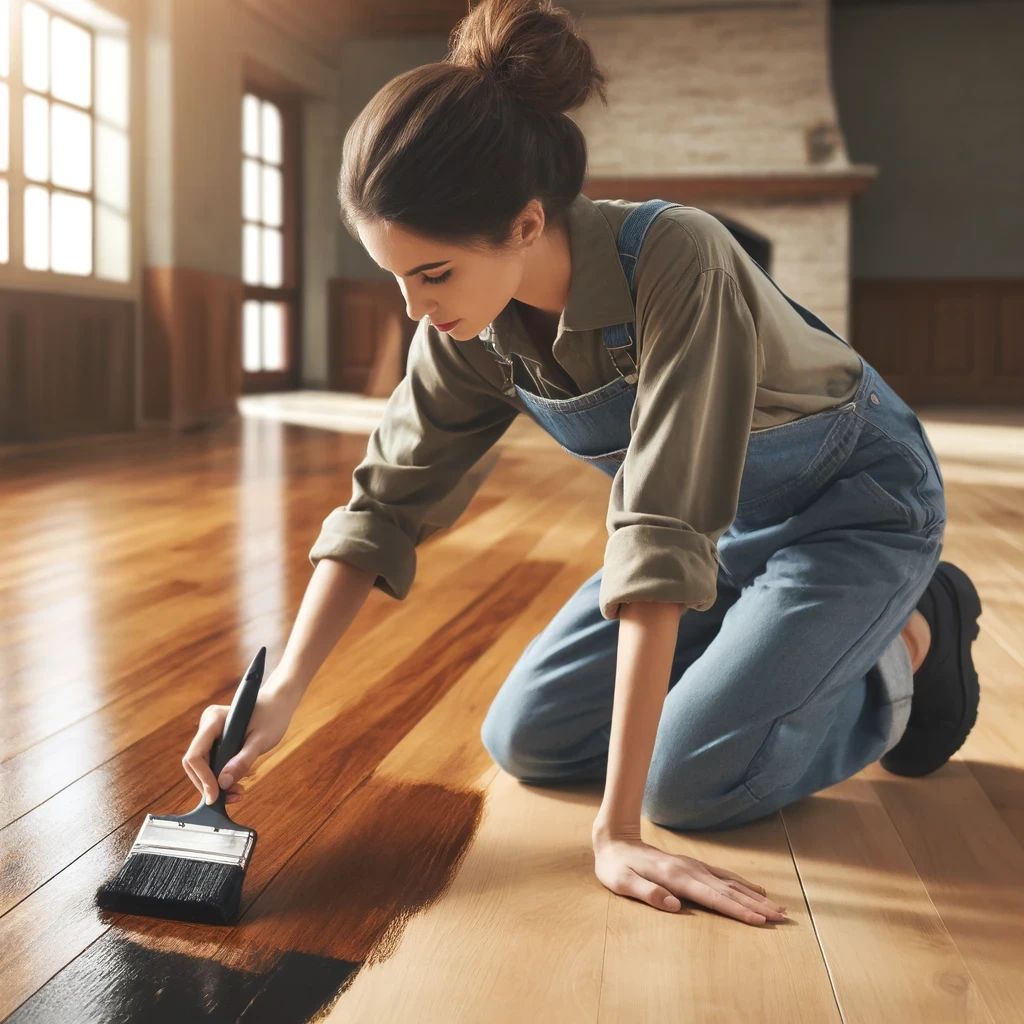
When applying the stain, work in small sections and use a clean, lint-free rag or a brush. Apply the stain liberally, and then wipe away the excess before it dries. This will help you achieve a more uniform color. Let the stain dry completely, according to the manufacturer’s instructions, before moving on to the next step.
Selecting the Perfect Stain for Maple Floors
Choosing the right stain for your maple floors can be a bit of a challenge. Maple has a naturally beautiful grain that you’ll want to enhance, not hide. Opt for a stain that complements the wood’s natural tones. Light stains will help maintain the maple’s natural pale charm, while medium stains can bring out the warmth in the wood. Dark stains are bold and can add drama to a room but be aware that they might show scratches and dust more easily.
It’s always a good idea to test your stain on a small, inconspicuous area or a spare piece of maple to ensure you’re happy with the color. This step can save you from the heartache of a stain that doesn’t look the way you envisioned it over the entire floor.
Applying Stain Evenly to Avoid Blotching
To apply stain evenly, start at one corner of the room and work your way out. Use smooth, even strokes and maintain a wet edge to avoid lap marks. If you do encounter blotching, don’t panic. You can often blend it in by applying more stain to lighter areas and less to darker ones until you achieve a more uniform look. Remember, it’s easier to add more stain than to take it away, so proceed with a light hand and build up to the desired intensity.
Step 6: Sealing in the Beauty
Once the stain has dried, it’s time to seal your floors. Sealer protects your floors from wear and tear, moisture, and spills. It also gives your floors a finished look, whether you choose a matte, satin, or glossy finish. Apply the sealer with a lambswool applicator or a natural bristle brush, starting at the farthest corner of the room and working your way toward the door.
Let the first coat of sealer dry thoroughly, then lightly sand the floor with a fine-grit sandpaper or a buffing machine. This will help the next coat of sealer adhere better and ensure a smooth, even finish. Vacuum and tack cloth the floor between each coat of sealer to remove dust. Apply as many coats as the sealer manufacturer recommends, usually two to three.
Types of Sealers for Durable Finish
There are two main types of sealers you can use on your maple hardwood floors: water-based and oil-based polyurethane. Water-based polyurethane has a clear finish and dries quickly, which means you can apply several coats in a day. It also has a low odor and is easy to clean up with soap and water. Oil-based polyurethane, on the other hand, takes longer to dry but is known for its durability and rich, amber finish.
Proper Application of Sealer for Long-Lasting Results
To ensure your sealer application lasts, apply thin, even coats rather than one thick coat. This helps prevent bubbles and ensures the sealer cures properly. Always follow the manufacturer’s instructions for drying times, and avoid walking on the floors or replacing furniture until the sealer has fully cured, which can take up to a week.
Maintaining Your Refinished Maple Hardwood Floors
After investing time and effort into refinishing your maple hardwood floors, maintaining their condition is paramount. The beauty and longevity of your floors largely depend on the care they receive post-refinishing.
Adopting a consistent cleaning routine and using the right products will go a long way in preserving the pristine appearance of your maple floors. Let’s dive into the best practices for daily care and preventive measures to keep your floors in top-notch condition.
Daily Care and Preventive Measures
The key to keeping your refinished floors looking new is to practice regular maintenance. This means being proactive about daily care and taking steps to prevent damage. Here are some tips to help you along:
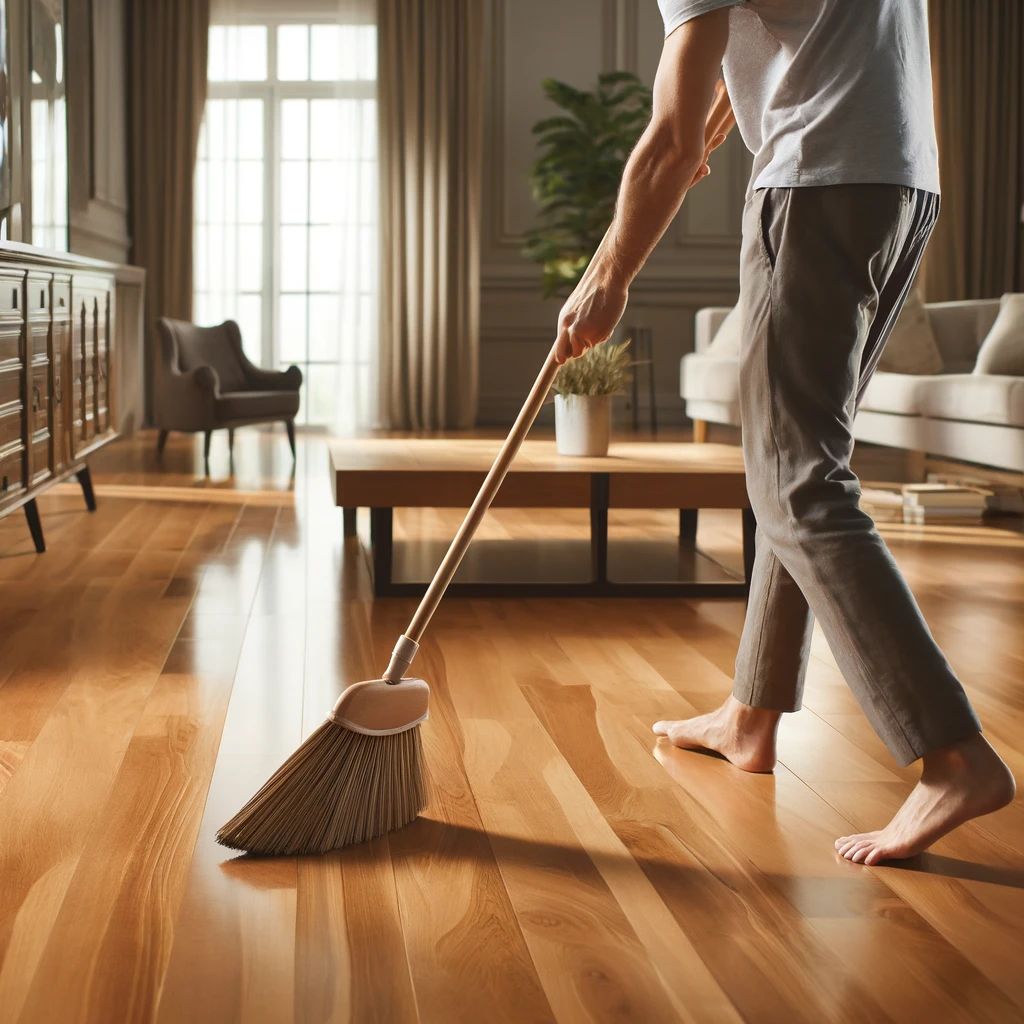
- Regularly sweep or vacuum to remove grit and dirt that can scratch the floor’s surface.
- Immediately clean up spills to prevent water damage and staining.
- Use rugs and mats in high-traffic areas to minimize wear and tear.
- Install felt pads under furniture legs to avoid scratches when moving pieces around.
- Avoid using harsh cleaners that can strip the finish or damage the wood.
By following these simple guidelines, you can extend the life of your floors and keep them looking as good as the day they were refinished.
Managing Scratches and When to Recoat
Even with the best care, hardwood floors can get scratched. The good news is that not every scratch means a complete refinish is necessary. For minor scratches, a touch-up kit designed for hardwood floors can work wonders. For deeper scratches, you may need to use a bit of stain on the affected area followed by a small amount of finish.
As for recoating, it’s typically recommended every 3 to 5 years, depending on the level of traffic and wear. Recoating involves lightly sanding the floor’s current finish and then applying a new topcoat. This process refreshes the look of your floors without the need to sand down to bare wood.

Frequently Asked Questions
How often should hardwood floors be refinished?
Hardwood floors should be refinished when they show signs of wear and tear, such as deep scratches, discoloration, or dullness. Typically, this is every 7 to 10 years, but it depends on the level of traffic and how well the floors are maintained.
Can all types of hardwood floors be refinished?
Most hardwood floors can be refinished, but there are exceptions. For example, engineered hardwood floors with a thin veneer cannot be sanded as many times as solid hardwood. Also, some prefinished floors may be difficult to refinish due to the beveled edges.
Laminate floors, which resemble hardwood, cannot be refinished because they have a photographic layer on top, not actual wood.
How long does the refinishing process take?
The refinishing process can take several days to a week, depending on the size of the area, the condition of the floors, and the drying times for stain and sealer. It’s important to factor in extra time for preparation and cleanup as well.
How do you fix sanding mistakes on hardwood floors?
If you notice sanding mistakes like swirls or uneven areas, you can fix them by resanding the affected area using the correct grit sandpaper. Always sand with the grain of the wood, and progress through the grits in order to smooth out the imperfections.
Is it necessary to sand hardwood floors between each coat of stain or sealer?
It’s not necessary to sand between coats of stain, but it is recommended to lightly sand or buff the floor between coats of sealer. This helps to ensure a smooth finish and proper adhesion of each layer of sealer.
Remember, always use a fine-grit sandpaper for this step to avoid creating new scratches on the surface.


Leave a Reply