Key Takeaways
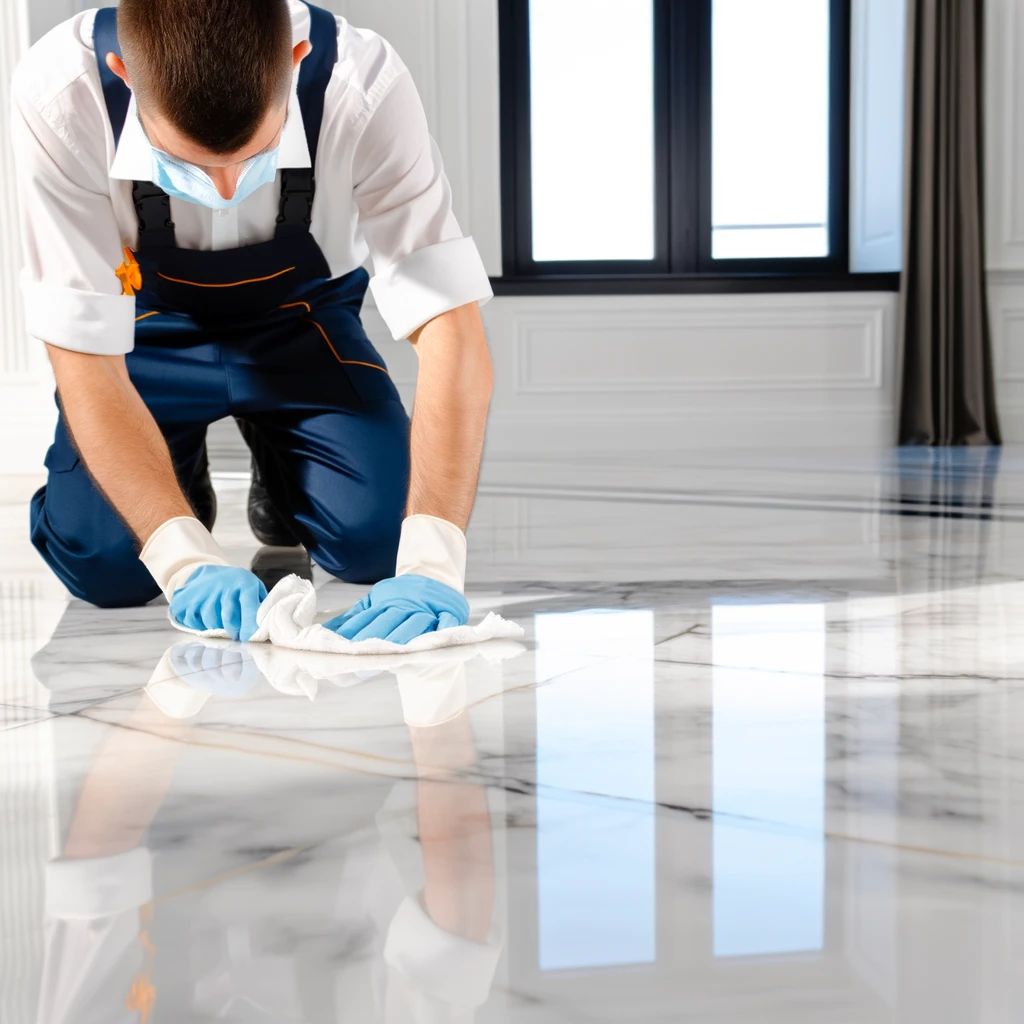
- Refinishing marble tile flooring can restore its original luster and shine.
- Proper preparation, including gathering the right tools and materials, is essential for a successful DIY project.
- Ensure your safety by wearing protective gear and working in a well-ventilated area.
- Step-by-step instructions guide you through cleaning, repairing, honing, polishing, and sealing your marble tiles.
- Maintenance advice helps you keep your marble flooring looking great for years to come.
Embracing the Timeless Beauty of Marble Tile Flooring
Marble floors have a reputation for elegance, but even the grandest of floors can lose their sparkle over time. If your marble tiles look a little dull, don’t worry. With a bit of elbow grease and some simple steps, you can refinish them yourself and bring back their luxurious shine. Let’s get started on this transformative journey for your floors.
Understanding Marble’s Delicate Nature
Marble might look tough, but it’s a bit of a diva. It’s softer and more porous than you might think, which means it needs to be treated with care. That’s why it’s so important to use the right products and techniques when you’re refinishing. The last thing you want is to damage your beautiful tiles.
So, take a moment to appreciate the material you’re working with. When you treat marble with respect, it pays you back with a glow that can light up the entire room.
Gathering Your Tools
Before diving into the refinishing process, let’s make sure you have everything you need. You wouldn’t paint a masterpiece without your brushes, right? The same goes for refinishing marble – the right tools are everything.
- A high-quality marble cleaner
- Repair kits for chips and cracks
- Honing powder for smoothing
- Polishing powder to achieve the desired shine
- A sealant to protect your hard work
- Protective gear: gloves, goggles, and a dust mask
Gearing Up for Safety
Before you even touch the cleaner, make sure you’re geared up for safety. Protective gloves will shield your hands, goggles will guard your eyes against splashes, and a dust mask is essential to keep those fine dust particles out of your lungs.
Surface Preparation
Before we unleash the magic, let’s talk prep! Think of it like getting your marble floors ready for their red-carpet moment. First, clear the area of furniture and rugs. Then, protect adjacent surfaces with plastic sheeting or old towels. Ensure good ventilation by opening windows or using a fan.
Remember, preparation is just as important as the refinishing itself. By taking the time to set up your space and gather your materials, you’re laying the groundwork for a stunning transformation.

Refinishing Marble Tile Flooring Steps
Step 1: Cleaning the Surface
With the area prepped and your safety gear on, it’s time to get cleaning. Remember, a clean surface is key to a successful refinishing job.
- Start with a blank slate by giving your marble a thorough cleaning.
- Use a marble-specific cleaner to avoid any damage that harsh chemicals can cause.
- Wipe away any surface dirt and grime with a soft cloth or sponge.
Step2: Repairing Any Damage
After cleaning, inspect your marble. If you spot any chips or cracks, now is the time to address them. A marble repair kit can fill in those imperfections, creating a smooth surface for the next steps. Follow the manufacturer’s instructions for best results.
Step 3: Removing the Old Finish
Now, let’s say goodbye to the old and welcome the new. If your marble has an existing sealer or finish, you’ll need to remove it before refinishing. Use a commercial stone stripper or a solvent made for marble. Follow the instructions on the product carefully and rinse thoroughly to get rid of any residue.
Removing the old finish is essential because it will help the new polish adhere better and last longer. This process can take a bit of time, but it’s worth it for the end result.
Step 4: Grinding
Once the old finish is stripped away, it’s time for a bit of muscle work. Grinding down the surface evens out any uneven areas and removes the deeper scratches. If you’re dealing with minimal damage, you might be able to skip this step, but for floors that have seen better days, it’s a game-changer. Just remember, slow and steady wins the race. Take your time and ensure an even grind across all your tiles.
This step requires specialized equipment — a floor grinder with diamond abrasive pads. Start with a coarse grit pad and gradually work your way up to finer grits until you achieve the desired finish.
Step 5: The Honing Phase: Smoothing the Surface
After grinding, your marble will look dull, but don’t worry, that’s all part of the process. Next up is honing, where you’ll use a finer grit powder to smooth the surface. It’s like using sandpaper on wood; you’re working your way up to that smooth finish. Spread the honing powder over the floor, add a little water, and use a soft cloth to work it in. Rinse thoroughly with water when you’re done.
Step 6: Polishing for Brilliance
Once the surface is smooth and even, you can start polishing the marble tiles to bring back their natural shine. Use a marble polishing compound and a polishing machine with soft, non-abrasive pads. Work in small sections, applying the polish evenly until you get the shine you want.
- Start with a clean, dry surface after honing.
- Apply polishing powder generously.
- Use a buffer or a soft cloth to polish in circular motions.
- Continue until you achieve an even, glossy finish.
Polishing is where the magic happens. You’ll see your marble start to shine, and that’s when you’ll know all your hard work is paying off. It’s all about patience and persistence here. Keep polishing until you can see your reflection smiling back at you.
Remember, the goal is to achieve an even, brilliant shine across all your tiles. If some areas aren’t gleaming as much as others, give them a little extra love with the buffer. It’s these final touches that make all the difference.
And here’s a pro tip: if you’re not getting the shine you want, it might be time to re-evaluate your polishing powder. Sometimes, switching up your product can give you that extra oomph you’re looking for.
Step 7: The Final Touch: Sealing the Deal
The last step is to seal your marble. This is the protective coat that will keep your tiles safe from spills and stains. Choose a high-quality sealant and apply it evenly across the floor. Let it dry according to the manufacturer’s instructions, and then apply a second coat, if recommended.
Sealing isn’t just about protection; it’s also about maintaining that gorgeous shine you’ve worked so hard to achieve. Think of it as the topcoat on a manicure – it’s what keeps everything looking fresh.
Take a step back and admire your work. Your marble tiles should now look as good as new, all thanks to your efforts.

Maintaining Your Marble’s Sparkle
After all that hard work, you’ll want to keep your marble looking its best. The key to maintaining that new-floor shine is regular, gentle cleaning. Avoid harsh chemicals and stick to cleaners specifically designed for marble. And always tackle spills as soon as they happen to prevent stains.
But it’s not just about cleaning. You also need to keep an eye on the sealant. It can wear away over time, so reapplying it every few years will help keep your marble protected.
Regular Cleaning Routine Recommendations
For daily upkeep, a soft, dry cloth can be used to dust off your marble floors. When it’s time for a deeper clean, use a damp mop with warm water and a pH-neutral cleaner. Avoid using too much water, as marble can be sensitive to moisture.
Preventative Measures for Long-Lasting Shine
Follow these measures to ensure your marble tile flooring maintains its long-lasting shine:
- Place mats at entrances to catch dirt and grit from shoes
- Use felt pads under furniture legs to prevent scratches
- Avoid dragging heavy objects across the floor
It’s these small, preventative steps that can extend the life of your marble’s shine. So, invest a little time in protection, and you’ll be rewarded with floors that stay looking fabulous for longer.
Handling Stubborn Stains
Even with the most careful maintenance, sometimes life throws a curveball and a stubborn stain appears on your marble. The key is to identify what type of stain it is—organic, oil-based, ink, or something else. Once you know what you’re dealing with, you can choose the best cleaning agent to tackle it.
Identifying Types of Stains
Different stains need different strategies. Organic stains, like coffee or wine, can often be lifted with a poultice made from baking soda and water. Oil-based stains might require a bit more grunt work with a soft liquid cleanser, household detergent, or ammonia. But remember, marble is sensitive, so always test your cleaning solution on a small, inconspicuous area first.

Frequently Asked Questions
How Often Should I Refinish My Marble Tile Flooring?
The frequency of refinishing depends on the foot traffic and the location of the marble in your home. In low-traffic areas, you might only need to refinish every few years. In busier spots, you may need to do it more often. Keep an eye on the shine and the integrity of the sealant to decide when it’s time for a touch-up.
Can I Use Regular Household Cleaners on Marble Flooring?
Absolutely not! Regular household cleaners can be too harsh for marble and may etch the surface, causing more harm than good. Always use cleaners specifically designed for marble to keep your floors safe and sound.
What Should I Do if I Notice a New Chip or Crack Post-Refinishing?
If you notice a new chip or crack after refinishing, don’t panic. You can use a marble repair kit to fill it in. Just make sure to clean the area thoroughly before applying the repair material, and follow the instructions carefully to blend it in with the surrounding marble.
Is It Possible to Achieve a High-Gloss Finish Without Professional Equipment?
Yes, it’s possible to achieve a high-gloss finish without professional equipment, but it requires patience and the right technique. Use a high-quality polishing powder and buff the marble in circular motions until you reach the desired level of shine.
How Can I Protect My Marble Flooring from Furniture Scratches?
To protect your marble flooring from furniture scratches, use felt pads under the legs of your furniture and void dragging furniture across the floor. If you need to move something heavy, use a soft mat or carpet to slide it across the floor gently.
Refinishing your marble tile flooring can seem daunting, but with the right guidance and a bit of effort, you can achieve results that are both stunning and satisfying. Remember, regular maintenance and prompt attention to any spills or damage will keep your marble floors looking beautiful for years to come. Now, go ahead and enjoy the fruits of your labor—a gleaming marble floor that enhances the beauty of your home.


Leave a Reply