Key Takeaways
- Refinishing a ceramic fireplace can be done by homeowners with the right tools and steps.
- Essential tools include sandpaper, a good quality primer, paint, and sealant.
- Preparation, cleaning, and priming are essential steps for successful refinishing.
- Heat-resistant paint ensures durability and long-term beauty.
- Regular maintenance will keep your newly refinished ceramic fireplace looking great.
Why Refinish Your Ceramic Fireplace
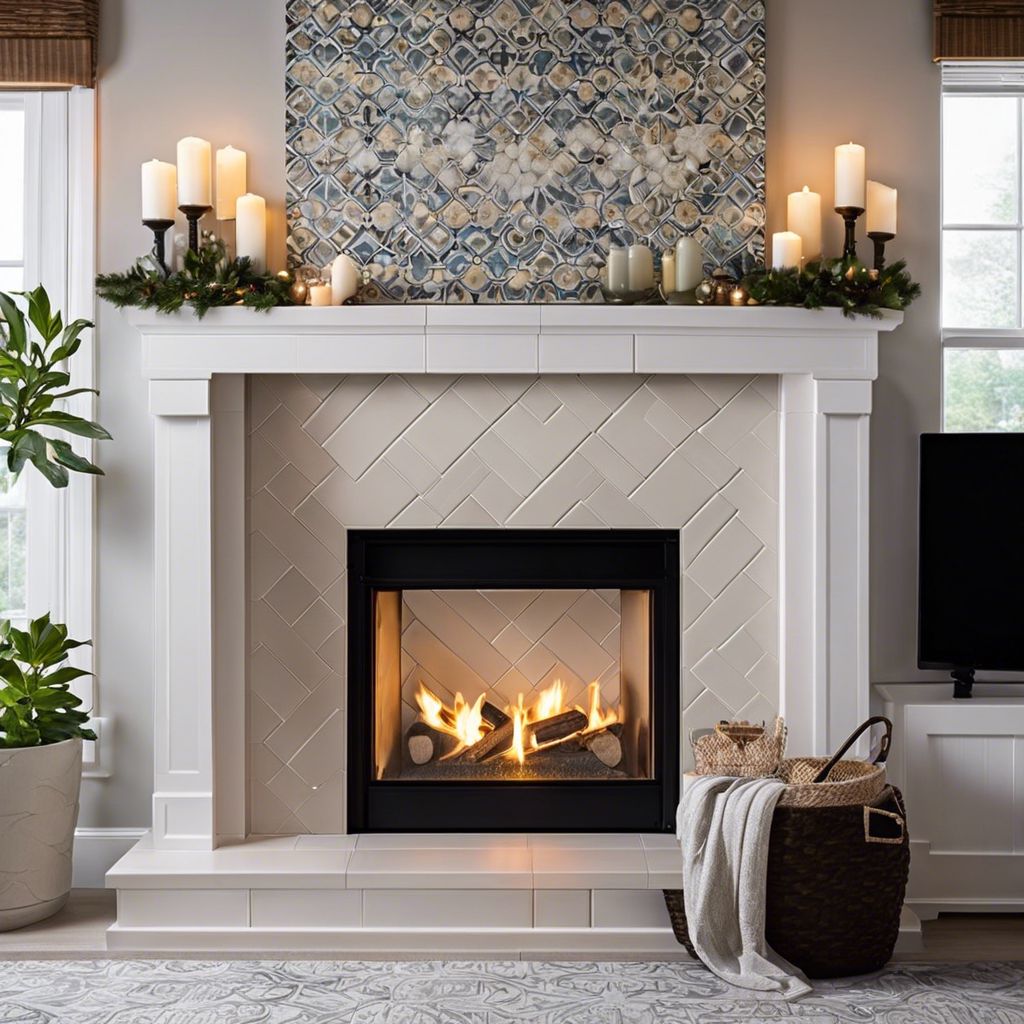
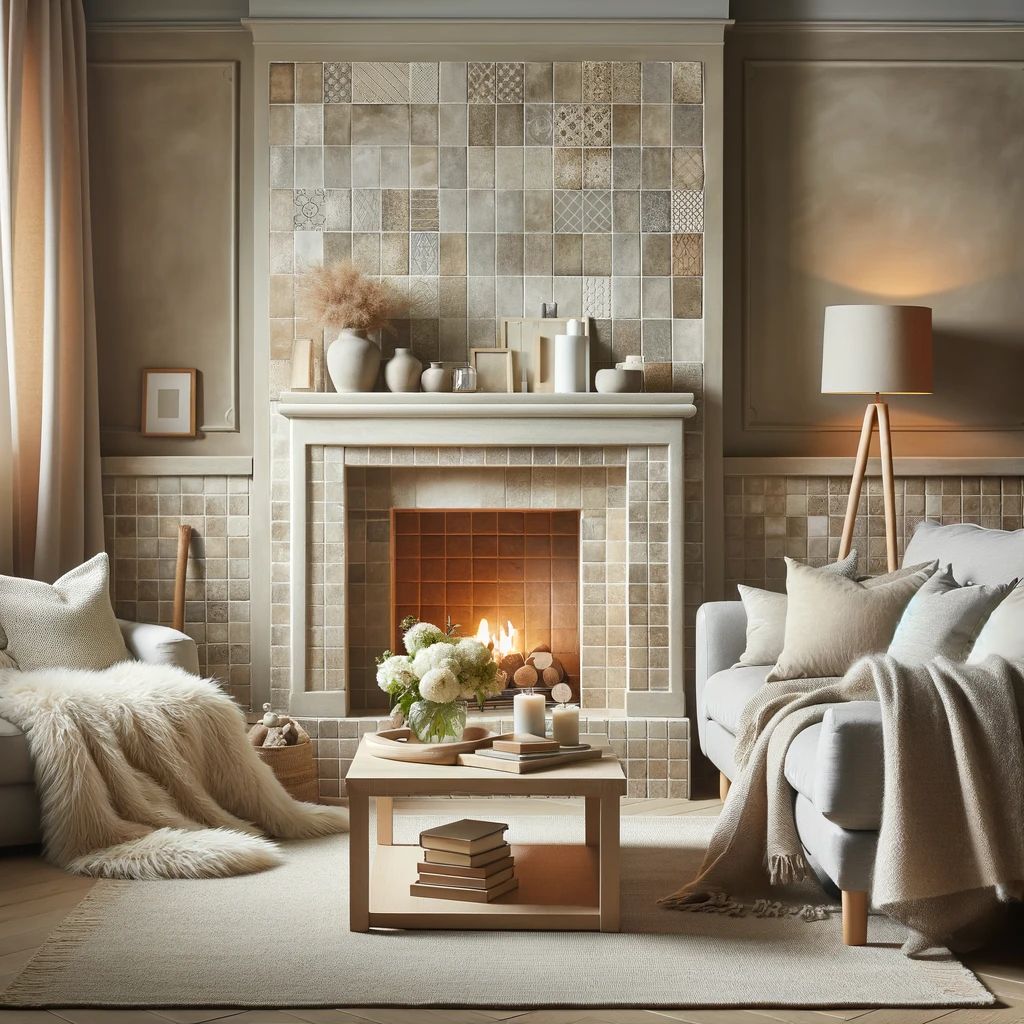
There’s nothing like the satisfaction of taking something old and making it new again. Your fireplace, often the focal point of a room, deserves to shine. Over time, ceramic tiles can become stained, cracked, or simply outdated. Refinishing these tiles can give your fireplace—and your room—a fresh, new look without the expense of a complete overhaul.
The Tools You’ll Need for the Job
Here’s what you’ll need to gather before starting your fireplace transformation:
- High-grit sandpaper or a sanding block
- Heavy-duty cleaner
- Tile repair filler (if necessary)
- Quality bonding primer
- High-temperature paint
- Paintbrushes and rollers
- Painter’s tape
- Sealant for ceramic tiles

DIY Refinishing Ceramic Fireplace Steps
Let’s break down the process into manageable steps to ensure you get the best results. Remember, taking your time to do each step properly will pay off in the long run.
Step 1: The Preparation Phase
Preparation is key. Start by removing any furniture or decorative items from around your fireplace. Then, lay down a drop cloth to protect your floors. It’s also a good idea to wear protective gear such as gloves, eyewear, and a mask to keep yourself safe from dust and fumes.
Step 2: Cleaning and Assessing Your Fireplace
Thoroughly clean your ceramic tiles with a mild detergent and warm water. This will remove any soot, grime, or old sealant. Once clean, assess the condition of the tiles. Look for cracks, chips, or any other damage. If you find any, you’ll need to repair these areas before proceeding.
Here’s how to tackle tile damage:
- For small chips, use a tile repair filler that matches your tile color.
- For larger cracks, you may need to replace the damaged tile altogether.
After repairs, give your tiles another quick clean to ensure they’re ready for the next step.
Step 3: Sanding Down to Basics
Using high-grit sandpaper, gently scuff the surface of the tiles. This will help the primer and paint adhere better. Be sure not to sand too aggressively, as you only need to roughen the surface slightly.
After sanding, wipe down the tiles with a damp cloth to remove any dust. Let them dry completely before moving on.
Step 4: Applying the Primer
Once your fireplace is clean and the surface is prepared, it’s time to discuss primers. A good bonding primer is essential for a long-lasting finish. It ensures that the paint sticks to the ceramic tiles and doesn’t peel away when exposed to heat.
Choosing the Right Primer
When selecting a primer, look for one that’s specifically formulated for high temperatures and is suitable for ceramic surfaces. This type of primer will withstand the heat that fireplaces generate without cracking or bubbling. Apply the primer with a roller for large areas and a brush for smaller, hard-to-reach spots. Allow it to dry according to the manufacturer’s instructions before moving on to painting.

Step 5: Applying the Paint or Finish
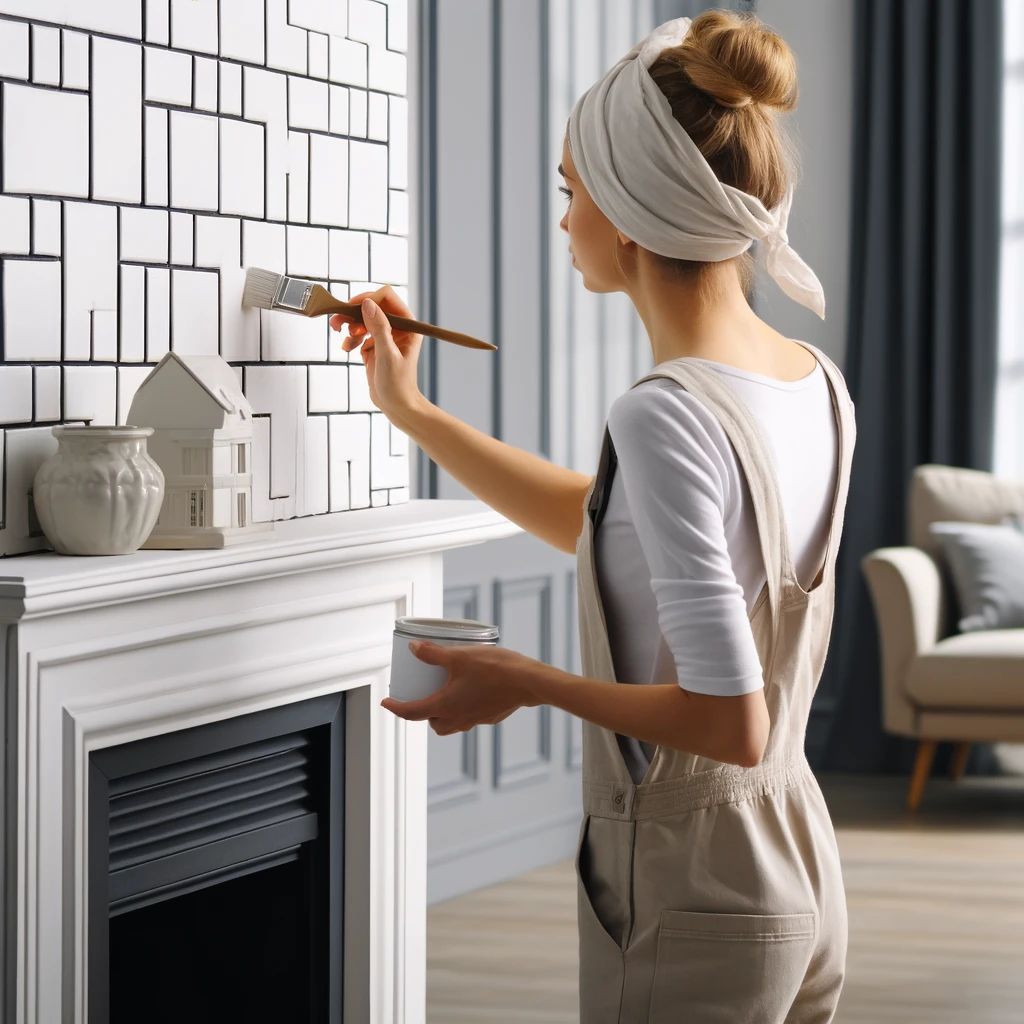
It’s time to dive into the fun part: applying the paint or finish! This step is where your fireplace makeover really starts to take shape. Grab your trusty paintbrush and/or roller and get ready to work some magic on that ceramic surface. Whether you’re going for a bold new color or a sleek finish, take your time to apply it evenly and smoothly. Remember, this is your chance to let your creativity shine, so have fun with it! Just make sure to follow the instructions on drying times and application techniques – you’ve got this!
Paint Selection: Heat Resistant Options
Now, let’s talk about paint. Not all paints are created equal, especially when it comes to surfaces that will be near fire. You’ll need a high-temperature paint that can handle the heat without discoloring or deteriorating over time. These paints are typically labeled as ‘heat resistant’ and can be found at most hardware stores.
Choosing the Right Finish
When it comes to finish, you have options such as matte, satin, or gloss. Your choice will depend on the look you’re going for. Matte finishes hide imperfections well, but gloss finishes are easier to clean. Satin finishes are a happy medium with a slight sheen that’s not too shiny.
Whatever option you choose, make sure it is also heat-resistant.
Detailed Brush Strokes: Technique Tips
Applying paint to ceramic tiles requires a steady hand and a good brush. Use a small, angled brush for edges and corners to ensure clean lines. For larger areas, a foam roller can provide a smooth, even coat. Apply paint in thin layers, allowing each layer to dry thoroughly before adding the next. This will prevent drips and streaks.
Drying and Setting: Patience Pays Off
After painting, the hardest part is waiting. Give your fireplace ample time to dry and cure. This can take anywhere from a few hours to a full day, depending on the paint and the conditions in your home. Once dry, you can add a second coat if necessary. Remember, patience during the drying process will result in a professional-looking finish.
Step 6: Sealing for Longevity
To protect your hard work and to give the tiles an extra layer of durability, apply a ceramic sealant once the paint or finish has dried completely. This is especially important for a high-traffic area like a fireplace. Follow the manufacturer’s instructions for application and drying times.
A sealant will make your tiles easier to clean and protect them from the heat and any accidental spills or splashes.
Step 7: Finishing Touches
With your tiles painted and sealed, you’re almost done. Carefully remove any painter’s tape you used to protect the surrounding area. If you removed any hardware or fireplace doors, now is the time to put them back in place. Stand back and admire your work. Your fireplace has a brand new look that reflects your personal style.
But why stop there? Now that your fireplace looks new, you might want to add some finishing touches.
- Consider adding a new mantel or updating the old one.
- Accessorize the hearth with decorative items that complement the room’s decor.
- Install new fireplace doors or screens for both safety and style.

Personalizing Your Fireplace
Your fireplace should be a reflection of your unique style. Consider the ambiance you want to create. Do you prefer a rustic, cozy feel or a sleek, modern look? Choose accessories that match your desired aesthetic. A new set of fireplace tools or a stylish log holder can make all the difference.
Accenting with Accessories
Accessories can transform your fireplace from a mere heat source to the centerpiece of your room. Consider the following:
- A stylish vase or sculpture on the mantel can draw the eye.
- Seasonal decorations can celebrate the time of year.
- Functional yet decorative screens or fireplace doors can add charm.
Making Your Fireplace a Focal Point
Use your newly refinished fireplace to anchor the room’s design. Arrange seating to face the fireplace, drawing guests into the warmth and beauty of your handiwork. Play with lighting to highlight the fireplace area during the evenings, making it a cozy spot for relaxation.
Tips and Maintenance for Your Newly Refinished Fireplace
To keep your fireplace looking its best, establish a maintenance routine. Regularly wipe down the tiles to prevent dust and soot buildup. Avoid using harsh chemicals that could damage the paint or sealant. If you use your fireplace often, inspect it periodically for any signs of wear and touch up as needed.
Regular Cleaning Habits
Keeping your fireplace clean is simple but important. Use a soft cloth to dust the tiles and mantel weekly. If you need to do a deeper clean, use a gentle, non-abrasive cleaner designed for ceramic surfaces.
Protective Measures for Long-Term Beauty
Protect your investment doesn’t have to mean making it ugly. There are easy and attractive ways to keep your newly refinishing ceramic tile fireplace pretty.
- Use a screen when burning fires to prevent damage from flying sparks.
- Place a rug or hearth pad in front of the fireplace to catch any embers or debris.
- Avoid placing candles or other heat sources directly on the mantel or hearth.
Remember, a little care goes a long way in maintaining the beauty and function of your fireplace. Enjoy the warmth and charm it adds to your home, knowing that you’ve created something truly special with your own two hands.

Mistakes to Avoid While Refinishing
Refinishing your fireplace can be a rewarding DIY project, but there are some common mistakes to avoid. One of the biggest mistakes is rushing through the preparation steps. Proper cleaning, sanding, and priming are essential for a smooth and lasting finish. Another mistake is using the wrong type of paint or primer, which can lead to peeling or discoloration when exposed to the high temperatures of a fireplace.
Applying too much paint in one coat can result in drips and an uneven finish. Instead, apply multiple thin coats, allowing each to dry thoroughly before applying the next. Finally, be sure to protect the surrounding area and any decorative elements of the fireplace with painter’s tape to avoid accidental paint splatters.
Common Pitfalls in DIY Projects
DIY projects can be fun and fulfilling, but they can also be fraught with potential pitfalls. Some common issues include underestimating the time and effort required, not reading instructions fully, and skimping on quality materials to save money. These can all lead to less than satisfactory results and may even require starting the project over or calling in a professional to fix the mistakes.
Another pitfall is neglecting safety precautions. Always wear protective gear, work in a well-ventilated area, and follow all safety instructions on the products you are using.
Being aware of these common pitfalls and planning accordingly can help ensure a successful and enjoyable DIY refinishing project.
How to Fix Errors
If you do make a mistake while refinishing your fireplace, don’t worry—many errors can be fixed. If the paint drips or is uneven, wait for it to dry completely, then sand it down gently before applying a new coat. If you’ve used the wrong type of paint or primer, you may need to remove it completely and start again with the correct materials. For issues like paint on unwanted areas, use a small amount of paint remover or a razor blade to gently scrape it off.

Frequently Asked Questions
Can You Refinish a Fireplace on Any Budget?
Yes, you can refinish a fireplace on a budget. The cost will depend on the size of your fireplace and the materials you choose. On average, you can expect to spend between $50 to $200 for all the supplies needed. This is significantly less than hiring a professional or replacing the entire fireplace.
For those on a tighter budget, consider cost-saving measures such as using leftover paint from other projects or repairing minor tile damage instead of replacing tiles. Always prioritize quality materials for key steps like priming and sealing to ensure a lasting finish.
Is It Necessary to Hire a Professional for Refinishing?
Refinishing a fireplace can be a DIY project, but it’s important to assess your own skills and comfort level. If the fireplace requires extensive repairs or if you’re not confident in your ability to safely handle the project, it may be best to hire a professional. For simple painting and cosmetic updates, most homeowners can achieve great results on their own with careful planning and execution. Ultimately, the decision to DIY or hire a professional depends on the complexity of the project and your own DIY experience.
How Long Will the Refinish Last?
With proper preparation, application, and maintenance, a refinished ceramic fireplace can last many years. The longevity of your refinishing job will also depend on the quality of materials used and how frequently the fireplace is used. High-quality heat-resistant paint and sealant, along with regular cleaning, will help extend the life of your fireplace’s new finish.
What Safety Precautions Should Be Taken During Refinishing?
Safety is paramount when working on any home improvement project, especially when it involves your fireplace.
- Work in a well-ventilated area to avoid inhaling fumes.
- Wear protective gear, including gloves, eyewear, and a mask.
- Keep flammable materials away from the work area.
- Follow the manufacturer’s instructions for all products used.
By taking these precautions, you can ensure a safe and successful refinishing project.
Can You Change the Color of Your Ceramic Fireplace Tiles?
Absolutely! One of the biggest advantages of refinishing your ceramic fireplace is the ability to change the color of the tiles. Whether you want a bold new look or a subtle change, there are high-temperature paints available in a wide range of colors. Just make sure to clean, sand, and prime the tiles properly before applying your new color for the best results.
With these steps and tips, you’re now ready to tackle your ceramic fireplace refinishing project with confidence. Remember, the key to a successful DIY project is preparation, patience, and attention to detail. So, roll up your sleeves and get ready to give your fireplace a stunning makeover that will be the centerpiece of your home.


Leave a Reply