Key Takeaways
- Quartzite countertops combine beauty with durability, making them a top choice for kitchens.
- Refinishing a quartzite kitchen countertop can restore its luster and extend its life, saving money in the long run.
- A thorough assessment and cleaning are essential first steps in the refinishing process.
- Using the right tools and materials is important for a successful DIY refinishing project.
- Regular maintenance, including sealing, will keep your quartzite countertops looking their best.
Time to Revamp: Refinishing Your Quartzite Kitchen Countertops
So, your kitchen’s quartzite countertops have lost their sparkle? It happens. But the good news is, you can bring back their glory with a bit of elbow grease and know-how. Let’s dive into how you can refinish your quartzite countertops and make them the centerpiece of your kitchen once again.
Why Quartzite? The Tough Beauty of This Natural Stone
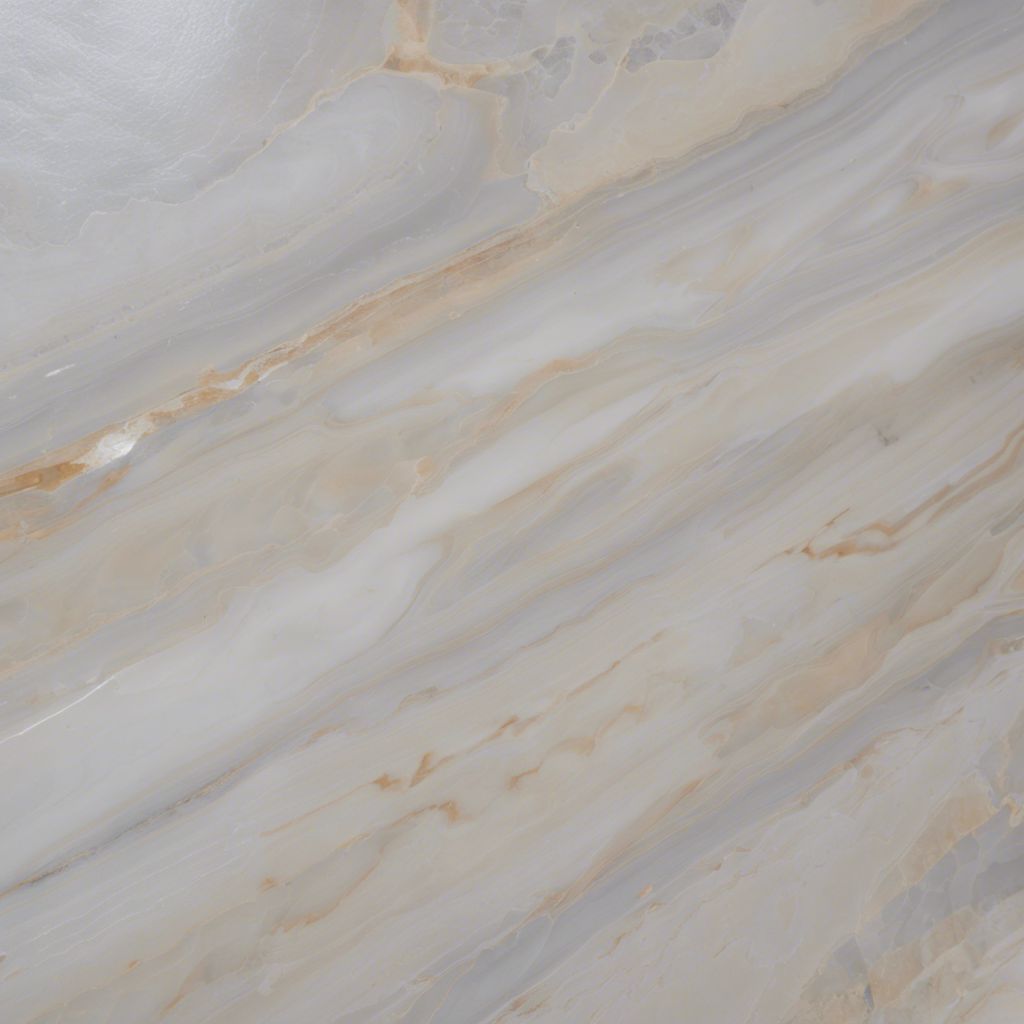
Quartzite is one of the hardest minerals on Earth, which means it’s incredibly durable and perfect for the hustle and bustle of a busy kitchen. But, just like anything else, it can show wear over time. The good news is, with the right approach, you can refinish it, and it’ll look as good as new. That’s the beauty of quartzite — it’s tough, but it’s also forgiving.
Signs That Your Quartzite Countertops Need a Refinish
How do you know it’s time for a refinish? Look out for dull spots, scratches, or chips. These are tell-tale signs that your countertops could use some love. Don’t worry, though; it’s not the end of the world. These blemishes are just surface level, and we can fix them up in no time.

Materials and Tools You’ll Need to Begin
- Stone cleaner
- Mild dish soap
- Soft cloth or sponge
- Stone sealer
- Buffing pad
- Handheld sander (optional)
- Protective gear (gloves, mask, goggles)
- Plastic sheeting and painter’s tape (for workspace protection)
Before you start, make sure you’ve got everything you need. It’s like going on a road trip — you wouldn’t leave without checking you’ve got a spare tire and some snacks, right? Same principle applies here.
Gathering Your Supplies: The Essentials for Refinishing
First off, let’s talk cleaners. You’ll need a pH-neutral stone cleaner to get rid of any grime that’s built up over time. And when it comes to sealing, don’t skimp on the sealer — it’s what protects your countertops from stains and spills.
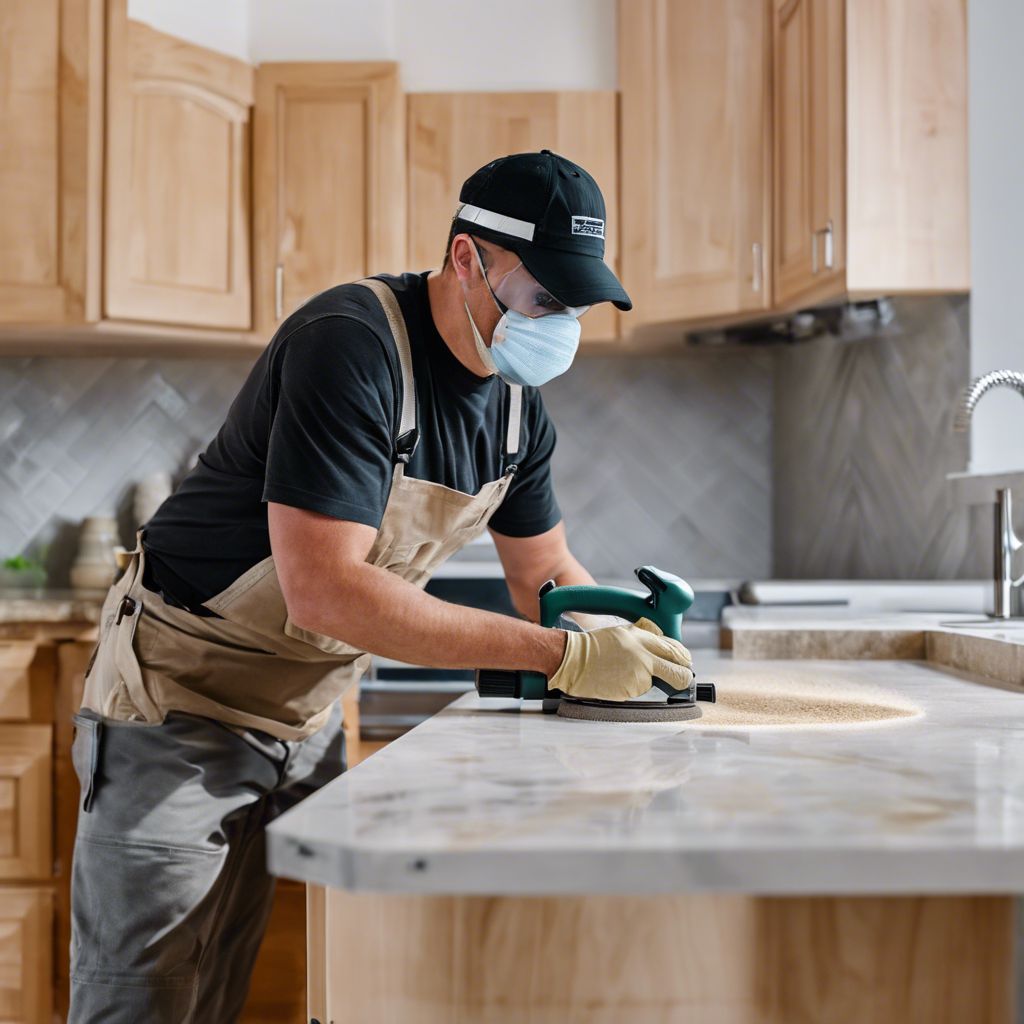
If you’ve got scratches or etches, you might need a handheld sander. It’s not mandatory, but it’ll make your life easier if you have deep marks to smooth out.
Protective Gear: Safety First!
Don’t forget about safety. Gloves, goggles, and a mask are your best friends in this project. They’ll keep you safe from dust and any chemicals you’ll be using. It’s all fun and games until someone gets cleaner in their eye, right?
When it comes to maintaining your quartzite countertops, regular cleaning and sealing are essential. This will not only help in preserving the natural beauty of your countertops but also in preventing any potential stains or damages from occurring.
Prepping Your Space and Surface
Preparing your space and surface is essential groundwork before embarking on refinishing your quartzite kitchen countertop. Taking these preparatory steps ensures a smooth and hassle-free refinishing experience, allowing you to focus on bringing out the natural beauty of your countertop.
Setting the Stage: Protecting Your Kitchen
Before you dive into sprucing up your countertop, clear the stage by removing any items or appliances. Once clear, it’s time to protect the surrounding areas. Cover cabinets, floors, and appliances with drop cloths or masking tape to shield them from any potential spills or splatters during the refinishing process. This way, you’ll have a clean slate to work with and keep everything around it safe from any accidental spills or splashes.

The Refinishing Process: A Step-by-Step Walkthrough
Excited to breathe new life into your quartzite kitchen countertop? Let’s dive in and rejuvenate its beauty with these simple steps!
Step 1: Assessing the Countertop
Take a close look at your countertop and give it an inspection. Check for any scratches, stains, or damages that need attention. These could be anything from small chips to stubborn stains.
Step 2: Cleaning
Next, give that countertop a good scrubbing! Grab some mild detergent and water, and wash away all the dirt, grease, and leftover residue. Once it’s squeaky clean, give it a good rinse and let it dry completely.
Step 3: Sanding Basics
Now, let’s get down to sanding. If you’ve got a handheld sander, great. If not, a bit of elbow grease and sandpaper will do the trick. Start with a coarse grit to get rid of any rough spots and work your way up to a finer grit for a smooth finish.
Remember to keep the surface wet while you sand. This keeps the dust down and helps you see what you’re doing. Think of it like sculpting – you’re smoothing out the rough edges to reveal the beauty underneath.
Step 4: Crack and Chip Repair: Restoring the Surface
Got some chips and cracks? No problem. Here’s the deal: mix up some epoxy resin color-matched to your quartzite. Apply it carefully to the damaged areas, then let it dry. It’s like using a bit of concealer on a blemish — it blends right in.
Once it’s dry, gently sand over the area to make sure it’s flush with the rest of the countertop. The goal is to make those chips and cracks disappear like they were never there. Patience is key — take your time to get a smooth, seamless finish.
Step 5: Applying Primer (if necessary)
If your quartzite’s really been through the wringer, you might need to apply a primer. This will help the refinishing product adhere better and ensure an even, long-lasting finish. Just brush it on, let it dry, and you’re ready for the next step.
Think of primer like the base coat of nail polish — it’s not always necessary, but it can make a world of difference in the final look.
Step 6: Applying the Refinishing Product
When it comes to refinishing products, there are a few options. Some are like a varnish, others are more like a paint. Whichever you choose, follow the manufacturer’s instructions to the letter.
Apply it evenly, taking care to avoid drips or streaks. You might need to apply a couple of coats to get the coverage you want. It’s like frosting a cake — the smoother you can get it, the better it’ll look.
Step 7: Polishing Perfection: Achieving the Right Shine
Once your refinishing product is dry, it’s time to polish. This is what will give you that glossy, magazine-worthy finish. You can use a mechanical buffer or do it by hand with a soft cloth and some polishing compound.
Work in small sections and take your time. You’re aiming for a glass-like finish that’ll make your kitchen shine.
Step 8: Sealing the Deal: Protecting Your Work
The final step is sealing. This is vital because it protects your countertops from stains and spills. Choose a high-quality impregnating sealer and apply it according to the directions.
Once it’s dry, test it out by sprinkling some water on the surface. If it beads up, you’ve done it right. If not, you might need another coat.

Maintenance Tips for Long-Lasting Beauty
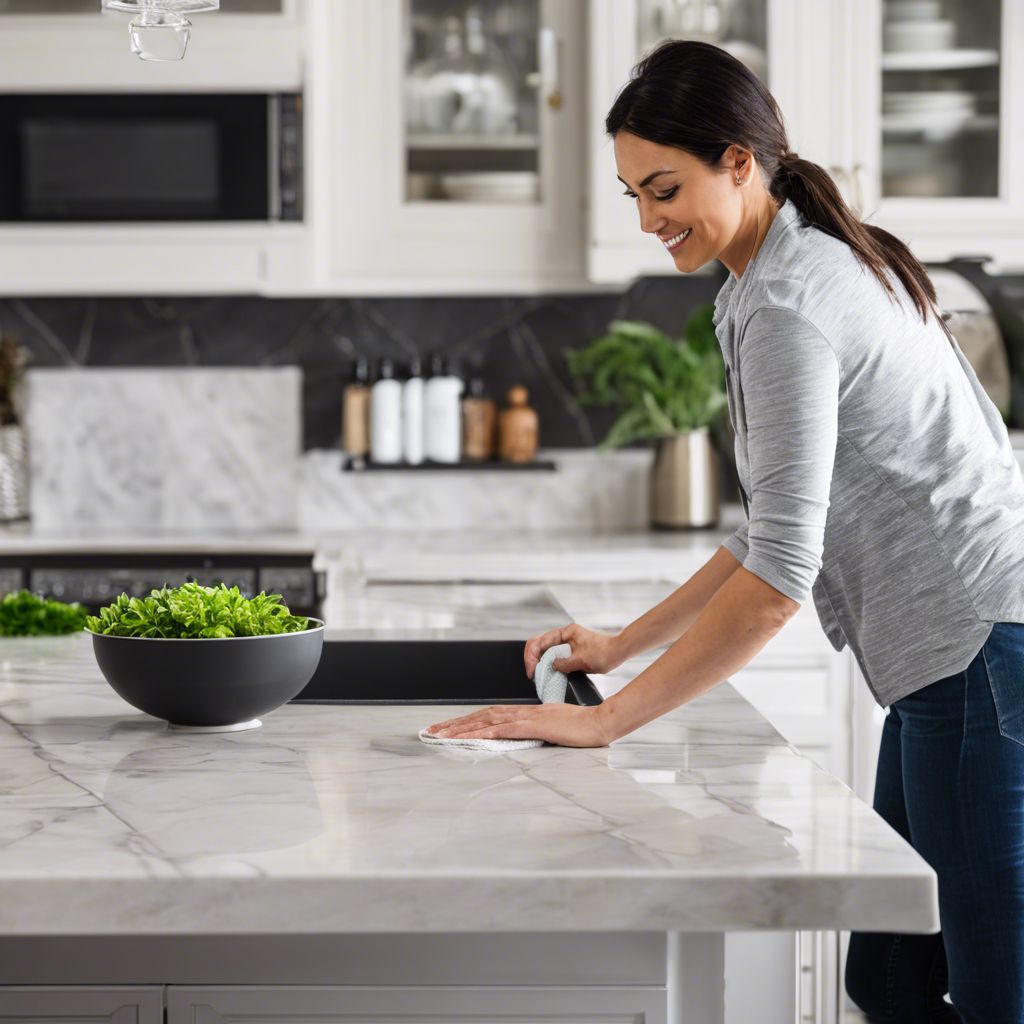
Now that your quartzite countertops are looking fabulous, let’s keep them that way. Clean them daily with a soft cloth and a mild cleaner. For deeper cleans, use a stone cleaner once a week.
Avoid harsh chemicals and acidic cleaners — they can etch the surface. It’s like taking care of your skin — gentle is better.
Regular Care: Daily and Weekly Habits
Here’s the rundown for daily and weekly care:
- Wipe up spills immediately to prevent staining.
- Use a soft cloth or sponge for daily cleaning.
- For weekly deep cleans, opt for a pH-neutral stone cleaner.
- Use cutting boards and trivets to avoid scratches and heat damage.
When to Re-Seal: Listening to Your Countertops
Quartzite is tough, but it still needs to be re-sealed every now and then. How often? It depends on how much action your countertops see. A good rule of thumb is once a year, but if you’re an avid cook, you might need to do it more often.
Remember, the water test never lies. If water stops beading on the surface, it’s time for a new coat of sealer.
DIY vs. Professional Refinishing: What Should You Choose?
So, should you tackle this project yourself or call in the pros? If you’re comfortable with DIY and have the time, go for it. But if you’re not sure, there’s no shame in getting professional help.
Assessing the Project: When to Call in the Pros
Take a good look at your countertops. If you’ve got deep scratches, persistent stains, or just feel out of your depth, a professional refinisher can make a world of difference.
They’ve got the tools and expertise to tackle even the toughest jobs. It’s like having a trusty mechanic — sometimes, it’s best to leave it to the experts.
Costs and Benefits: Making an Informed Decision
DIY can save you money, but remember, time is also a currency. Weigh the costs of materials and your time against the price of professional refinishing. Sometimes, paying a bit more for a pro can save you headaches down the line.
It’s all about balance — do what’s best for you, your budget, and your countertops.
Troubleshooting Common Issues During Refinishing
Even with the best-laid plans, you might run into some snags during your refinishing project. Here’s how to tackle common issues that might arise.
Handling Stubborn Stains and Discoloration
If you’re dealing with stubborn stains, a poultice might be your best friend. Make a paste with baking soda and water, apply it to the stain, and cover it with plastic wrap. Leave it for 24 hours, then rinse away. Repeat if necessary. It’s like a spa treatment for your countertops, drawing out the impurities.
Dealing with Fissures and Vein Issues
Fissures and veins can add character to your quartzite, but they can also be a source of weakness. If they’re causing issues, you can fill them with a color-matched epoxy or resin. Just like filling cracks, ensure it’s smooth and flush with the surface after it dries.
Remember, fissures are natural and don’t typically affect the integrity of your quartzite. But if they bother you visually, filling them can give a more uniform look.
It’s important to differentiate between a fissure, which is a natural feature of the stone, and a crack, which is damage. Fissures won’t change over time, but cracks can grow and potentially cause more serious issues.

Frequently Asked Questions
How often should I seal my quartzite countertops?
Sealing frequency depends on the usage and type of quartzite. As a general rule, sealing once or twice a year should suffice. But keep an eye on how water behaves on the surface; if it no longer beads, it’s time to re-seal.
Sealing is like sunscreen for your countertops; it prevents damage before it can start. High-traffic areas might need more frequent sealing, so adjust your schedule accordingly.
Can I refinish quartzite countertops without professional help?
Yes, you can tackle quartzite countertop refinishing as a DIY project if you’re comfortable with the process and have the necessary tools. However, if you’re dealing with extensive damage or you’re unsure about any step, it’s a good idea to consult a professional.
Remember, if you choose to go the DIY route, do your research, gather all the materials beforehand, and don’t rush the process.
What is the best way to polish quartzite countertops during refinishing?
The best way to polish quartzite countertops is to use a polishing compound designed for quartzite and a buffing pad. Start with a clean, dry surface and work in small sections, buffing in circular motions until you achieve the desired shine.
Think of polishing your countertops like brushing your teeth — gentle, circular motions get the best results. And just like with dental hygiene, regular maintenance will keep them looking their best.
How do I know if my quartzite countertops need a full refinish or just touch-up?
If your countertops have widespread dullness, scratches, or etching, a full refinish might be in order. For isolated issues like a small chip or a light scratch, a touch-up might be sufficient.
Assess your countertops like you would a painting; step back and look at the whole picture. If imperfections jump out at you from a distance, it’s probably time for a full refinish.
Is there a difference between quartz and quartzite countertops in terms of refinishing?
Yes, there’s a difference between quartz and quartzite. Quartz is engineered and non-porous, so it rarely needs refinishing. Quartzite, being a natural stone, is porous and may require refinishing to address scratches and etching.
Think of quartzite like hardwood floors — they’re natural and can show wear over time. Quartz, on the other hand, is more like laminate flooring — it’s designed to be durable and low-maintenance.
In short, quartzite can be refinished because it’s a natural stone, while quartz typically doesn’t need it.


Leave a Reply