Key Takeaways
- Refinishing a cultured marble tile backsplash can significantly enhance your kitchen’s aesthetics.
- The process is cost-effective compared to replacing the backsplash entirely.
- Proper refinishing can extend the lifespan of your cultured marble tiles.
- Essential tools include safety gear, sandpaper, primer, paint, and a sealer.
- Following the step-by-step guide below to ensure a professional finish.
The Aesthetic Appeal of Cultured Marble Tiles
Cultured marble tiles are a popular choice for kitchen backsplashes because of their elegant appearance and durability. These tiles mimic the look of natural marble but come at a fraction of the cost. The blend of crushed marble and resin creates a surface that is both beautiful and robust.
Why Refinish a Cultured Marble Backsplash?
Refinishing your cultured marble backsplash is a practical and effective way to rejuvenate your kitchen. Over time, even the most durable surfaces can show signs of wear and tear. Refinishing addresses these issues, restoring the original luster and extending the life of your backsplash.
Improving Aesthetics
One of the primary reasons to refinish a cultured marble backsplash is to improve its appearance. Scratches, scuffs, and discoloration can make your kitchen look dated and unkempt. Refinishing can bring back the shine and make the backsplash look as good as new.
Cost-Effectiveness
Replacing an entire backsplash can be expensive and time-consuming. Refinishing, on the other hand, is a cost-effective alternative that delivers impressive results without breaking the bank. It allows you to achieve a fresh look without the hassle of a full renovation.
Extending the Lifespan of Your Backsplash
Regular refinishing can significantly extend the lifespan of your cultured marble tile backsplash. By addressing minor damages early on, you can prevent more severe issues down the line. This proactive approach ensures that your backsplash remains in excellent condition for years to come.
Essential Tools and Materials List
Before you start the refinishing process, it’s essential to gather all the necessary tools and materials. Having everything on hand will make the project smoother and more efficient.
Materials Needed:
- Mild detergent or cleaner
- Sandpaper (fine grit)
- Masking tape
- Primer suitable for non-porous surfaces
- Epoxy or acrylic paint suitable for bathrooms and kitchens
- Paintbrushes or foam applicators
- Clear coat
Safety First
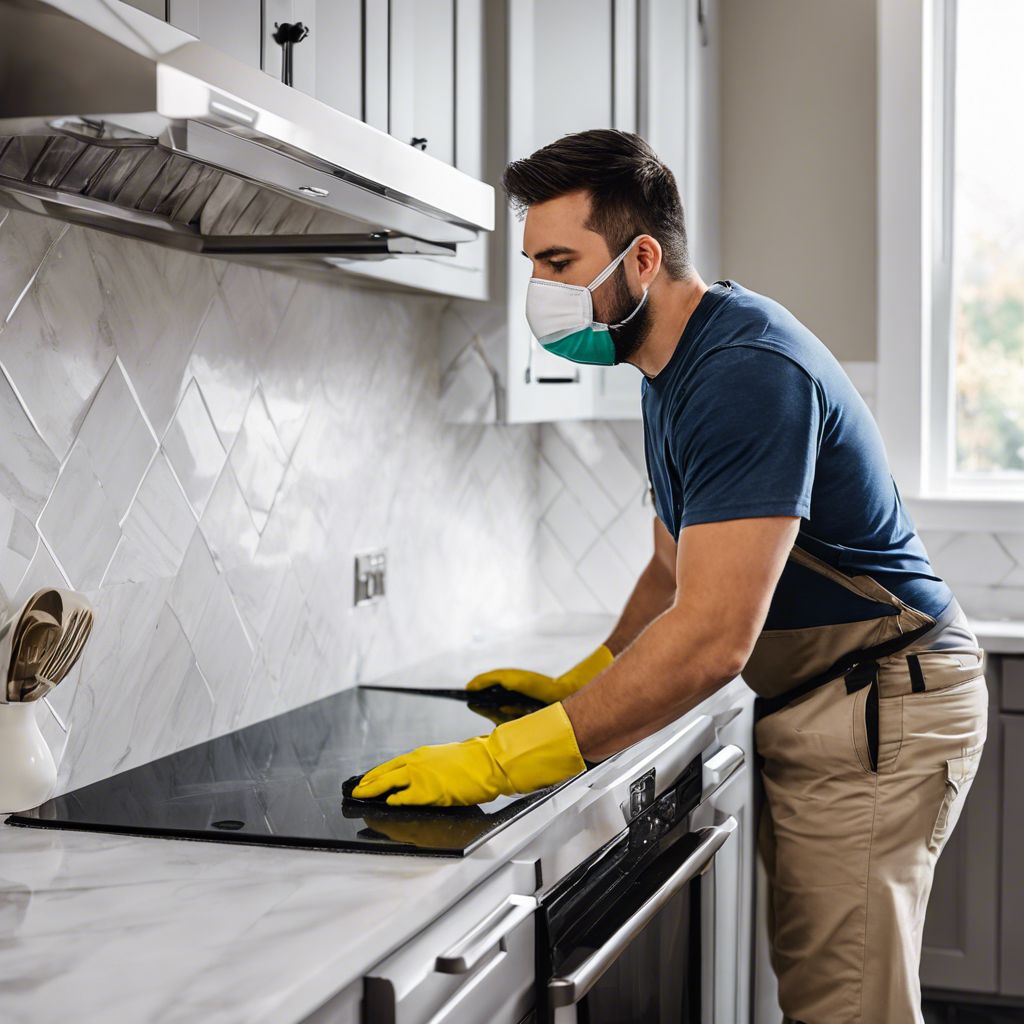
When working on any DIY project, safety should always be your top priority. Before starting, don’t forget your safety essentials: plastic gloves for your hands, safety goggles for your eyes, and a respirator mask to keep you breathing easy.
Wearing appropriate safety gear not only protects you but also ensures that you can work more efficiently and comfortably. Always check that your gear is in good condition before starting the project.
Setting Up Your Workspace
Creating a well-organized workspace is vital for a smooth refinishing process. Start by clearing the area around your backsplash to ensure you have ample room to move and work. Cover nearby surfaces, including countertops and appliances, with drop cloths or plastic sheeting to protect them from dust, debris, and splatters.
Ensure the area is well-ventilated. Open windows and doors to allow fresh air to circulate, and consider using a fan to help disperse fumes from the primer, paint, and sealer. Proper ventilation is essential for your safety and comfort while working.

Step-by-Step Guide for DIY Refinishing
Refinishing a cultured marble backsplash may seem daunting, but with the right approach and tools, it can be a manageable and rewarding DIY project. Follow these steps to achieve a professional-looking finish.
Step 1: Cleaning the Surface
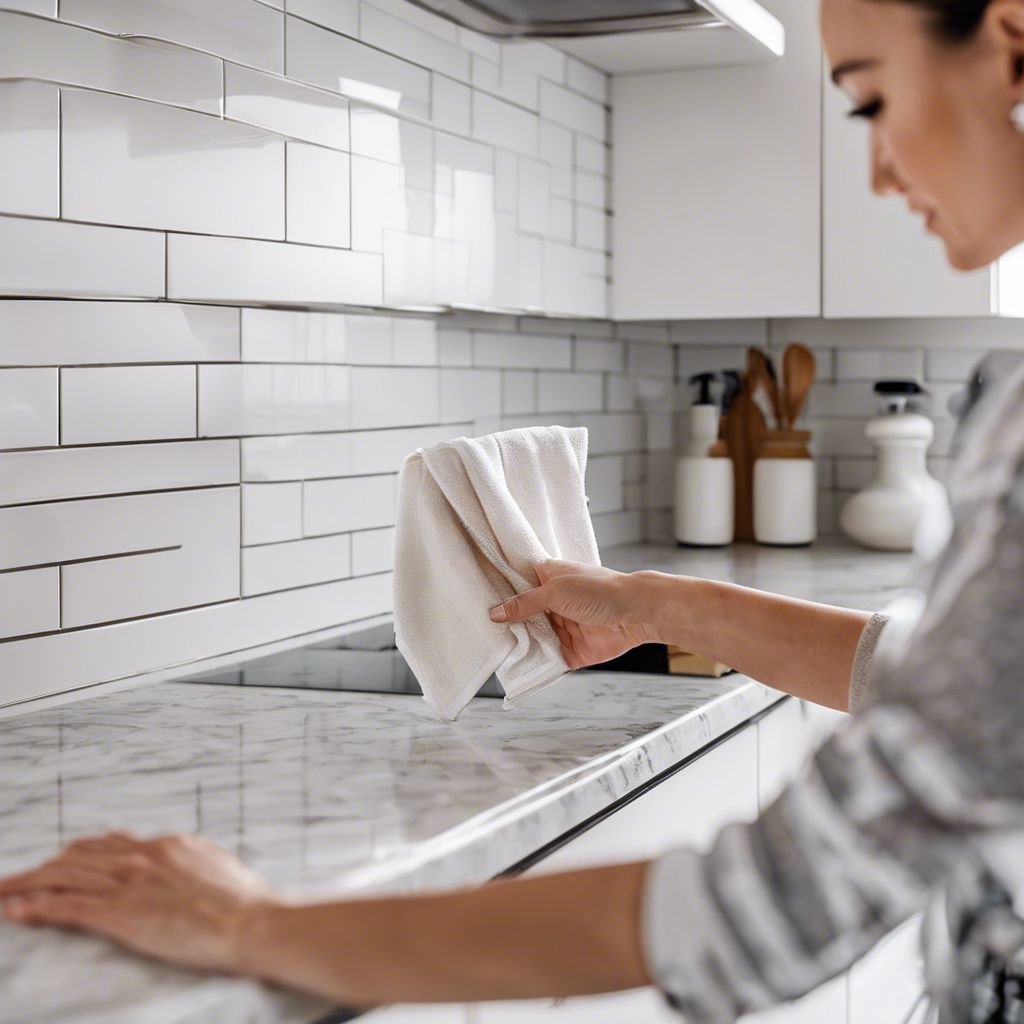
Before you start refinishing, it’s essential to thoroughly clean the cultured marble surface. Use a sponge and household soap to remove any dirt, grease, or grime. Rinse the surface with distilled water and dry it with a clean cloth.
Make sure the backsplash is completely dry before moving on to the next step. Any residual moisture can interfere with the adhesion of the primer and paint.
Step 2: Sanding the Cultured Marble
Next, you’ll need to sand the surface to create a rough texture that will help the primer adhere better. Use medium-grit sandpaper to gently sand the entire backsplash. Be thorough but gentle to avoid damaging the surface.
After sanding, wipe away any dust with a damp cloth and let the surface dry. This step is important for ensuring a smooth and even finish.
Step 3: Applying the Primer
Applying a primer is a critical step in the refinishing process. Choose a primer specifically designed for cultured marble or slick surfaces. Use a paintbrush or roller to apply an even coat of primer to the entire backsplash.
Follow the manufacturer’s instructions for drying times. Typically, you’ll need to wait several hours before applying the next coat. The primer will create a strong bond between the cultured marble and the paint, ensuring a long-lasting finish.
Step 4: Applying Paint or Epoxy
Once the primer is dry, it’s time to apply the paint or epoxy. Choose a high-quality paint or epoxy designed for use on cultured marble. Apply the first coat evenly with a paintbrush or roller, making sure to cover all areas thoroughly.
Allow the first coat to dry completely before applying a second coat. Depending on the type of paint or epoxy you’re using, you may need to apply multiple coats to achieve the desired finish.
Step 5: Sealing the Tiles
After the paint or epoxy has dried, the final step is to seal the tiles. A high-gloss polyurethane varnish works well for this purpose. Use a clean paintbrush to apply an even coat of varnish to the entire backsplash.
The sealer will protect the newly refinished surface from scratches, stains, and moisture. Allow the sealer to dry completely before using the backsplash. This step ensures that your refinished cultured marble backsplash will look great and last for years to come.
Step 6: Drying and Curing
Once you’ve applied the refinishing product to your cultured marble tile backsplash, give it time to dry and cure following the manufacturer’s instructions. This usually means waiting at least 24 hours before lightly using the area and a few days before putting it to heavier use. Taking this time ensures the product sets properly for a durable finish.
Tips for a Professional Finish
Achieving a professional-looking finish requires attention to detail and careful execution. Here are some tips to help you get the best results from your refinishing project.
Choosing the Right Primer and Paint
Selecting the right primer and paint is vital for a successful refinishing project. Look for products specifically designed for cultured marble or slick surfaces. These products are formulated to adhere better and provide a more durable finish.
Ensuring Proper Ventilation
Proper ventilation is essential when working with primers, paints, and sealers. Make sure your workspace is well-ventilated to avoid inhaling harmful fumes. Open windows and doors, and use fans to help circulate fresh air.
Good ventilation not only protects your health but also helps the primer, paint, and sealer dry more quickly and evenly.
Common Mistakes to Avoid
Avoiding common mistakes can make a big difference in the outcome of your project. Here are some pitfalls to watch out for:
- Skipping the sanding step: Sanding creates a rough texture that helps the primer adhere better.
- Not allowing enough drying time: Rushing through the drying times can result in a poor finish.
- Using the wrong products: Make sure to use primers, paints, and sealers designed for cultured marble.
Achieving a professional-looking finish requires attention to detail and careful execution. Here are some tips to help you get the best results from your refinishing project.

Maintenance and Care Post-Refinishing
After refinishing your cultured marble backsplash, proper maintenance and care are essential to keep it looking its best. Here are some tips to help you maintain your newly refinished backsplash.
Regular Cleaning
Regularly cleaning your refinished cultured marble tile backsplash is key to preserving its beauty. Use a soft cloth and mild soap to gently wipe down the surface, avoiding abrasive cleaners that could damage the finish. This simple upkeep will maintain the smooth, polished look of your backsplash.
Wiping Spills Promptly
Although cultured marble is stain-resistant, it’s still a good idea to clean up spills promptly. This prevents liquids from potentially compromising its surface over time. By wiping spills immediately with a soft cloth and mild cleanser if necessary, you can preserve the pristine appearance of your backsplash for long-lasting beauty in your kitchen.
Reapplying Sealer as Needed
Depending on your sealer type, periodic reapplication is necessary to maintain protection. This upkeep ensures your cultured marble tile backsplash remains resilient against stains and daily wear, preserving its original beauty over time.

Frequently Asked Questions
How Long Does the Refinishing Process Take?
The refinishing process typically takes a few days from start to finish. Cleaning and sanding can be completed in a few hours, but drying times for primer, paint, and sealer can add up. Plan for at least three to four days to ensure each layer has enough time to dry properly.
Can I Use Any Type of Paint on Cultured Marble?
No, it’s essential to use paint specifically designed for cultured marble or slick surfaces. These paints are formulated to adhere better and provide a more durable finish. Using the wrong type of paint can result in peeling and chipping.
How Often Should I Refinish My Cultured Marble Backsplash?
The frequency of refinishing depends on the wear and tear your backsplash experiences. Generally, a well-maintained backsplash should only need refinishing every five to ten years. Regular cleaning and care can extend the time between refinishing projects.
Is It Safe to Refinish Cultured Marble Tiles Myself?
Yes, refinishing cultured marble tiles is a safe DIY project as long as you follow the proper safety precautions. Wear safety gear, ensure good ventilation, and follow the instructions on the products you use. If you’re unsure or uncomfortable with any part of the process, consider hiring a professional.
What if the Backsplash has Severe Damage or Cracks?
If your cultured marble backsplash has severe damage or cracks, refinishing alone may not be enough. You might need to repair the damage before refinishing. Use a cultured marble repair kit to fill in cracks and chips, then follow the refinishing steps. For extensive damage, it may be best to consult a professional.
By following these steps and tips, you can successfully refinish your cultured marble backsplash and give your kitchen a fresh, updated look. The process is manageable and cost-effective, providing a satisfying DIY project that enhances the beauty and longevity of your kitchen.


Leave a Reply