Key Takeaways
- Refinishing laminate cabinets is a cost-effective way to refresh your kitchen.
- The process involves cleaning, sanding, priming, painting, and sealing.
- Proper preparation and safety measures are essential for a successful outcome.
- Using the right materials, such as specific primers and paints for laminate, ensures durability.
- Creative refinishing ideas can transform the look of your cabinets dramatically.
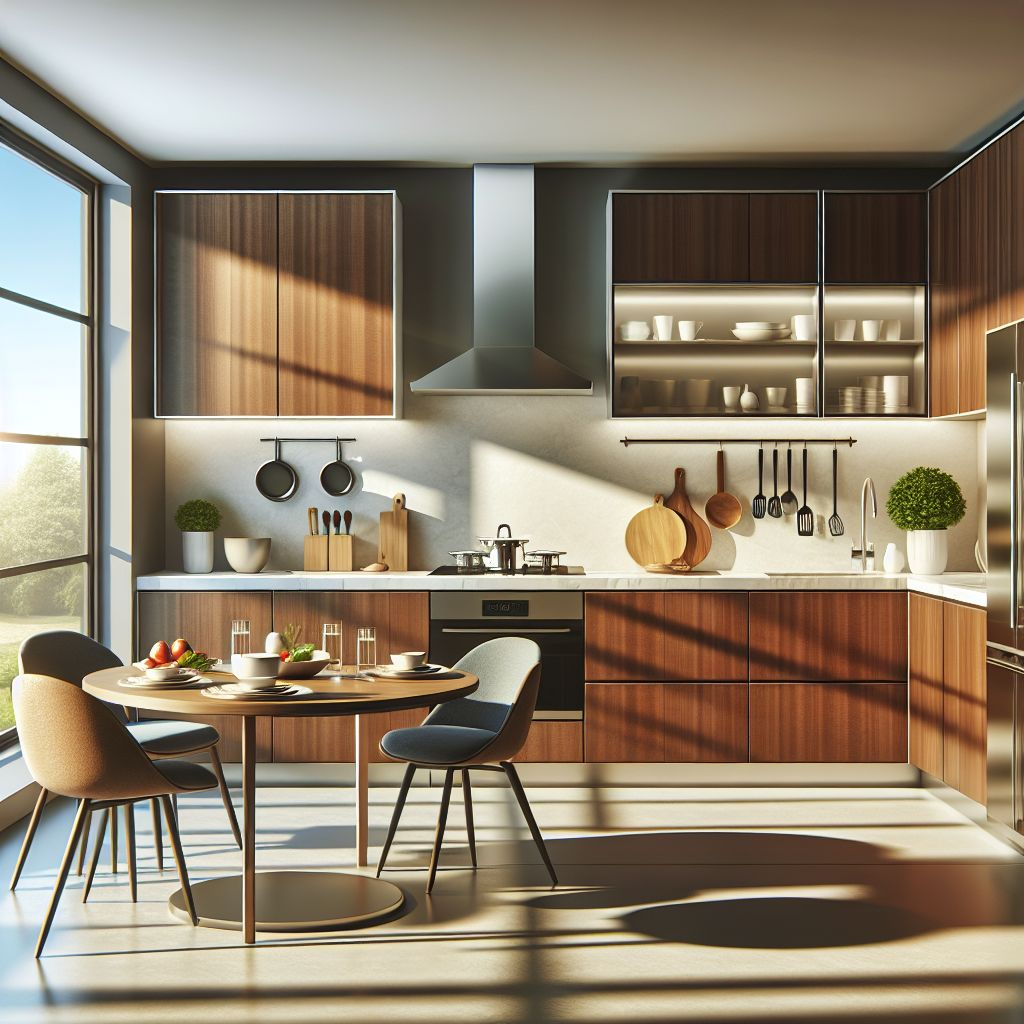
Revitalize Your Space: Refinishing Laminate Cabinets
Are your laminate cabinets looking tired and outdated? Refinishing them can breathe new life into your kitchen without breaking the bank. This guide will walk you through every step of the process, providing tips and tricks to ensure a professional-looking finish.
Benefits of Refinishing Laminate Cabinets
Refinishing your laminate cabinets offers several advantages. First and foremost, it’s budget-friendly. A full kitchen remodel can cost thousands of dollars, but refinishing your cabinets can be done for a fraction of the price. It also allows you to customize the look of your kitchen to match your style preferences.
Another benefit is the satisfaction of completing a DIY project. There’s something incredibly rewarding about transforming your space with your own hands. Plus, refinishing is less disruptive than a full remodel, meaning you can still use your kitchen during the process.
Understanding Laminate Cabinets
Before diving into the refinishing process, it’s essential to understand what laminate cabinets are. Laminate is a synthetic material made by fusing multiple layers of paper or fabric with resin. This creates a durable, easy-to-clean surface that’s commonly used in kitchen cabinetry.
However, laminate can show signs of wear over time, such as peeling, discoloration, or scratches. Refinishing can address these issues and give your cabinets a fresh, updated appearance.
Signs It’s Time to Refinish
Wondering when it’s time to refinish your laminate cabinets? If you notice peeling or bubbling laminate, discoloration or fading, visible scratches or dents, or an outdated color or style, it’s likely time to consider refinishing your cabinets. Now, let’s move on to the preparation phase, which is essential for achieving the best results.
Preparing Your Workspace
Preparation is key to a successful refinishing project. Before you start, make sure your workspace is ready and you have all the necessary materials.
Materials You’ll Need for the Job
Gathering the right materials ahead of time will make the process smoother. Here’s what you’ll need:
- Screwdriver or drill for removing hardware
- Cleaning solution and degreaser
- Sanding block or electric sander
- Various grits of sandpaper (120, 220)
- Primer specifically designed for laminate surfaces
- High-quality paint suitable for laminate
- Foam rollers and brushes
- Sealant for added protection
- Drop cloths or plastic sheeting to protect your workspace
- Painter’s tape
- Safety gear (gloves, mask, goggles)
Protecting Your Workspace
Protecting your workspace is essential to prevent damage and make cleanup easier. Lay down drop cloths or plastic sheeting to cover floors and countertops. Use painter’s tape to protect edges and areas you don’t want to paint.
Safety First
Safety should always be a priority. Wear gloves, a mask, and goggles to protect yourself from dust and fumes. Ensure your workspace is well-ventilated by opening windows or using fans.
DIY Laminate Cabinet Refinishing Steps
Now that you’re prepared, let’s dive into the step-by-step process of refinishing your laminate cabinets.
Step 1: Removing Hardware and Doors
The first step is to remove all hardware, such as handles and hinges, from your cabinets. Use a screwdriver or drill to take off the doors and drawers. Label each piece to make reassembly easier later on.
Step 2: Cleaning and Degreasing
Cleaning is a vital step that shouldn’t be skipped. Use a cleaning solution and degreaser to remove any dirt, grease, or grime from the surface of your cabinets. This ensures that the primer and paint will adhere properly.
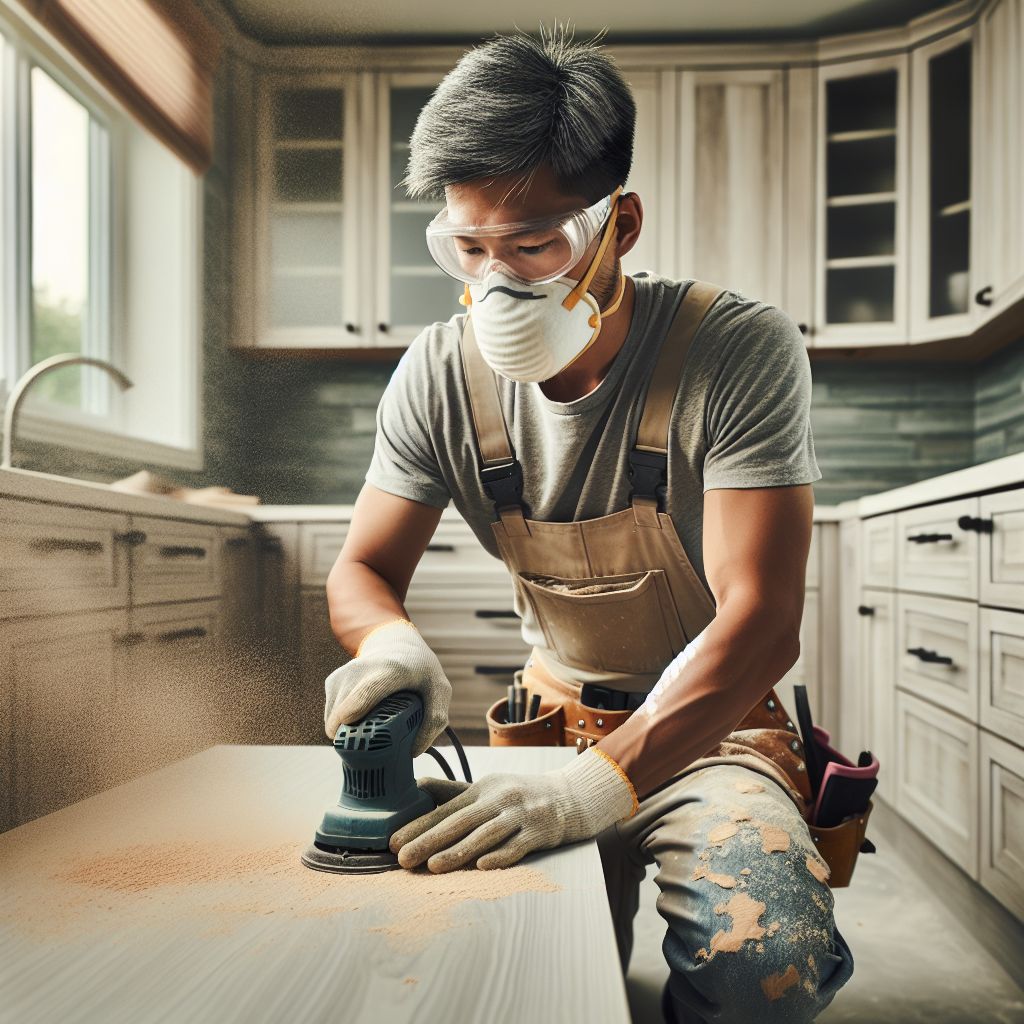
Step 3: Sanding the Surface
Sanding helps to roughen up the smooth laminate surface, allowing the primer to adhere better. Start with 120-grit sandpaper to remove the glossy finish, then switch to 220-grit for a smoother surface.
Choosing the Right Sandpaper
Using the right sandpaper is essential for a successful refinishing project. Coarse sandpaper (80-120 grit) is good for initial sanding, while finer sandpaper (220-320 grit) is ideal for smoothing the surface before painting.
Proper Sanding Techniques
When refinishing laminate cabinets, proper sanding is key to a great finish. Start with 120-grit sandpaper, then gradually move to fine-grit sandpaper, around 220 grit, to gently scuff the surface and help primer and paint stick better. Sand in the direction of the grain, being careful not to damage the laminate. Pay a bit more attention to any areas with peeling or bubbling. After sanding, make sure to clean off any dust before priming. This simple step can make a big difference in achieving a smooth, professional look.
Step 4: Repairing Peeling or Damaged Laminate
Start by carefully peeling back any loose laminate, being gentle to avoid further damage. Use a strong adhesive specifically designed for laminate to reattach the edges, applying it evenly and pressing down firmly. For deeper scratches or dents, consider using a laminate repair kit that includes filler to restore the surface. Once the repairs are complete, allow everything to dry according to the manufacturer’s instructions.
Step 5: Applying Primer
Priming your laminate cabinets is a critical step that ensures the paint adheres properly and lasts longer. Skipping this step can lead to peeling and chipping down the line.
Selecting the Best Primer for Laminate
Not all primers are created equal, especially when it comes to laminate surfaces. You’ll want a primer that is specifically formulated for slick surfaces. Look for products labeled as “bonding primers” or “adhesion primers.” These are designed to stick to non-porous surfaces like laminate.
Tips for a Smooth Primer Application
Applying primer correctly can make a big difference in the final appearance of your cabinets. Here are some tips to ensure a smooth application:
- Stir the primer thoroughly before use to ensure an even consistency.
- Use a foam roller for larger surfaces and a brush for corners and edges.
- Apply a thin, even coat and allow it to dry completely before adding a second coat if needed.
- Sand lightly between coats with fine-grit sandpaper (220 grit) for a smoother finish.
Step 6: Painting Your Cabinets
Once the primer is dry, it’s time to paint your cabinets. This step allows you to bring your vision to life with color and finish.
Best Paints for Laminate Cabinets
Choosing the right paint is crucial for durability and appearance. Look for paints specifically designed for cabinets or furniture, as these are formulated to withstand daily wear and tear. Acrylic latex paints are a popular choice because they are easy to work with and provide a durable finish.
Using Foam Rollers and Brushes
For the best results, use a combination of foam rollers and brushes. Foam rollers are excellent for large, flat surfaces, while brushes are better for edges and detailed areas. This combination helps to achieve a smooth, even finish.
Applying Multiple Coats
One coat of paint is rarely enough to achieve a professional look. Apply at least two coats, allowing each coat to dry completely before adding the next. Lightly sand between coats with fine-grit sandpaper (220 grit) to remove any imperfections and ensure a smooth finish.
Step 7: Sealing for Protection
Sealing your painted cabinets adds an extra layer of protection, making them more resistant to scratches, moisture, and everyday wear.
Types of Sealants
- Polyurethane: Offers excellent durability and comes in oil-based and water-based formulas.
- Polycrylic: A water-based alternative to polyurethane, ideal for light-colored paints as it doesn’t yellow over time.
- Wax: Provides a soft, matte finish but is less durable than polyurethane or polycrylic.
Choose a sealant that matches the type of paint you’ve used and the level of durability you need.
Application Methods
Applying sealant is similar to applying paint. Use a foam roller for large surfaces and a brush for edges and detailed areas. Apply thin, even coats and allow each coat to dry completely before adding another. Lightly sand between coats with fine-grit sandpaper for a smooth finish.
Step 8: Reassembling Your Cabinets
After the paint and sealant have dried completely, it’s time to reassemble your cabinets. This step brings your project to a satisfying close.
Reattaching Hardware and Doors
Reattach the hardware, doors, and drawers to your cabinets. Use the labels you made earlier to ensure everything goes back in the right place. This step can be a bit tedious, but taking your time will pay off in the end.
Ensuring Proper Functionality
Once everything is reassembled, check that the doors and drawers open and close smoothly. Adjust the hinges if necessary to ensure proper alignment. Congratulations, your cabinets should now look brand new!

Creative Refinishing Ideas
If you want to go beyond a simple paint job, there are plenty of creative ways to make your cabinets stand out. Here are some ideas to get you inspired:
Using Bold Colors
Don’t be afraid to use bold colors to make a statement. Bright blues, deep greens, or even black can add a modern, sophisticated touch to your kitchen.
Adding Decorative Stencils
Stencils can add a unique, personalized touch to your cabinets. You can find a variety of stencil designs online or at your local craft store. Use them to create patterns, shapes, or even words on your cabinet doors.
Mixing Paint Finishes
Mixing different paint finishes can add depth and interest to your cabinets. For example, you could use a matte finish for the cabinet doors and a glossy finish for the trim. This contrast can create a striking visual effect.
Maintaining Your Refinished Cabinets
Once your cabinets are refinished, you’ll want to keep them looking their best. Proper maintenance is key to ensuring they stay beautiful for years to come.
Cleaning Tips
Regular cleaning will help maintain the appearance of your cabinets. Use a gentle cleaner and a soft cloth to wipe down the surfaces. Avoid abrasive cleaners or scrubbers that can damage the finish.
Handling Chips and Scratches
Despite your best efforts, chips and scratches can happen. Keep some touch-up paint on hand to address any minor damage as soon as it occurs. This will help prevent further damage and keep your cabinets looking fresh.
Reapplying Sealant as Needed
Over time, the sealant on your cabinets may wear down. Reapply a fresh coat of sealant every few years to maintain their protection and durability. This simple step can extend the life of your refinished cabinets significantly.

Frequently Asked Questions (FAQ)
How long does the refinishing process take?
The entire process can take several days to a week, depending on the size of your kitchen and the drying times for primer, paint, and sealant. Patience is key to achieving the best results.
What are the best types of paint for laminate surfaces?
Acrylic latex paints are highly recommended for laminate surfaces due to their durability and ease of use.
Can I refinish my cabinets without sanding?
While it’s possible to use a deglosser or liquid sandpaper, sanding is the most reliable method to ensure proper adhesion of primer and paint. Skipping sanding can lead to peeling and chipping down the line.
How often should I seal my laminate cabinets?
It’s a good idea to reapply a fresh coat of sealant every few years to maintain protection and durability. Regular maintenance will keep your cabinets looking their best for longer.
Do refinished cabinets affect home value?
Yes, refinished cabinets can positively impact your home’s value. A fresh, updated kitchen is a significant selling point for potential buyers, and well-maintained cabinets contribute to the overall appeal.


Leave a Reply