Discover the Charm and Elegance of Refinished Clawfoot Tub
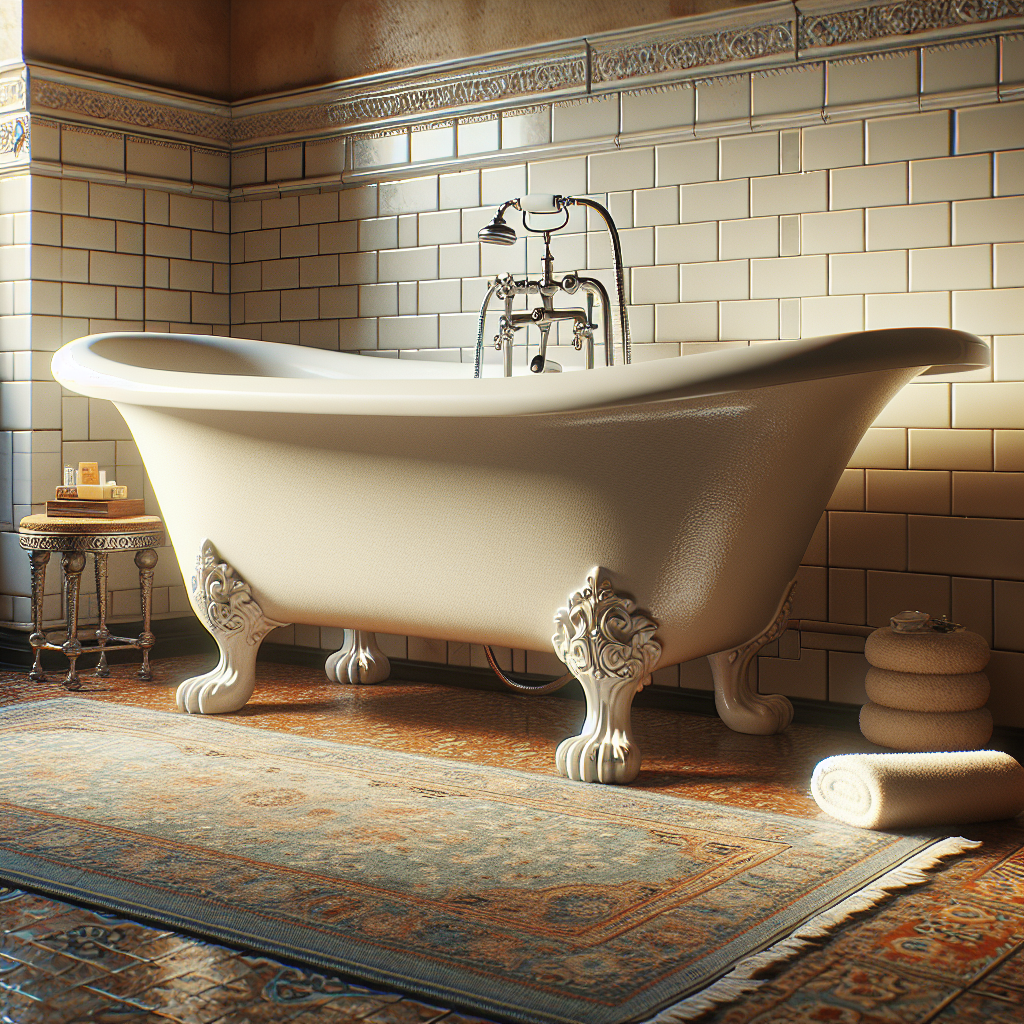
There’s something undeniably classic about a clawfoot tub. With its iconic shape and vintage allure, it can transform any bathroom into a sanctuary of relaxation. But over time, even the most cherished tubs show their age. Refinishing your clawfoot tub is not just about restoring its former glory; it’s about creating a centerpiece in your bathroom that stands the test of time.
Article-at-a-Glance: Key Points to Know Before You Start
-
Refinishing a clawfoot tub is a cost-effective alternative to replacement, especially for antique tubs.
-
Proper preparation is essential for a successful refinishing job.
-
Gather all necessary materials before beginning the project.
-
Removing old hardware is the first step.
-
A thorough cleaning before refinishing ensures the new finish adheres securely.
Why Choose to Refinish a Clawfoot Tub?
Choosing to refinish rather than replace your clawfoot tub has several advantages. It’s cost-effective, environmentally friendly, and allows you to retain the original charm that a brand-new tub simply can’t replicate. Plus, with the right approach, you can achieve results that are as stunning as any professional job.
-
Cost savings compared to buying new
-
Preservation of unique historical features
-
Customization options for a personalized look
-
Environmental benefits from reducing waste
-
Enhanced durability with modern refinishing techniques
Assessing Your Tub’s Current Condition
Before you start the refinishing process, take a good look at your tub. Check for chips, rust, and any other damage. Understanding the extent of wear and tear will help you plan out your refinishing project more effectively. Remember, a solid foundation is key to a flawless finish.
-
Look for visible signs of damage like chips and cracks
-
Inspect for rust, especially around the drain and faucet
-
Test the stability of the tub’s feet and overall structure
-
Evaluate the condition of the tub’s surface enamel
-
Consider the age of the tub and previous refinishing jobs
Preparatory Steps for a Successful Refinish
Good preparation is the secret to any successful DIY project. Before you dive in, make sure you have a clear workspace, all the necessary tools, and a plan to tackle the task ahead. This is the time to be thorough, as cutting corners now can lead to less-than-perfect results later.
Gathering Your Materials
Assemble all the materials and tools you’ll need for the refinishing process. From cleaners to sandpaper, primers to paints, having everything on hand will streamline your workflow and prevent unnecessary pauses in your project.
Cleaning and Initial Assessment
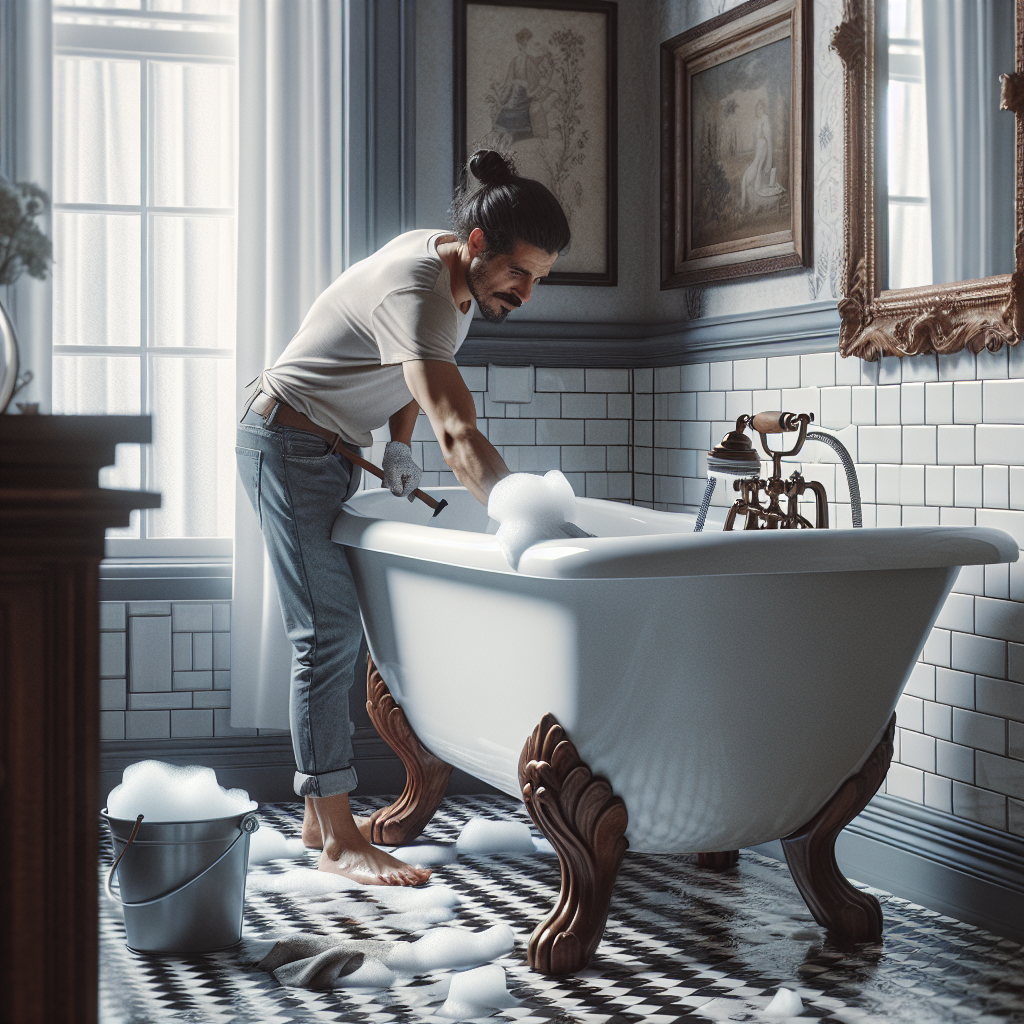
Start with a deep clean of your tub. Remove any soap scum, mineral deposits, or rust stains. This will not only give you a better idea of the tub’s condition but also ensure that any repairs or paints will adhere properly to the surface.
Repairing the Tub: Patching Up the Past
It’s time to address any damage your tub has sustained over the years. Small chips and cracks can be filled with a two-part epoxy or waterproof polyester filler. For larger areas of damage, you may need to use a more substantial repair kit. Patience and precision here will pay off in the long run.
-
Identify all areas in need of repair
-
Choose the right filler material for the job
-
Apply the filler carefully, following the manufacturer’s instructions
-
Sand the repaired areas for a smooth, even finish
-
Wipe down the tub to remove any dust or debris before moving on
Finding Flaws: Identifying Areas in Need of Repair
Inspect every inch of your clawfoot tub with a critical eye. Run your fingers along the surface; areas needing repair will often reveal themselves with a rough texture. Highlight these trouble spots with a piece of chalk or painter’s tape. This way, you won’t miss any imperfections that need your attention during the repair process.
Mix and Apply Filler Techniques
When it comes to fillers, precision is key. Mix your chosen filler according to the manufacturer’s directions until you have a consistent paste. Use a putty knife to apply the filler to the damaged areas, pressing firmly to ensure good adhesion. Feather the edges to blend seamlessly with the surrounding surface. Allow it to dry thoroughly before sanding down to a smooth finish.
Stripping Away the Old: Preparing for a New Beginning
Stripping the old finish off your tub can be a messy job, but it’s essential for a high-quality refinish. This step will remove layers of paint, rust, and any other residue that could prevent your new finish from adhering properly.
Choosing the Right Chemical Stripper
Select a chemical stripper that’s tough on paint but gentle on your tub’s material. Look for a product that’s specifically designed for use on porcelain and metal, to avoid damaging the tub’s surface. Follow the instructions carefully, applying the stripper evenly across the surface.
Safety First: Proper Ventilation and Protective Gear
Working with chemicals requires precautions. Ensure your workspace is well-ventilated, either by working outdoors or by using fans and open windows. Always wear protective gear, including gloves, goggles, and a respirator mask to shield yourself from harmful fumes and splashes.
Techniques for Stripping Paint and Rust
Apply the stripper liberally and give it time to work. Once the old finish begins to bubble and lift, use a scraper to gently remove the loosened material. For rust spots, a wire brush can be effective. Work systematically, starting from one end and moving to the other, to ensure you don’t miss any spots.
The Art of Sanding: Smoothing Your Canvas
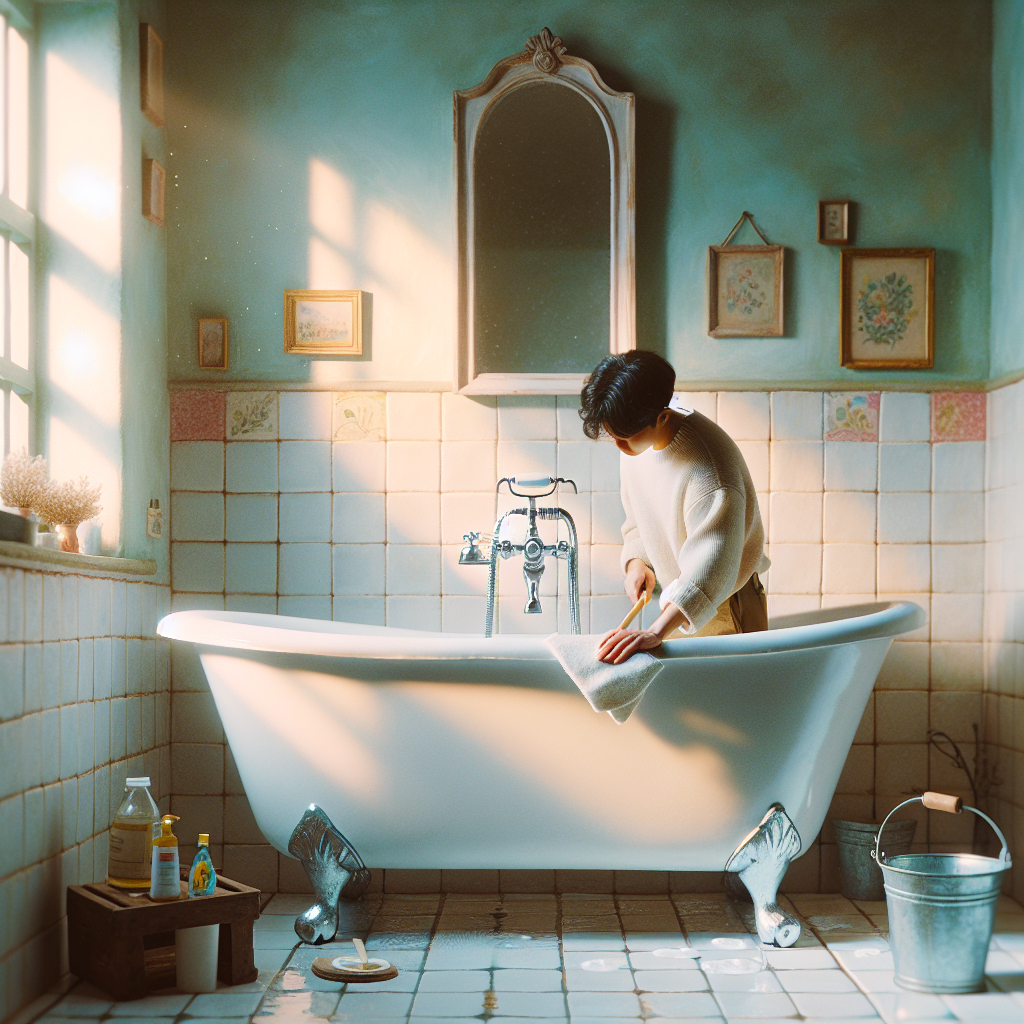
After stripping, sanding smooths out any remaining imperfections, creating the perfect base for your new finish. Start with a coarse grit to remove any stubborn residue and work your way up to a finer grit for a polished surface. Always sand in the direction of the tub’s contours to avoid creating scratches.
Different Grits for Different Needs
When sanding your clawfoot tub, it’s important to use the correct grit of sandpaper. Start with a coarser grit to tackle the rough areas and gradually move to finer grits for a smooth finish. Typically, you’ll begin with a grit around 60 to 80 for initial sanding, then progress to 120 to 180 for intermediate sanding, and finish with 220 to 320 for the final sanding before applying primer.
-
60-80 grit for removing old paint and rust
-
120-180 grit for smoothing out scratches and edges
-
220-320 grit for final sanding before priming
Sanding Techniques for an Even Surface
Sanding your tub evenly is crucial for a professional-looking finish. Use long, even strokes that go with the shape of the tub. Avoid pressing too hard, which can create grooves or uneven spots. For hard-to-reach areas, consider using a sanding sponge that conforms to curves and crevices. After each sanding phase, wipe down the tub to remove dust and check your progress.
Applying Primer: The Foundation of Durability
Primer is essential for ensuring the finish coat adheres properly and provides a durable surface. After your tub is clean and sanded, apply a high-quality primer designed for use on porcelain and metal. This will seal any repairs and create a uniform surface for the topcoat.
Selecting the Appropriate Primer
Choose a primer that’s specifically formulated for bathtubs and offers good adhesion and rust inhibition. An epoxy-based primer is often recommended for its durability and strong bond. Always read the manufacturer’s instructions to ensure compatibility with your tub’s material and the chosen finish coat.
Application Tips for an Uneven Surface
If your tub’s surface is uneven, apply the primer in thin, even coats to build up the surface gradually. Use a foam roller for a smooth application, and a brush for tight spots and details. Allow each coat to dry completely before applying the next, and lightly sand between coats if necessary.
The Main Attraction: Applying the Finish
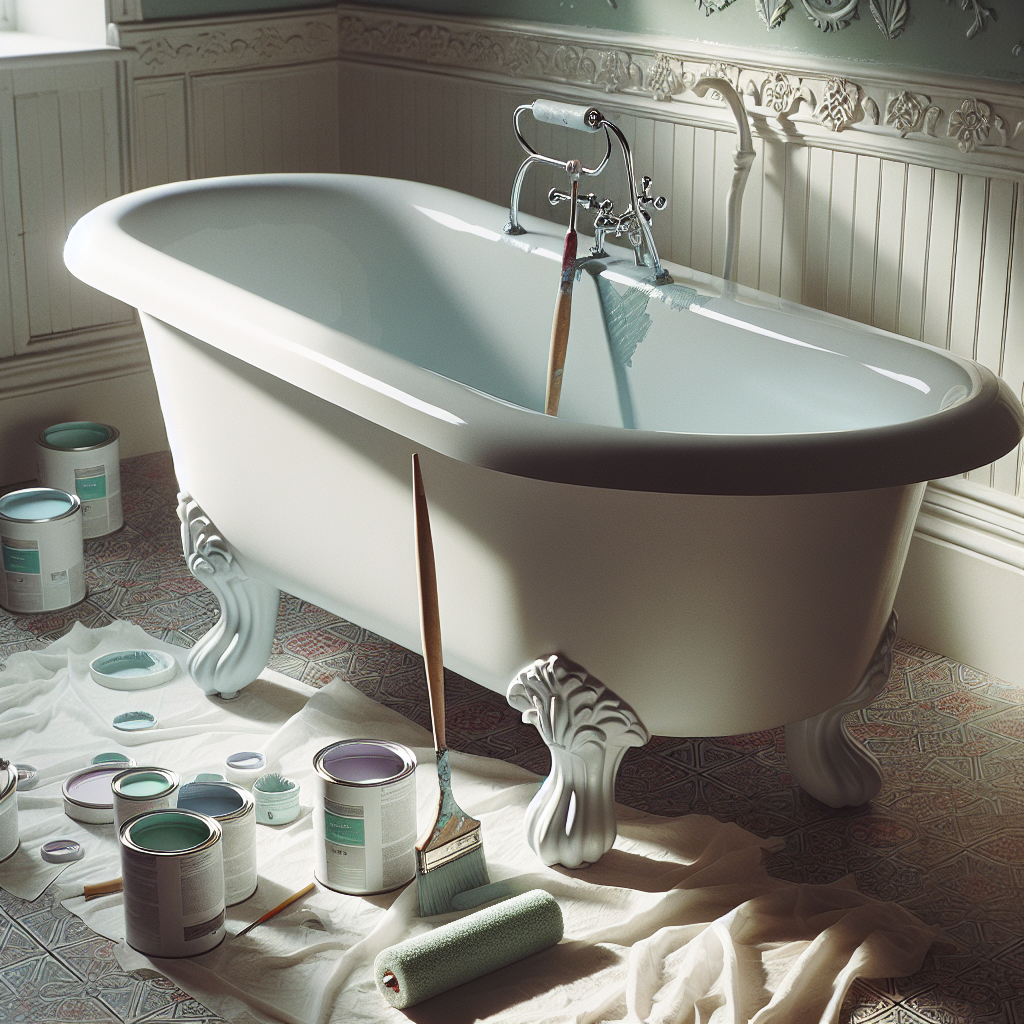
Now comes the transformative part of the process—applying the finish. This is where your tub gets its new look, whether you opt for a fresh coat of paint or a professional re-glazing.
Choosing Between Paint or Re-glazing
Painting your tub allows for a DIY approach and can be quite cost-effective. Use a high-quality acrylic urethane enamel paint that’s designed for bathtubs. For a more durable and high-gloss finish, re-glazing is the way to go, although it typically requires professional application. Consider your skill level, budget, and desired outcome when making your choice.
-
Painting is more budget-friendly and DIY-friendly
-
Re-glazing offers a more durable and professional finish
-
Consider longevity and usage when deciding between the two
Pro Tips for a Perfect Finish Coat
Applying the finish coat is like the grand finale of your refinishing project. To ensure a sleek and even coat, take your time and apply thin, even layers. If you’re painting, use a high-quality brush or sprayer for a smooth application. For those opting to re-glaze, make sure the room is well-ventilated and follow the product’s specific instructions closely. Allow ample drying time before using the tub to avoid any smudges or imperfections.
-
Apply multiple thin coats instead of one thick coat to avoid drips and runs
-
Use a tack cloth to remove dust between coats
-
Allow each coat to dry thoroughly before applying the next
-
If using a brush, opt for a high-quality angled brush to avoid brush marks
-
Consider using a sprayer for a more professional finish
Bonus Enhancements: Personal Touches
Once your tub is beautifully refinished, it’s time to add those personal touches that make it truly yours. From decorative feet to unique hardware, these final flourishes can turn a simple bathtub into the centerpiece of your bathroom.
Accents for Character: Clawfoot Detailing
Clawfoot tubs are known for their intricate feet, which can be highlighted to enhance their charm. Consider painting the feet a contrasting color or adding a metallic finish for a touch of elegance. You can also add decals or hand-painted designs to the sides of the tub for a custom look that reflects your personal style.
Hardware Upgrades for Function and Flair
Don’t overlook the impact of new hardware. Upgrading the faucet, showerhead, and drain can not only improve the functionality of your tub but also add to its overall aesthetic. Choose finishes that complement your bathroom’s theme, such as brushed nickel for a modern look or oil-rubbed bronze for a classic feel.
Everyday Care for Your Newly Refinished Clawfoot Tub
Now that your clawfoot tub is refinished, it’s important to maintain its beauty with proper care. Use non-abrasive cleaners to avoid scratching the surface, and rinse the tub thoroughly after each use to prevent soap scum build-up. Avoid using bath mats with suction cups, as they can damage the finish over time.
-
Clean with mild, non-abrasive cleaners
-
Rinse thoroughly to prevent soap scum and mineral deposits
-
Wipe dry after each use to maintain shine
-
Avoid bath mats with suction cups
-
Inspect regularly for any chips or damage that may need touch-ups
Frequently Asked Questions
Refinishing a clawfoot tub raises many questions, especially if you’re tackling the project for the first time. Here are answers to some of the most common queries.
How Long Does Refinishing a Clawfoot Tub Typically Take?
The duration of refinishing your clawfoot tub largely depends on the tub’s initial condition and the refinishing method you choose. Generally, the entire process can take anywhere from a weekend to a full week. This includes the preparation, repair, stripping, sanding, priming, painting or glazing, and drying times. Patience is key, especially during the drying phases, to ensure a hard and durable finish.
Can I Refinish My Clawfoot Tub Without Professional Help?
Absolutely! With the right tools, materials, and a step-by-step guide, you can tackle the refinishing of your clawfoot tub as a DIY project. It’s a hands-on task that requires attention to detail and safety precautions, particularly when handling chemicals or working with paint. If you’re comfortable with home improvement tasks and willing to invest the time, you can achieve a stunning result on your own.
What Are the Cost Benefits of Refinishing vs. Replacing?
Choosing to refinish your clawfoot tub can offer significant savings over replacement. A new high-quality clawfoot tub can be quite expensive, not to mention the additional costs for installation and potential bathroom remodeling to accommodate a new tub. Refinishing, on the other hand, allows you to keep your existing tub while still giving it a fresh, updated look. This can be especially cost-effective if your tub is an antique or unique in design.
How Often Should I Refinish My Clawfoot Tub?
With proper care and maintenance, a refinished clawfoot tub can maintain its shine and functionality for many years. Typically, a tub may require a new coat of finish every 10 to 15 years. However, this timeline can vary based on the frequency of use, the quality of the refinishing job, and how well the tub is maintained. Regular cleaning and avoiding abrasive materials will extend the life of your tub’s finish.
Is It Safe to Refinish a Clawfoot Tub in a Home Environment?
Refinishing a clawfoot tub at home can be done safely if you take the proper precautions. Ensure adequate ventilation to avoid inhaling fumes from chemicals and paints. Wear protective gear, including gloves, goggles, and a mask. Carefully follow all product instructions and safety warnings. With these measures in place, you can safely give your tub a new lease on life right in your own home.
In conclusion, refinishing a clawfoot tub is a rewarding project that can breathe new life into your bathroom. It’s a process that combines the satisfaction of DIY with the practical benefits of cost savings and customization. By following the steps outlined in this guide, you can transform your worn-out tub into a beautiful and durable centerpiece for your bathroom. Remember to take your time, work safely, and enjoy the process. Your clawfoot tub will thank you with many more years of service and style.


