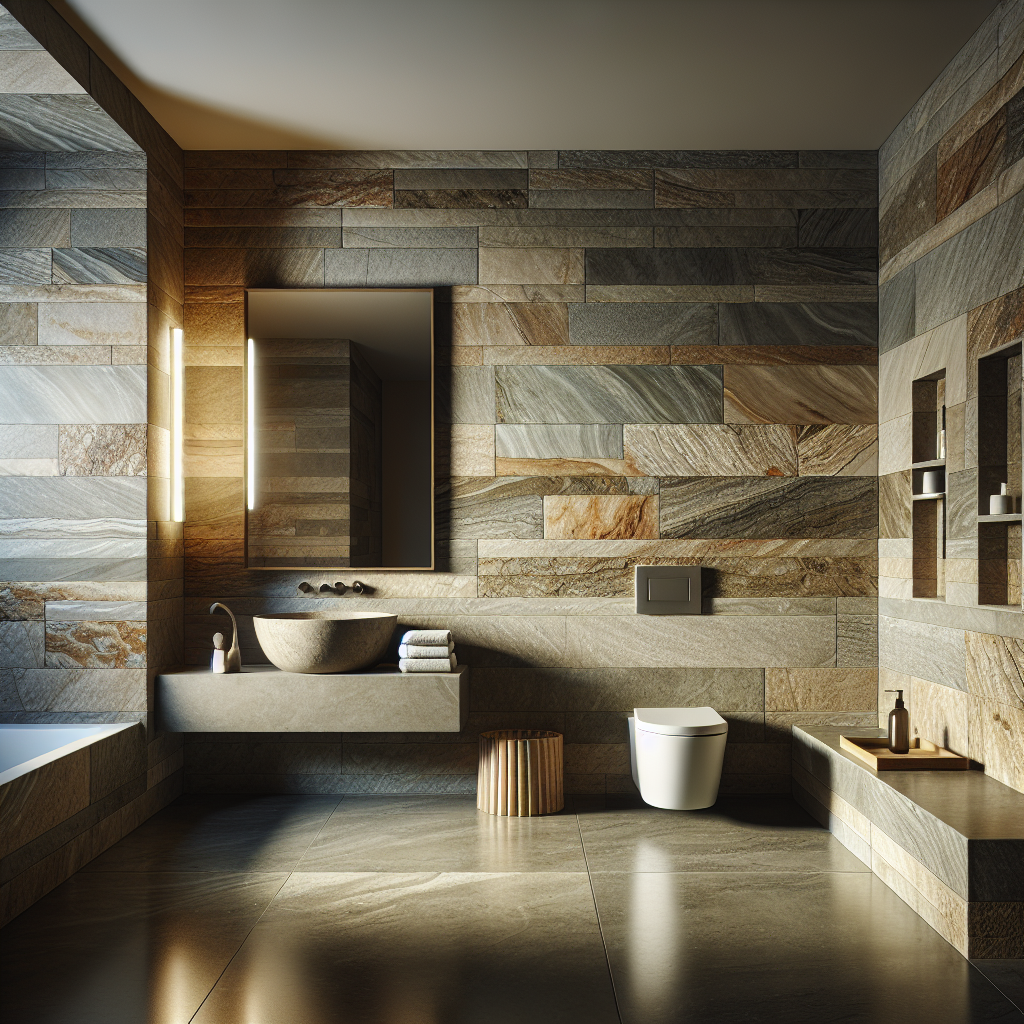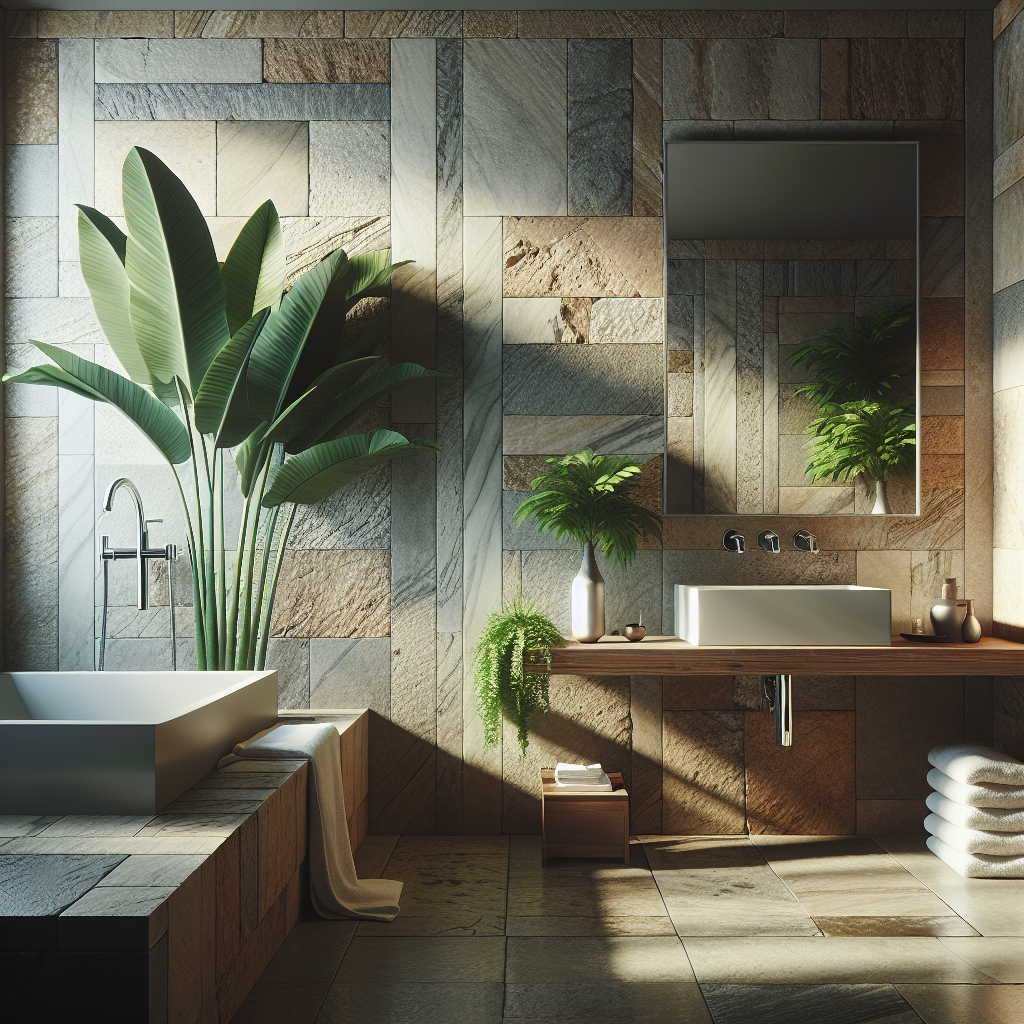
Key Takeaways
- Refinishing natural stone tiles enhances safety by reducing slip hazards and improving visibility.
- Preparation is critical: Clear the area, gather tools, and prioritize safety to ensure a smooth refinishing process.
- The step-by-step guide below helps you clean, repair, sand, polish, and seal stone tiles, making them look new and more accessible.
- Maintenance tips extend the life of your tiles and keep them safe and beautiful.
- For complex tasks, professional help might be necessary to ensure the best and safest results.
The Sparkling Renewal
Revitalizing your natural stone tiles isn’t just about aesthetics; it’s about creating a safer, more accessible environment in your home. Over time, stone tiles can become slippery, which poses a risk, especially for seniors and individuals with disabilities. By refinishing these surfaces, you can increase traction, reduce the chance of slips and falls, and ensure that the beauty of your home does not compromise safety.
The Value of Refinishing Your Stone Tiles
Refinishing your natural stone tiles is an investment in your home’s safety and accessibility. Not only does it restore the beauty and extend the lifespan of your flooring, but it also eliminates hazards that could lead to accidents. A well-maintained floor is a safer floor, and that’s paramount in homes where mobility might be a concern.
Tools of the Trade: What You’ll Need
Before diving into the refinishing process, let’s gather the necessary tools. You’ll need:
- Cleaning supplies (non-acidic, stone-safe cleaner)
- Repair materials (stone filler, if necessary)
- Sanding equipment (handheld sander or sanding pads)
- Polishing pads
- Stone sealer
- Safety gear (gloves, mask, eyewear)
Ensure you have everything on hand to avoid interruptions once you start the process.

Plunge into Preparation
Clear the Stage: Room and Tile Prep
First things first, clear the room. Remove furniture, rugs, and any obstacles to create a safe workspace. Next, inspect your stone tiles closely. Look for cracks, chips, or loose tiles that might need attention before you begin. This is also the time to clean your tiles thoroughly to remove any surface dirt or grime that could interfere with refinishing.
Safety First: Protective Measures
Safety is our priority. Wear gloves to protect your hands from cleaners and sealers, which can be harsh on the skin. Don a mask to avoid inhaling dust during sanding, and don’t forget eyewear to shield your eyes from flying debris. Remember, we’re creating a safe environment, and that starts with you being safe during the process.
The Refinishing Roadmap
Dirt Be Gone: Cleaning Your Tiles
Begin by giving your natural stone tiles a deep clean. Use a cleaner that’s formulated for stone to prevent damage. Avoid acidic cleaners, as they can etch the surface of your tiles. Apply the cleaner and use a soft-bristled brush to gently scrub the tiles. Rinse thoroughly with water and allow the tiles to dry completely before moving on to the next step.
Scratch and Chip Fix: The Repair Process
After your tiles are clean, it’s time to address any scratches, chips, or cracks. These imperfections can be more than just unsightly; they can also harbor bacteria and present tripping hazards. Use a stone filler that matches your tile color, applying it carefully to the damaged areas. Allow it to dry according to the manufacturer’s instructions before proceeding.
Smooth Moves: Sanding Surfaces
Once repairs are made, sanding smooths out the filler and the tile’s surface, ensuring a seamless finish. Begin with a coarse-grit sandpaper and progress to finer grits. This gradual process removes the excess filler and any remaining scratches, preparing the stone for the polishing phase. Remember to sand evenly to avoid creating dips or uneven surfaces that could lead to trips and falls.
During sanding, keep your work area well-ventilated. Dust from natural stone can be harmful if inhaled, so it’s important to keep the air clear to maintain a healthy environment. Wearing a mask is a good way to be extra careful

Gleam and Gloss: Polishing Tiles
Polishing is where the magic happens—it’s what brings out the shine and luster of your natural stone tiles. Using diamond polishing pads, start with a lower grit and work your way up to a high grit for a glossy finish. If you prefer a matte look, stop at a lower grit level. The key is to apply consistent pressure and to cover all areas evenly for a uniform shine that enhances visibility and safety in your space.
Lasting Shield: Sealing for Protection
The final step in the refinishing process is sealing. A quality sealer protects your stone tiles from stains and wear, prolonging their life and maintaining their slip resistance. Apply the sealer evenly, following the product’s instructions, and allow it to penetrate the stone. Once dry, buff the tiles to a beautiful sheen. This not only adds to the aesthetic but also ensures that the surface is easy to clean, reducing the risk of slips due to spills or debris.
Post-Refinishing Regimen
With your tiles now beautifully refinished, it’s important to maintain them properly to ensure they remain safe and accessible. Regular cleaning with the right products, prompt attention to spills, and periodic resealing will keep your tiles in top condition. Here’s how to care for your newly refinished stone tiles:
The Best Practices for Maintaining Stone Tiles
For daily maintenance, sweep or vacuum to remove loose dirt. Mop with a damp mop using a stone-safe cleaner, and dry the tiles to prevent water spots. Address spills immediately to prevent slipping hazards and potential staining. And don’t forget to reseal your tiles every one to two years, depending on foot traffic, to maintain their protective layer.
When to Call the Pros: Professional Maintenance Tips
While many aspects of stone tile care can be handled on your own, there are times when it’s best to call in a professional. If your tiles become deeply scratched, if the damage is extensive, or if you’re unsure about the type of stone you have, a professional can provide the expertise and equipment necessary to restore your tiles safely and effectively.
Remember, the goal is to create a safe and accessible home. Refinishing your natural stone tiles is a big step towards that goal, and with the right care, your floors will be a source of pride and safety for years to come.
Admiring Your Work: The Final Look
Once you’ve completed the refinishing process, take a moment to admire your handiwork. Your natural stone tiles should now be radiating with a renewed sense of beauty and safety. The enhanced traction and visibility will not only be a pleasure to look at but will also contribute to a safer living environment. It’s a job well done, ensuring that your home remains a sanctuary of both elegance and accessibility.

FAQ
After learning about the refinishing process, you might still have a few questions. Let’s address some common inquiries:
Can I refinish all types of natural stone tiles?
Most natural stone tiles can be refinished, including marble, granite, slate, and limestone. However, some softer stones, like soapstone, may require special care. It’s important to identify your stone type and research the best refinishing methods for that particular material.
How often should I reseal my natural stone tiles?
It’s generally recommended to reseal natural stone tiles every one to two years, but this can vary based on the level of foot traffic and the location of the tiles. Bathrooms and kitchens may require more frequent resealing due to higher exposure to water and spills.
Is it possible to remove deep scratches from stone tiles during refinishing?
Yes, deep scratches can often be removed during the refinishing process, particularly through the sanding and polishing stages. However, if the scratches are extremely deep, it might be necessary to replace the affected tiles or consult a professional for more intensive repairs.
Can I change the finish of my stone tiles from matte to glossy?
Yes, there are eco-friendly cleaners, sealers, and refinishing products available on the market. Look for products that are specifically labeled as non-toxic and environmentally friendly. Using water-based sealers instead of solvent-based ones is a greener choice, as well..
Creating a safe and beautiful home doesn’t have to be a daunting task. With this guide, you now have the knowledge and tools to successfully refinish your natural stone tiles. This not only uplifts the look of your home but also enhances its safety and accessibility. Remember, a well-maintained home is a safer home. So, roll up your sleeves and give your stone tiles the love and care they deserve.


