Key Takeaways
- Cherry hardwood floors add warmth and elegance to any home and can be refinished by following a step-by-step process.
- Preparation is key – gather all necessary materials and ensure safety equipment is on hand before beginning.
- Start with assessing the condition of your floors to determine the extent of the refinishing needed.
- Sanding is the most labor-intensive part, but it’s essential for a smooth, even finish.
- Choose your stain and finish wisely, as they will define the final look and durability of your floors.
Revive Your Cherry Hardwood Floors
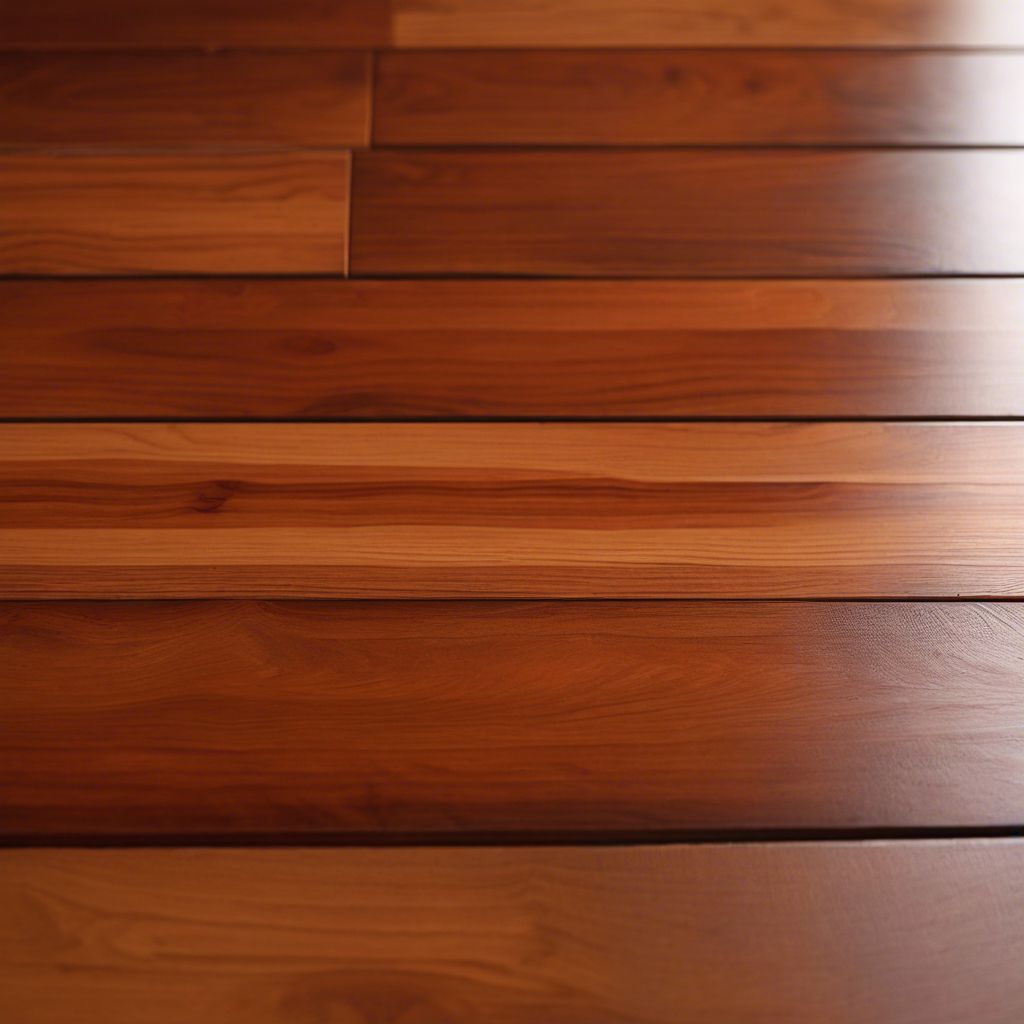
Cherry hardwood floors are a standout choice for homeowners looking to inject a touch of class into their interiors. With their rich, warm tones and fine grain, cherry floors are not just flooring; they’re a statement piece. But over time, even the finest hardwoods need a little TLC. That’s where refinishing comes into play, and guess what? You can absolutely do it yourself. Let’s walk through how to bring back the luster to your cherry hardwood floors.
Breathe New Life into Old Floors
Refinishing your hardwood floors is a great way to revitalize the look of your home. A successful DIY refinishing project can breathe new life into old floors, making them look as good as new without the expense of a complete replacement.
Before you start envisioning your refreshed floors, let’s be clear: this project is about giving your floors a second chance at life. It’s about stripping away years of wear and tear to reveal the untouched beauty beneath. And the best part? You’re in control of the transformation. With a bit of elbow grease and the right guidance, you’ll be amazed at what you can achieve.
DIY vs Professional Refinishing
Why go DIY with your floor refinishing? For starters, it’s empowering. There’s a sense of pride that comes with transforming your own space with your own hands. Plus, it’s cost-effective. You’ll save a pretty penny by doing the work yourself. But remember, this isn’t a race. Take your time to ensure the job is done right, and you’ll be standing on a masterpiece that’s all your own making.
Perks of DIY Refinishing
- Empowerment: Taking on the project yourself can be incredibly rewarding.
- Cost Savings: DIY refinishing is generally less expensive than hiring professionals.
- Personalization: You have complete control over the stain and finish to match your personal style.
Of course, if you’re not the hands-on type or you’re short on time, hiring a professional is a great option. They bring expertise and efficiency to the table.

Gathering Your Materials and Tools
It’s important to gather all the necessary tools before you begin the process of refinishing your cherry hardwood floors. You’ll need items such as sanders, brushes, and safety equipment.
Essential Tools for the Job
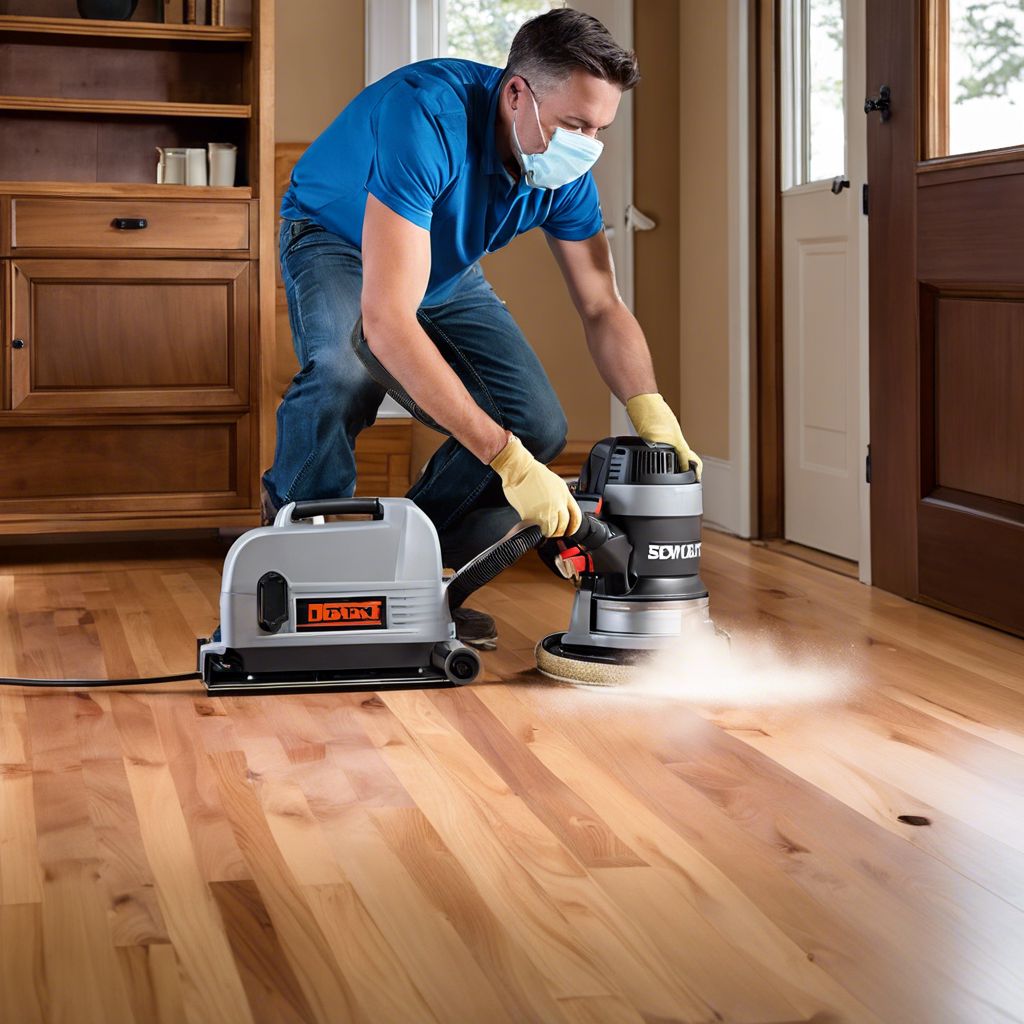
Before you dive in, you’ll need to round up some tools. A drum sander is your best friend for tackling the main expanse of the floor, while an edge sander will help you get right up to the baseboards. Don’t forget about a hand sander for those hard-to-reach spots. And sandpaper? You’ll need various grits, from coarse to fine, to progressively smooth out the floor.
Safety Equipment
Safety first! Refinishing floors is a dusty business, and the fumes from stains and sealants can be harsh. So gear up with a dust mask or respirator, safety goggles, and ear protection. Long sleeves and gloves will also protect your skin from chemicals and splinters. Trust me, your future self will thank you for taking these precautions.
Pre-Refinishing Preparations
Before you start sprucing up those cherry hardwood floors, let’s chat about some prep work that’ll make all the difference. These initial steps are key to ensuring your floors shine like new. From assessing your floors to making sure the area around them is safe, taking care of these details sets you up for a beautiful restoration project.
Assessing Floor Condition
Take a good, long look at your floors. Are they mildly scratched, or are you seeing deep gouges? Is there water damage? These factors will determine how much sanding you’ll need to do. If the damage is superficial, a light sanding might suffice. But for more serious wear, you’ll need to be more aggressive. And if the boards are warped or cracked, they may need to be replaced before you start refinishing.
Clearing the Area
Clearing the room is more than just moving furniture. It’s about creating a blank canvas for your work. Seal off the room with plastic sheeting to keep dust contained, and don’t forget to cover vents to prevent dust from spreading through your home. This step isn’t just about cleanliness; it’s about setting the stage for a successful refinishing project.

Refinishing Cherry Hardwood Floor Steps
With the prep work done, it’s time to roll up your sleeves and dive into the heart of the project. Refinishing your floors is a step-by-step process, and while it might be a bit time-consuming, the results are more than worth it.
Step 1: Cleaning
Even though you’ll be sanding off the old finish, you want to start with a clean floor. Any dirt or grime can gum up your sandpaper and make the job harder. So, sweep up, vacuum, and then damp-mop with a hardwood floor cleaner. Make sure the floor is completely dry before you start sanding. This step ensures that you’re not grinding any dirt into the wood as you go.
It’s also a good time to look for any protruding nails or staples that could catch on your sandpaper or damage the sander. A quick pass with a nail set can save you a lot of trouble down the line.
Step 2: The Sanding Saga
Now, let’s tackle the beast—sanding. It’s loud, it’s messy, but it’s also incredibly satisfying. You’ll see years of wear disappearing before your eyes. Start with a coarse grit sandpaper to remove the old finish and any scratches or stains. Work your way up to a finer grit to smooth everything out. Always sand in the direction of the wood grain to avoid scratches that are harder to remove.
As you sand, you’ll notice the old, dull finish giving way to the raw beauty of the cherry wood underneath. It’s a transformation in progress. Keep your sander moving to avoid gouging the wood, and don’t skip grits—you’ll regret it if you do.
After the initial pass with the coarse grit, switch to a medium grit sandpaper and repeat the process. The goal is to refine the smoothness of the floor, getting rid of any scratches left by the coarse paper. Finish with a fine grit for a surface that’s smooth as glass. And remember, after each sanding, vacuum and wipe down the floor to remove all the dust.
Starting with the Right Grit
When you’re picking out sandpaper, think of Goldilocks—you want something that’s just right. If you start too fine, you’ll be sanding till the cows come home. Too coarse, and you might damage the wood. Typically, you’ll begin with a 36 or 40 grit for the initial pass. This rough abrasive strips away the old finish without mercy, which is exactly what you want.
Mastering the Sanding Technique
There’s an art to sanding, believe it or not. Keep the sander moving at a steady pace—too slow, and you risk gouging; too fast, and you won’t remove enough of the old finish. And always sand with the grain of the wood. Cross-grain sanding is a cardinal sin in the world of refinishing. It leaves scratches that are as tough to remove as a bad tattoo.
Step 3: Staining for Success
Once you’ve sanded down to bare wood, it’s time to stain. But before you pop open that stain can and go to town, do a test patch in an inconspicuous area. Cherry wood can be unpredictable with stain, and you want to make sure you love the color before committing. Apply the stain with a rag or brush, working in sections and wiping off any excess as you go.
Staining not only enhances the beauty of the wood but also provides an opportunity to change the color of your floors. Want a modern twist? Go for a darker stain. Prefer to keep it classic? A lighter, natural tone might be your pick. The choice is yours, and that’s the beauty of DIY.
Selecting the Perfect Stain
Choosing the right stain is like picking out the perfect outfit—it sets the tone. Do you want to highlight the natural reddish hue of the cherry wood, or are you aiming for something bolder or more subdued? Water-based stains dry quickly and are low-odor, but oil-based stains penetrate deeper and last longer. Take your pick based on your time constraints and desired look.
Application Tips for an Even Coat
For a flawless stain application, start by stirring the can thoroughly—don’t shake it, as that can create bubbles. Apply the stain with a brush or rag in long, even strokes, following the wood grain. Work in manageable sections, and always maintain a wet edge to avoid lap marks. After a few minutes, wipe off any excess stain with a clean rag. This will prevent blotchiness and ensure an even color.
Step 4: The Finishing Touch: Sealing
Now for the grand finale: sealing your beautifully stained cherry hardwood floors. A sealant protects your hard work from scratches, spills, and everyday wear and tear. It’s the invisible shield that keeps your floors looking great for years to come. You’ll want to choose a sealant that complements your lifestyle. If you have pets or kids, go for something tough like a polyurethane. If you’re all about that natural look and feel, a penetrating oil might be more your speed.
Choosing a Sealant
After staining, it’s essential to lock in that color and protect the wood with a sealant. Think of it as the guardian of your floors, keeping them safe from the scuffs and spills of daily life. Water-based polyurethane is a popular choice because it dries fast and keeps its clear color. Oil-based polyurethane, on the other hand, adds a bit of a golden glow and is known for its durability. Whichever you choose, make sure it’s compatible with your stain and suited to your home’s traffic levels.
Application Tips for a Smooth Finish
Applying the sealant requires a steady hand and a keen eye. Start at the farthest corner of the room and work your way back towards the exit. Use a high-quality brush or a lambswool applicator for a smooth, bubble-free layer. Apply thin coats rather than a single thick one—this will ensure a faster drying time and a more even finish. Between coats, lightly sand with a fine-grit sandpaper to knock down any bumps or raised grain. The result? A floor that’s not just beautiful, but also built to last.

Maintaining Your Masterpiece
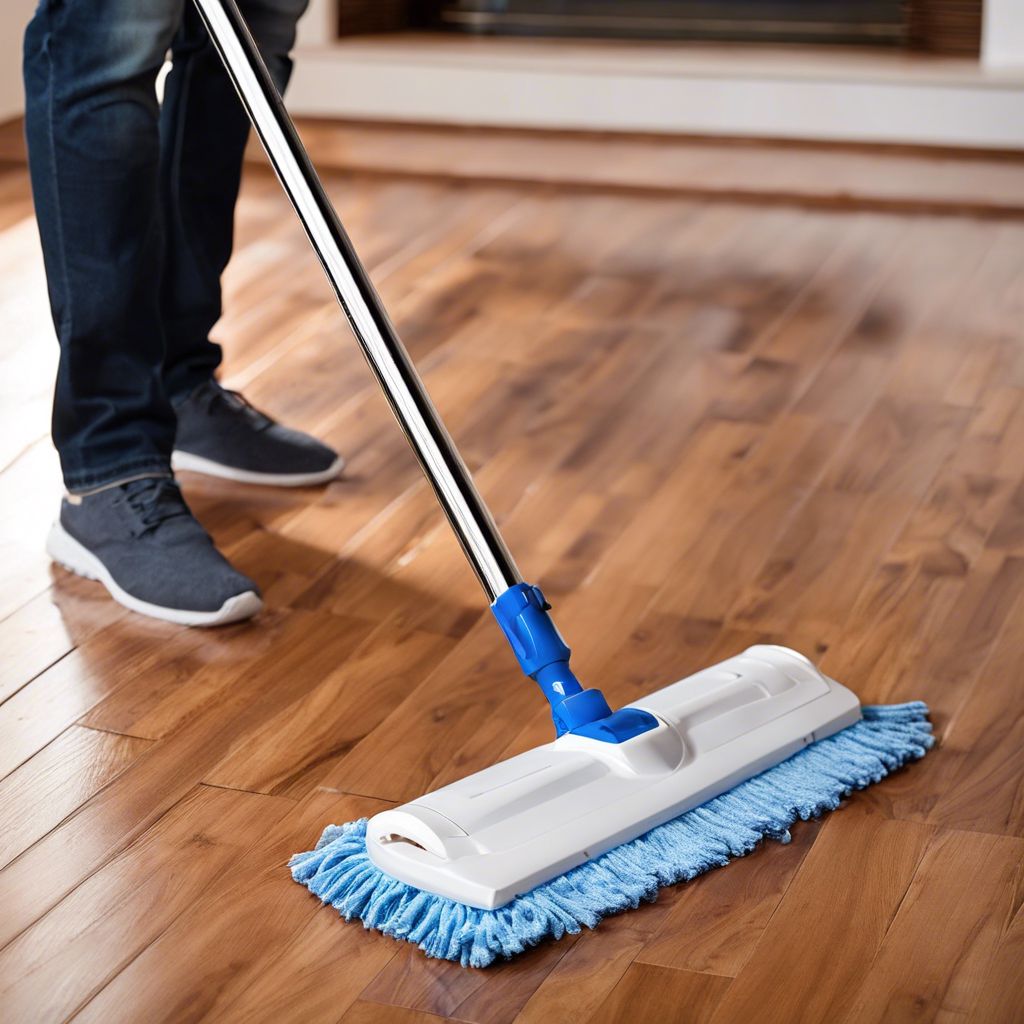
Once the sealant is dry and you’ve moved all your furniture back, it’s time to think about maintenance. Cherry hardwood floors are like fine wine—they get better with age, but only if you treat them right. Regular cleaning with a soft broom or microfiber mop will keep them looking sharp. And for those inevitable spills, wipe them up quickly to prevent water damage.
Regular Cleaning Habits
Set a cleaning routine that works for you and stick to it. Dry dust or sweep daily, and for a deeper clean, use a damp mop with a cleaner specifically made for hardwood floors. Avoid using water directly on the floor, as it can seep into the seams and cause damage. And every so often, give your floors a little extra love with a professional hardwood cleaner to keep them shining.
Protecting the Surface
It’s not just about cleaning—protection is key. Use felt pads under furniture legs to prevent scratches, and consider area rugs in high-traffic zones. But be careful with rubber-backed or non-ventilated rugs; they can trap moisture and discolor your floor. And remember, direct sunlight can fade cherry hardwood over time, so use curtains or UV-protective window coatings to keep those rays at bay.

Frequently Asked Questions (FAQ)
How often should cherry hardwood floors be refinished?
It really depends on the wear and tear they see. Most cherry hardwood floors need a refresh every 7 to 10 years. But if you take good care of them and follow a solid maintenance routine, you might be able to stretch that to 15 years or more.
Can deep scratches be sanded out of cherry hardwood floors?
Yes, most of the time, you can sand out deep scratches. But it’s important to be realistic—if the scratch has penetrated too deep, sanding might not be enough, and you may need to replace the affected boards.
Is it necessary to stain cherry hardwood floors after sanding?
Not always. If you love the natural color of cherry wood, you can skip the stain and go straight to sealing. But if you’re looking to change up the color or even out the tone, staining is the way to go.
What are the best products to use for finishing cherry hardwood floors?
Look for high-quality, durable products designed for hardwood floors. Water-based polyurethanes are great for a crystal-clear finish, while oil-based products will add a warm amber hue. Whichever you choose, make sure it’s rated for the level of traffic in your home.
How can I prevent my cherry hardwood floors from fading?
To keep your cherry floors from fading, limit their exposure to direct sunlight. Use window coverings or UV-protective window films, and rotate rugs and furniture periodically to allow for even aging. Regular maintenance and re-coating with a UV-inhibiting sealant can also help protect your floors from the sun’s rays.
Refinishing your cherry hardwood floors can significantly improve the look and feel of your home. This step-by-step guide will help you understand the process and give you the tips you need to get started. Whether you’re dealing with years of wear and tear, or you just want to update the stain color, refinishing can bring new life to your floors. With the right tools and a little bit of elbow grease, you can achieve professional-looking results on your own.


Leave a Reply