Key Takeaways
- Prepping your MDF cabinets is essential for a durable finish.
- Use a high-quality primer specifically designed for MDF to prevent swelling and ensure a smooth base.
- Choosing the right paint can make or break the final look of your cabinets.
- Sealing your painted cabinets protects them from wear and moisture.
- Regular maintenance will keep your refinished cabinets looking fresh for years to come.
Revamp Your Space with MDF Cabinet Makeover
Ready for a kitchen makeover without the hefty price tag? Refinishing your MDF cabinets can breathe new life into your space and unleash your inner creativity. With some patience and the right approach, you’ll transform your kitchen into a room that feels brand new. Let’s roll up our sleeves and dive into the world of DIY MDF cabinet refinishing.
Choosing Your Style and Finish
First things first, envision the final look of your cabinets. Do you want a sleek, modern gloss or a cozy, matte finish? Your choice will set the stage for the materials you’ll need and the effort involved. Remember, the finish isn’t just about looks; it’s also about practicality. Glossy finishes tend to be easier to clean but show fingerprints more readily, while matte finishes can conceal imperfections better but may require more upkeep.
Gathering Your Materials
Before you start, make sure you have everything on hand:
- High-grit sandpaper or a sanding block
- Quality MDF primer
- Paint – oil-based or acrylic latex
- Sealant – polyurethane or polycrylic
- Paintbrushes and rollers
- Clean cloths and tack cloth
- Protective gear – gloves, mask, and eyewear
Choosing the right materials is half the battle. Opt for a primer and paint that are formulated for MDF, as this will ensure the best adherence and a smoother finish. Don’t skimp on quality here; better materials translate to a finish that lasts longer and looks more professional.

DIY Refinishing MDF Cabinet Steps
Now that you’ve got your vision and your materials, let’s walk through the steps to transform your cabinets.
Step 1: Prepping Your MDF Cabinets
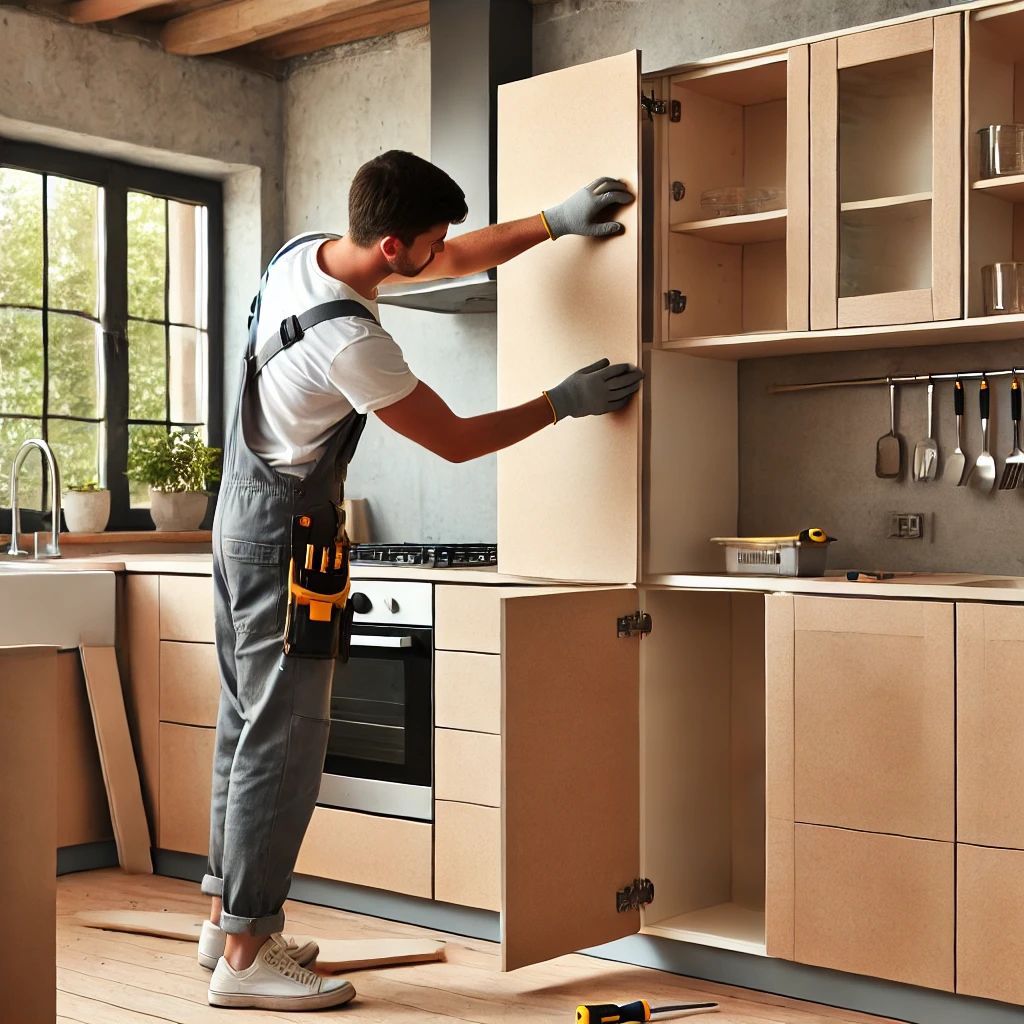
Start by removing all the hardware from your cabinets. Take off the doors and drawers, and label them if necessary to ensure they go back in the right place. A simple piece of masking tape with a number or letter can save you a headache later on.
Step 2: Cleaning
Clean the surfaces with a mild detergent or degreaser to remove any grease or grime. This step ensures that your primer and paint adhere properly. After degreasing, wipe down every surface with a damp cloth to remove any dust or debris. Allow the cabinets to dry completely before proceeding to the next step.
Step 3: Sanding Surfaces
Now, let’s smooth things out. Sanding is essential for getting rid of any bumps or imperfections. It also gives the primer something to grip onto. Lightly sand the surfaces of the cabinets with fine-grit sandpaper (around 120 to 220 grit) to smooth out any rough areas and create a slightly rough texture for better paint adhesion. Wipe away any dust with a tack cloth.
Step 4: Handling Damages and Imperfections
During this step, it’s all about giving those cabinets a little TLC. Carefully check for any dents, scratches, or gouges, and then use wood filler or spackling compound to patch them up. After letting the filler dry completely, gently sand it down to make everything nice and smooth. This way, when you add the paint, it goes on like a dream, leaving your cabinets looking fresh and fabulous.
Step 5: Priming for Perfection
Here’s where you lay down the groundwork for a flawless finish. Carefully apply a high-quality primer designed specifically for MDF surfaces, ensuring every nook and cranny is covered. The primer not only helps the paint adhere better but also seals the surface, preventing any stains or imperfections from peeking through.
Selecting the Right Primer
Not all primers are created equal, especially when it comes to MDF. You’ll want to use a solvent-based primer that’s designed to seal the porous surface of MDF. This type of primer will prevent moisture from seeping in and causing swelling or warping. Remember, water is the enemy of MDF, so make sure the primer you choose says “MDF” on the label.
A good quality primer will also make your color coat look more vibrant and even. It might be tempting to skip this step to save time, but trust me, applying primer is the secret to professional-looking results. It’s the foundation that holds everything together.
Applying Primer Evenly
Once you’ve chosen your primer, it’s time to apply it. Use a foam roller for larger flat surfaces and a brush for edges and hard-to-reach areas. Work in light, even coats to prevent drips and ensure a smooth surface. It might take a couple of coats to fully seal the MDF, so be patient and let each coat dry completely before applying the next.
After the primer has dried, take a moment to lightly sand the surface one more time. This will knock down any raised fibers and help create an ultra-smooth finish for your paint to glide onto.
Step 6: Adding Color to Your MDF Cabinets
Now comes the fun part – adding color! Whether you’ve chosen a bold hue to make a statement or a classic shade for timeless elegance, the application process is key. Stir your paint thoroughly to ensure the color is evenly mixed and pour it into a paint tray.
Use a high-density foam roller for the smoothest finish. Start with the back of the cabinet doors, applying paint with the roller in long, even strokes. If you’re using a brush for the edges, feather out the edges to blend with the rolled areas. This will help avoid any visible lines where the brush and roller meet.
Choosing the Right Paint Type
The type of paint you choose can have a big impact on the final look and durability of your cabinets. For MDF, oil-based paints are a great choice because they dry harder and are more durable. However, they can be a bit trickier to work with and require mineral spirits for cleanup. If you prefer something less fussy, water-based acrylic latex paints are easier to handle and clean up with just soap and water.
Regardless of the type, go for a semi-gloss or gloss finish for cabinets. These finishes are easier to clean and more resistant to the wear and tear of kitchen life.
Techniques for a Smooth Paint Job
Applying paint smoothly is all about technique and the right tools. Here are some tips:
- Don’t overload your roller or brush – it can cause drips and uneven texture.
- Apply multiple thin coats rather than one thick coat. This builds up a stronger finish and avoids sagging paint.
- Let each coat dry thoroughly. Rushing leads to sticky, tacky cabinets that don’t last.
Patience is your best friend during this stage. The time you invest now will pay off when you see the flawless finish.
Step 7: Sealing and Protecting Your Work
After the paint has dried, it’s time to seal and protect your handiwork. This step is important for kitchen cabinets, which have to withstand daily use and frequent cleaning.
Choose a clear polyurethane or polycrylic topcoat for the job. These sealants will protect your cabinets from scratches, chips, and stains, and they come in various sheens so you can match the finish of your paint or choose one that adds a different effect.
Deciding on a Protective Finish
When selecting a topcoat, consider the following:
- Satin finish: Offers a soft sheen and is less reflective than gloss. It’s good for hiding imperfections.
- Semi-gloss finish: Has a bit more sheen and reflects more light. It’s durable and easy to clean.
- Gloss finish: Highly reflective and gives a shiny, glass-like finish. It’s the most durable but also shows imperfections more easily.
Most importantly, make sure your sealant is compatible with the paint you’ve used. Oil-based over oil-based, water-based over water-based, to avoid any reactions that could ruin your finish.
Applying Topcoat for Durability
Applying the topcoat is similar to painting – use a clean foam roller and brush for edges. Work in thin, even coats, and sand lightly between coats with high-grit sandpaper for the smoothest result. Usually, two coats of topcoat are enough, but if your cabinets get a lot of use, consider a third for extra protection.
Let your cabinets cure for a few days before reattaching hardware and hanging doors. This waiting period is hard, especially when you’re excited to see the finished product, but it’s essential for a hard-wearing finish.

Post-Refinishing Maintenance Tips
Now that your cabinets are looking fabulous, let’s talk about keeping them that way. Maintenance is simpler than you might think. Regular cleaning with a gentle cleaner will keep them looking new. Avoid harsh chemicals or abrasive materials that can damage the finish. For touch-ups, keep a small amount of the paint you used on hand to quickly fix any chips or scratches.
Here’s a quick checklist to help you maintain your refinished cabinets:
- Wipe spills and splatters promptly to prevent staining.
- Use a soft cloth or sponge for cleaning.
- Avoid excessive water exposure, especially on cabinet edges and near sink areas.
- Touch up any wear and tear immediately to prevent further damage.
- Every few months, check the hardware to ensure it’s tight and secure.
Remember, the longevity of your cabinets largely depends on how well you take care of them after refinishing. Treat them well, and they’ll stay looking sharp for a long time.

Frequently Asked Questions
Can MDF Cabinets Be Sanded?
Yes, MDF cabinets can be sanded, but it requires a delicate touch. Use fine-grit sandpaper and sand lightly to avoid damaging the surface. The goal is to create a smooth base for the primer and paint, not to sand away the cabinet itself.
Remember to always sand in the direction of any grain pattern to maintain a uniform appearance. And don’t forget to clean the dust off thoroughly before moving on to priming.
What Primer Should I Use for MDF?
For MDF, it’s best to use a solvent-based primer that’s specifically designed for MDF. These primers seal the porous surface well and create a smooth base for painting. Look for products labeled as “MDF primer” or “shellac-based” for the best results.
How Many Coats of Paint Are Recommended for MDF?
Typically, two to three thin coats of paint will give you the best finish. It’s important to let each coat dry thoroughly before applying the next. This builds up a strong, even finish without the risk of the paint peeling or chipping easily.
Is It Necessary to Seal Painted MDF Cabinets?
Sealing your painted MDF cabinets with a clear coat of polyurethane or polycrylic is highly recommended. This extra layer protects your cabinets from moisture, scratches, and the wear and tear of daily use. It’s a step you shouldn’t skip if you want your cabinets to last.
How Do I Avoid Paint Chips on MDF?
To avoid paint chips, make sure you prep the MDF properly by sanding and cleaning before priming and painting. Use high-quality paints and apply them in thin, even coats. Finally, seal the paint with a good quality sealant to protect it from chipping.


Leave a Reply