Key Takeaways
- Refinishing a granite fireplace can be a cost-effective way to update your living space.
- Proper preparation is essential for a successful refinishing project.
- Choosing the right primer and paint is important for durability and heat resistance.
- Step-by-step instructions make the refinishing process manageable, even for beginners.
- Maintenance tips will help preserve your fireplace’s new look for years to come.
Appreciating the Aesthetic Allure of Granite
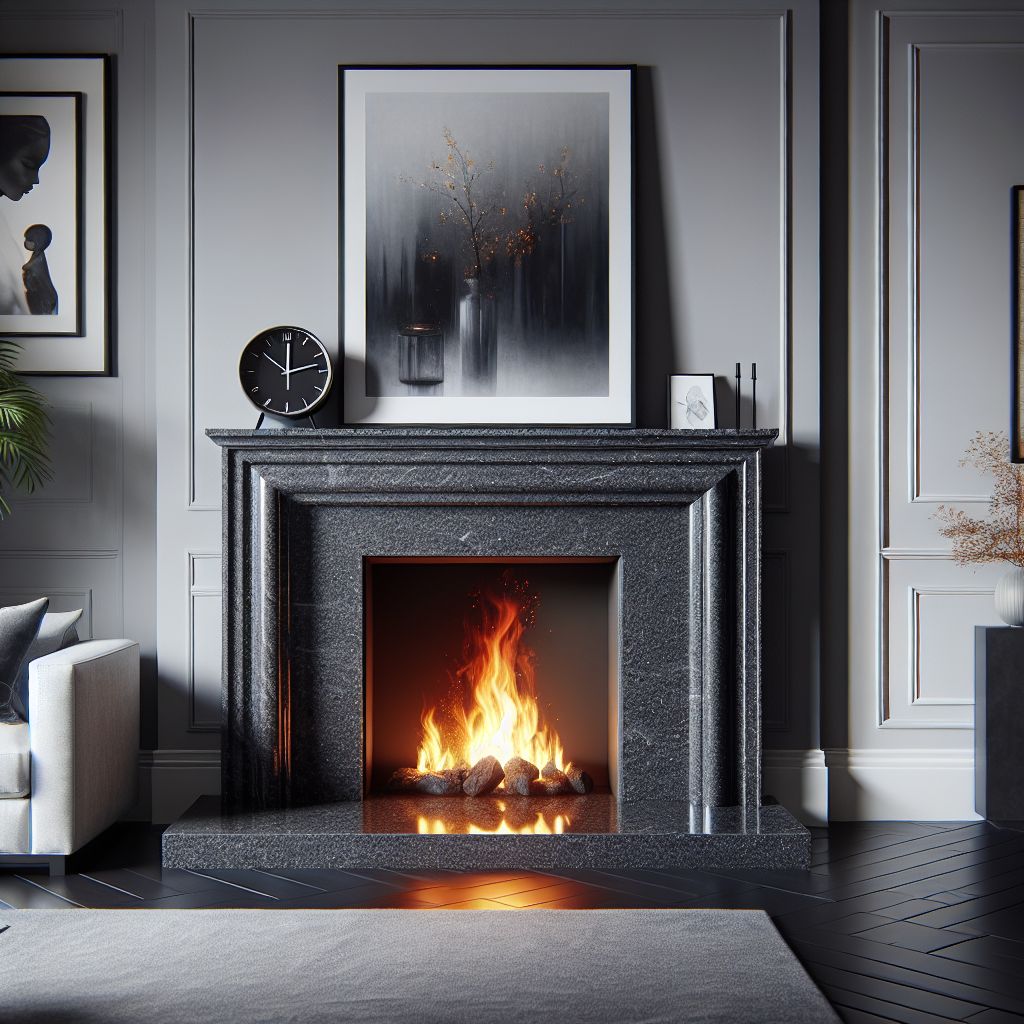
Known for its durability and timeless beauty, granite is a popular choice for fireplace surrounds. It withstands heat remarkably well, making it perfect for the hearth. But, over time, even granite can show signs of wear or become outdated in style. Refinishing your granite fireplace can give it a fresh, modern look without the need for a complete overhaul.
Perks of Refinishing Your Granite Fireplace
Refinishing your granite fireplace offers several benefits. It’s cost-effective compared to replacing the entire surround, and it allows you to customize the look to match your current decor. Plus, it’s an eco-friendly option, as it minimizes waste by repurposing the existing materials.
Warm Up Your Hearth: A Granite Fireplace Makeover
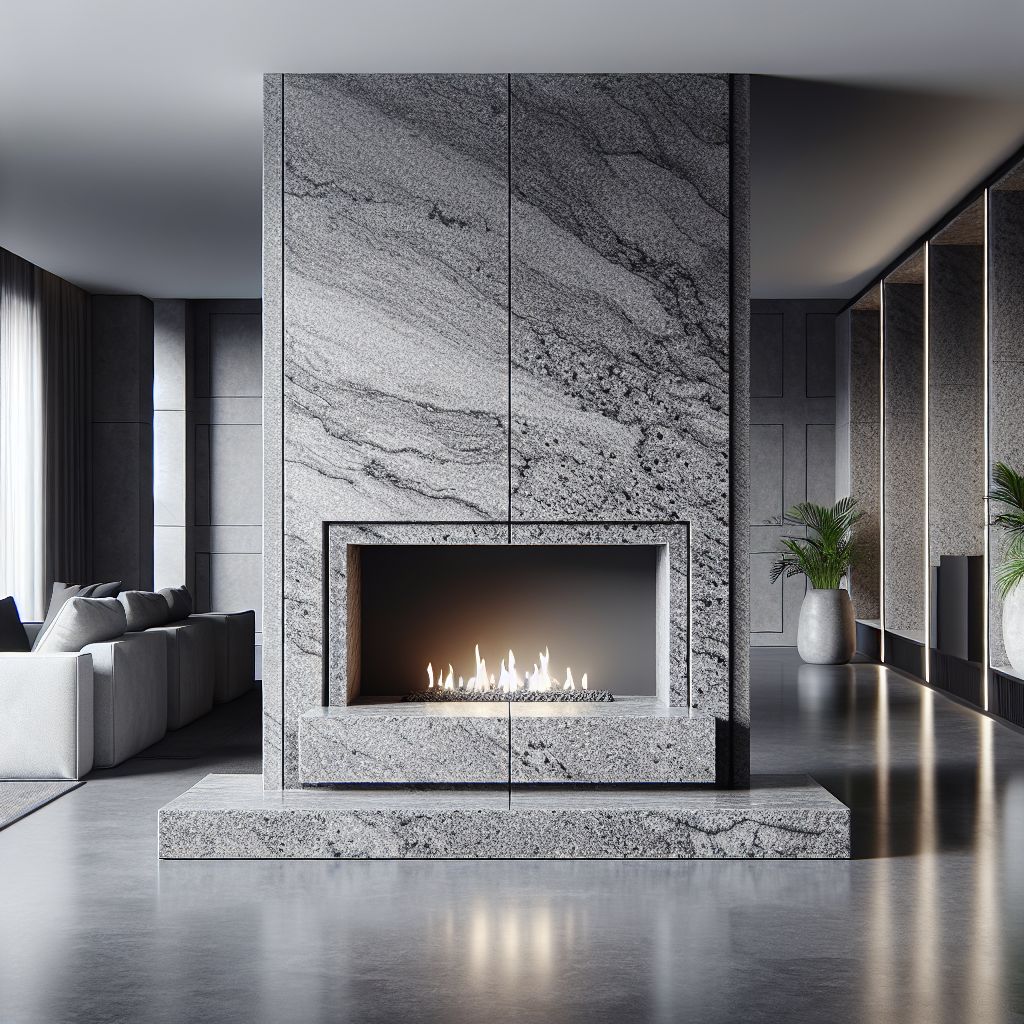
A fireplace makeover can be the centerpiece of your room’s transformation. The right finish can turn an ordinary space into a cozy retreat or a sleek and modern focal point. Let’s get started on breathing new life into your granite fireplace.
Gather Your Supplies
Before we roll up our sleeves, let’s make sure we have everything we need:
- Cleaning supplies (mild detergent and a soft brush)
- Painter’s tape
- Drop cloths or plastic sheeting
- Fine-grit sandpaper or a sanding block
- High-quality primer designed for stone surfaces
- Heat-resistant paint suitable for fireplaces
- Paintbrushes and rollers
- Sealant for the final protective coat

Granite Fireplace Refinishing Steps
Now that you’ve got your supplies ready, it’s time to get down to the nitty-gritty of refinishing.
Step 1: Prepping Your Granite Fireplace
Before diving into the fun stuff, it’s important to prep your fireplace properly. Think of it like laying the groundwork for a beautiful painting – meticulous preparation sets the stage for stunning results! Trust me, this prep work will make all the difference in achieving that picture-perfect finish you’re dreaming of!
Surface Cleaning
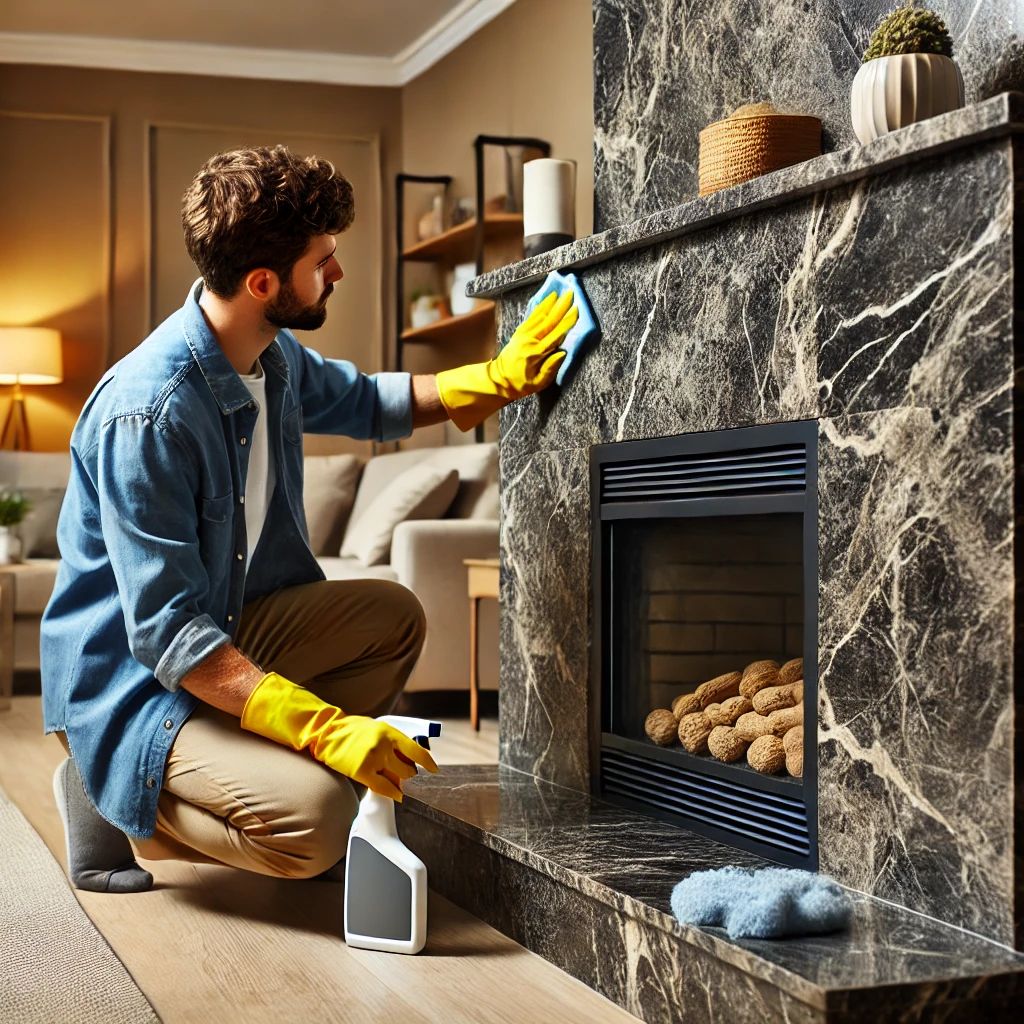
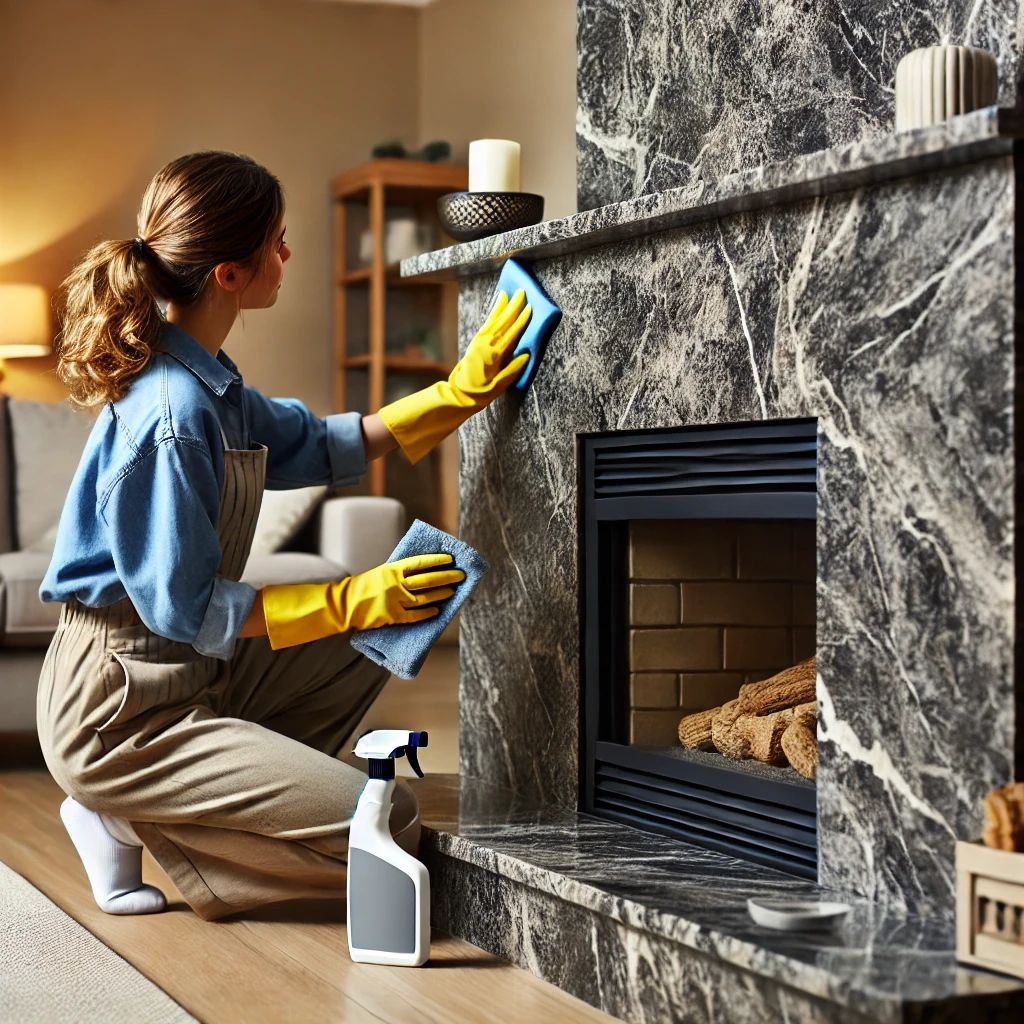
Using a mild detergent and a soft brush, scrub the granite surface to remove any soot, dust, or buildup. Rinse thoroughly, wipe it down, and allow it to dry. A clean surface will help the primer and paint adhere better, ensuring a longer-lasting finish.
Protecting the Surrounding Area
It’s essential to protect the surrounding area from paint and dust. Use painter’s tape to cover any areas you don’t want painted, and lay down drop cloths to catch any spills or debris. This will make cleanup much easier and protect your home’s interior.
Step 2: Surface Repair
Inspect your granite for any chips, cracks, or uneven areas. If you find damage, now is the time to make repairs. You can use a granite epoxy resin that matches the color of your stone. Apply it according to the manufacturer’s instructions and allow it to dry completely before sanding.
Step 3: The Sanding Process
Sanding is essential for creating a surface that your primer and paint can adhere to. Use fine-grit sandpaper or a sanding block to gently roughen the granite’s glossy finish. Take your time and sand evenly, ensuring you don’t miss any spots. Once you’re done, wipe the dust away with a damp cloth and let it dry.
Remember, the goal is to create a slightly textured surface, not to sand away the granite itself. So be gentle and consistent with your sanding strokes.
Sanding Tips
- Use a diamond sanding pad or sandpaper with a grit suitable for granite (usually between 400 and 800 grit) to sand the entire surface of the fireplace gently.
- Sand in a circular motion to remove any existing finish, scratches, or imperfections on the surface. Be sure to keep the surface wet during sanding to minimize dust and prevent overheating of the granite.
With the sanding complete, your fireplace is one step closer to its new look. It’s important to clean away all the dust because any residue left behind could prevent the primer from bonding properly.
Step 4: Polishing
Now, let’s add some sparkle to that granite surface. Grab a soft cloth or a polishing pad and your favorite granite polishing compound. Remember to follow the instructions on the package carefully. Next, get ready to swirl away. Polish the surface in small sections, using gentle circular motions until the entire surface shines.
Step 5: Protecting Your Work with a Sealant
Once you’ve put in the hard work to spruce up your granite fireplace, it’s time to make sure it stays looking beautiful. Choosing the right sealants and finishes is key. With plenty of options out there, from glossy to matte, pick one that enhances your granite’s beauty while keeping it safe from stains and everyday wear. You can choose to highlight those gorgeous patterns with a glossy finish or opt for a more subtle vibe with a matte finish.
The Role of Sealants
Sealants are like the superheroes of your granite fireplace. They protect your fireplace from stains, moisture, and all the wear and tear of daily life, keeping it looking beautiful for the long haul. Not only do they amp up the natural colors and patterns of granite, making them pop with vibrancy, but they also make cleaning a breeze by creating a smooth, dirt-resistant surface.
Applying the Granite Sealer
Applying the granite sealer seals your hard work and protects the surface from heat and wear. Choose a high-quality sealant that’s designed for high temperatures and stone surfaces. Apply it evenly with a clean brush or roller, taking care to cover the entire painted area. This will not only protect your fireplace but also make it easier to clean and maintain.
Use a high-quality granite sealer to seal the surface of the fireplace. Apply the sealer evenly using a paintbrush or sponge, following the manufacturer’s instructions. Allow the sealer to dry completely before using the fireplace. This patience will pay off, ensuring a finish that looks great and lasts a long time. Now, step back and admire your beautifully refinished granite fireplace, which is sure to become the heart of your home.

Maintaining Your Granite Fireplace
Keeping your granite fireplace looking great is easy with these tips:
- Start by giving it a gentle dusting and wiping down with a soft cloth to keep it gleaming.
- For any pesky stains or spills, a little soap and water should do the trick – just remember to give it a good dry afterward.
- Steer clear of harsh cleaners or anything too abrasive that might scratch that lovely finish.
- Every so often, give it a fresh seal to keep it protected against stains and moisture.
With these simple steps, your granite fireplace will stay looking gorgeous and cozy for a long time.

Frequently Asked Questions
Can I paint over sealed granite?
Absolutely! Painting over sealed granite is possible, but it’s all about the prep work. Sand the surface to break the seal and create a rough texture for the primer to cling to. Without this important step, your paint might not stick, leading to peeling and a less-than-stellar finish.
How do I maintain my refinished fireplace?
Maintenance is key to keeping your fireplace looking fresh. Wipe it down with a soft, damp cloth to remove dust and debris. Avoid harsh chemicals that can strip the paint and sealant. And every once in a while, give it a once-over to catch any chips or scratches early on.
Is it necessary to use heat-resistant paint on a granite fireplace?
Yes, it is. The paint needs to withstand the high temperatures of a working fireplace. Heat-resistant paint will ensure your finish doesn’t crack, discolor, or deteriorate with the heat.
For example, if your fireplace reaches temperatures of 500°F, make sure the paint you choose is rated for that temperature or higher to prevent any issues.
What if the paint starts to chip over time?
It’s not uncommon for paint to chip or wear over time, especially on a high-use feature like a fireplace. The best approach is to touch up the chipped areas with the same paint you used for the original job. Ensure the area is clean and dry before you begin, and apply the paint smoothly for the best match.
If chipping is a recurring issue, it may be worth re-evaluating your choice of paint or the application method to ensure better durability in the future.
Can the painting process affect the granite’s durability?
When done correctly, painting should not affect the inherent durability of granite. However, if the surface isn’t properly prepared or if the wrong types of products are used, you could end up with a finish that’s less durable than the stone itself. That’s why it’s important to follow each step carefully and use products designed for use on granite and high-heat environments.


Leave a Reply