Key Takeaways
- DIY granite shower tile refinishing is a cost-effective way to rejuvenate your bathroom.
- Proper cleaning and preparation of the surface is critical for a successful refinishing.
- High-quality epoxy primer and paint are essential for a durable and beautiful finish.
- Sealing the tiles after refinishing extends the life of your shower and maintains its new look.
- Maintenance is simple: gentle cleaning and avoiding harsh chemicals will keep your tiles looking great.
Exploring the Beauty of Granite Shower Tiles
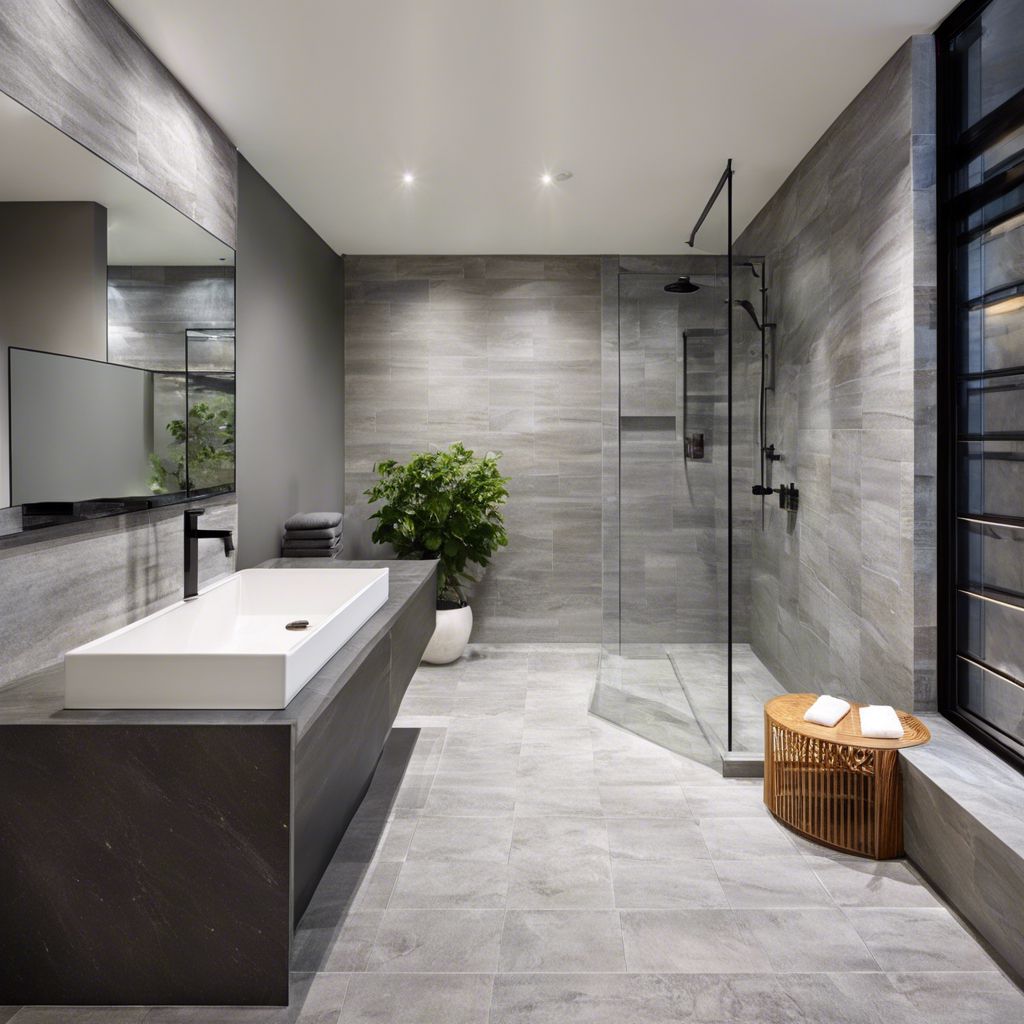
Granite shower tiles aren’t just about functionality; they’re about bringing a touch of elegance into your daily routine. Picture stepping into your shower, greeted by the natural beauty of granite. Each tile tells its own story with unique patterns and shades, turning your shower into a personal oasis. From sleek and modern designs to rustic and earthy vibes, granite tiles offer endless possibilities to elevate your bathroom experience.
Revitalize Your Bathroom’s Look with DIY Granite Shower Tile Refinishing
Ever looked at your shower area and thought it could use a breath of fresh air? Well, refinishing your granite shower tiles could be just the weekend project you need. It’s a straightforward process that can dramatically transform your space without the hefty expense of a complete renovation. And let me tell you, the satisfaction of stepping back and admiring your own handiwork is priceless.
Why Choose DIY for Your Tile Transformation
Choosing to refinish your granite shower tiles yourself is a smart move for several reasons. Firstly, you’ll save a bundle compared to hiring a professional. Secondly, you have complete control over the project, from the color and finish to the schedule of the work. And most importantly, with the right approach, you can achieve results that are just as stunning as any professional job.
Materials You’ll Need to Start
Before we dive into the nitty-gritty, let’s ensure you’re fully equipped. You’ll need:
- Heavy-duty cleaner and degreaser
- Repair compound for granite
- Sanding paper or sanding block
- Tack cloth or microfiber cloth
- High-quality epoxy primer
- Paint suitable for bathroom tiles
- Topcoat or sealant
- Protective gear (gloves, mask, goggles)
Remember, quality materials translate to quality results. Skimping here might cost you more in the long run.

DIY Granite Shower Tile Refinishing Steps
Step 1: Clean and Degrease Your Tiles
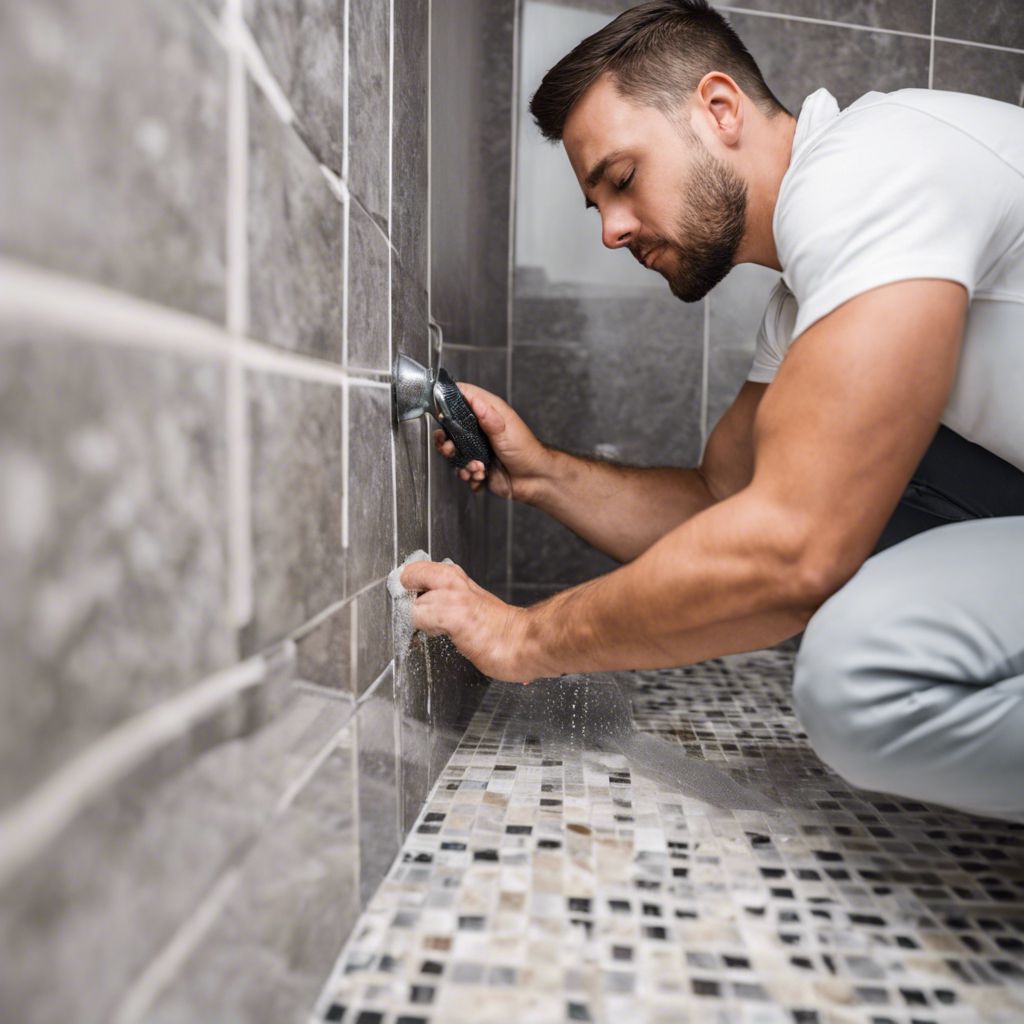
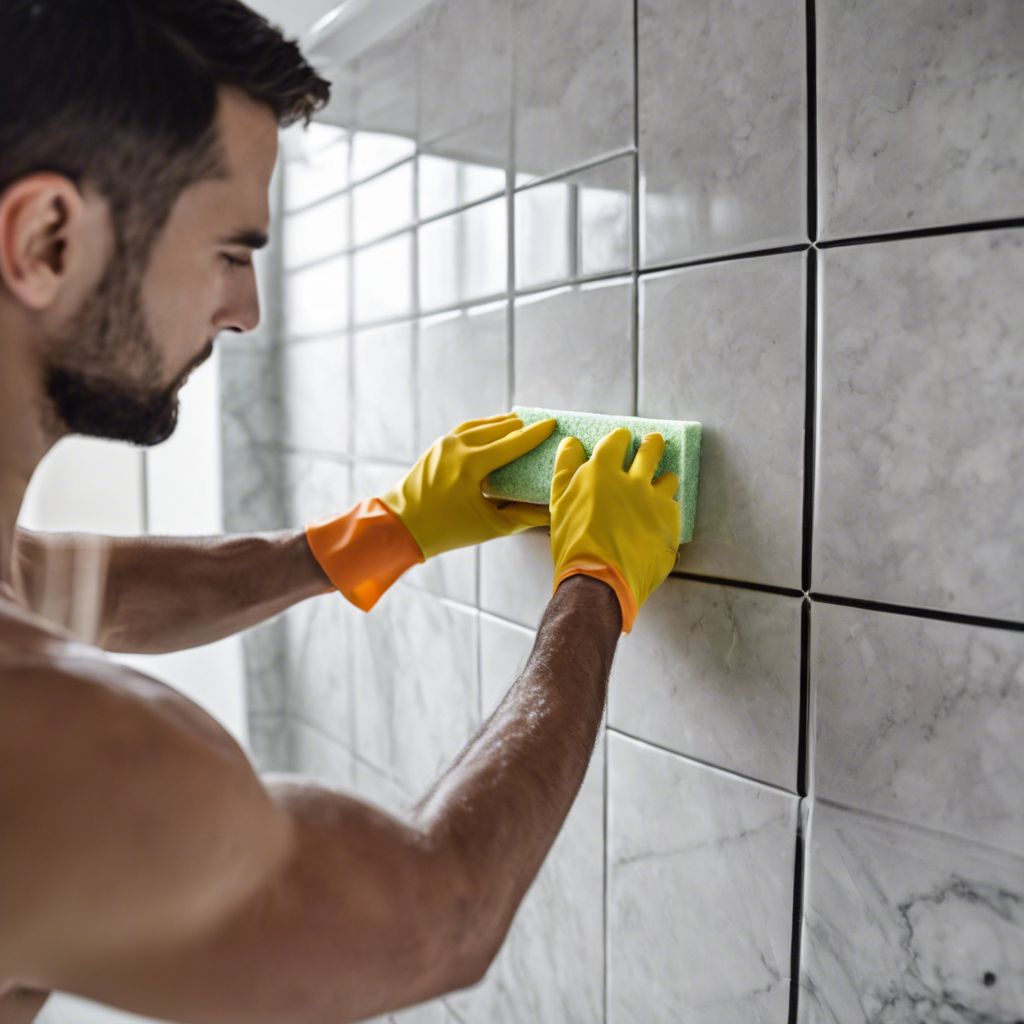
The success of your refinishing project starts with a clean slate. Literally. So, grab that heavy-duty cleaner and degreaser and get scrubbing. You want to remove every trace of soap scum, mildew, and grime. This step is vital because paint won’t stick to a dirty surface, and you’ll end up with a finish that’s anything but smooth and professional.
Step 2: Fix Any Chips or Cracks
Next, inspect your tiles closely. If you spot any damage, now’s the time to fix it. Use a granite repair compound to fill in chips or cracks, then let it dry according to the manufacturer’s instructions. This ensures your refinishing coat will go on evenly, and your shower will look as good as new.
Step 3: Sanding for a Smooth Surface
Once your tiles are clean and repaired, it’s time to sand. This roughens up the surface just enough to help the primer and paint adhere better. Use a fine-grit sandpaper and work gently to avoid damaging the granite. After sanding, wipe down the tiles with a tack cloth or a damp microfiber cloth to remove any dust.
Step 4: Applying the Refinishing Product
Now comes the fun part—time to give your granite tiles that gorgeous makeover they deserve! Grab your favorite brush or roller and get ready to work some magic. With gentle strokes, coat those tiles in the refinishing product, making sure to cover every nook and cranny. Think of it as giving your tiles a stylish new outfit.
Importance of High-quality Epoxy Primer
When it comes to refinishing, not just any primer will do. You need a high-quality epoxy primer that’s designed to stick to tile surfaces and withstand the moist environment of a shower. This is the foundation of your refinishing project, so make sure it’s solid.
Selecting the Best Paint for Granite Tiles
Now, let’s talk paint. You want a paint that’s specifically made for bathrooms and tile surfaces. It should be moisture-resistant and able to handle the daily wear and tear of a shower environment. A good quality epoxy or urethane-based paint will give you the durability and finish you’re looking for.
Applying Primer Effectively
Applying the primer is straightforward, but you need to be meticulous. Use a small roller or brush to apply an even coat, making sure to get into all the nooks and crannies. Follow the primer’s instructions for drying time before moving on to painting.
Painting Techniques for a Flawless Finish
When it comes to painting, technique matters. Use a roller for large areas and a brush for edges and tight spots. Apply thin, even coats to avoid drips or streaks. It’s better to do a couple of light coats than one heavy one. Let each coat dry thoroughly before applying the next.
Here’s a pro tip: keep a wet edge. This means you should overlap the last stroke with the next, which helps to prevent streaks and ensures a smooth finish.
Drying and Curing – Patience Pays Off
After the final coat of paint, the hard part begins: waiting. Drying and curing times vary based on the products used and the humidity levels in your bathroom. Check the manufacturer’s recommendations and be patient. Rushing the process can lead to a finish that’s not durable or as attractive as you’d like.
Most importantly, avoid using the shower until the paint has fully cured. This could be several days, but it’s worth the wait to ensure your hard work lasts.
Step 5: Sealing for Longevity
The final step is sealing your tiles. A good sealant protects your paint job from moisture and makes it easier to clean. It’s like the topcoat on a manicure—it adds shine and protection.
Choosing the Right Sealant
Choose a sealant that’s designed for bathrooms and is compatible with the paint you’ve used. Read the label carefully to ensure it’s suitable for use on granite and in wet areas.
Apply the sealant according to the manufacturer’s instructions. Usually, this involves spreading it evenly with a clean cloth or sponge, letting it sit for a bit, then wiping off the excess.
Application Tips for Sealant
When applying the sealant, work in small sections to ensure thorough coverage. Be careful not to let the sealant pool in the corners or grout lines. After sealing, keep the shower dry for the recommended time to allow the sealant to cure fully.
And just like that, you’ve given your shower a complete facelift. It’s not just about the money you’ve saved—it’s about the satisfaction of doing it yourself and the creativity you’ve poured into your home.

Maintenance Tips for Your Newly Finished Granite Shower Tiles
Maintaining your newly refinished shower isn’t hard, but it does require some care. To keep your tiles looking their best:
Gentle Cleaning Routines
Use non-abrasive cleaners and a soft cloth or sponge for cleaning. Harsh chemicals can damage the sealant and paint, so stick to mild soaps or vinegar-based solutions. Regular cleaning prevents soap scum and mildew from building up and keeps your shower looking new.
By following these steps, you’ll not only save money but also unleash your inner DIY guru. Your bathroom will thank you, and so will your wallet.
Preventing Future Damage
After all your hard work, you’ll want to keep your shower looking fantastic for as long as possible. Preventing future damage is about being proactive. Use a daily shower spray to help repel water and reduce soap scum buildup. Avoid dropping heavy objects on the tiles, which could cause chipping or cracking. And if you do notice any damage, address it promptly to prevent it from worsening.

Frequently Asked Questions
How Long Does the Refinishing Process Take?
The entire refinishing process can usually be completed over a weekend. However, the actual time will depend on the size of your shower and the drying times for the primer, paint, and sealant. Always check the manufacturer’s recommendations for drying times, and remember, it’s better to allow extra time for each stage than to rush and compromise the finish.
Can I Use Regular Wall Paint for Refinishing Shower Tiles?
No, regular wall paint isn’t suitable for refinishing shower tiles. You need a paint that can withstand high humidity and direct water contact. Look for epoxy or urethane-based paints designed specifically for bathrooms and tile applications.
How Often Should I Reseal the Granite Shower Tiles?
It’s generally recommended to reseal your granite shower tiles every one to two years, but this can vary depending on the amount of use your shower gets and the type of sealant used. Keep an eye on the condition of the sealant and perform a water droplet test: if water no longer beads up on the surface, it’s time to reseal.
Is It Necessary to Remove Fixtures Before Refinishing?
Yes, it’s best to remove fixtures such as showerheads and handles before refinishing. This ensures a thorough and even application of primer, paint, and sealant, and it protects your fixtures from any accidental splatters or spills.
What Can I Do if the Paint Peels off After Refinishing?
If you notice the paint peeling off after refinishing, it’s often due to moisture trapped beneath the paint or a lack of proper surface preparation. To fix this, you’ll need to strip the peeling paint, thoroughly clean and re-sand the area, and then reapply the primer and paint. Make sure the surface is completely dry before starting over, and follow all application instructions carefully.


Leave a Reply