Key Takeaways
- Laminate shower refinishing is a budget-friendly way to rejuvenate your bathroom.
- With the right materials and a bit of elbow grease, you can achieve professional-looking results.
- Proper preparation of the shower surface is essential for a long-lasting finish.
- Using a high-quality primer and refinishing paint ensures a smooth and durable surface.
- Regular maintenance will keep your newly refinished shower looking great for years to come.
Transform Your Laminate Shower with Ease
Is your laminate shower looking a little worse for wear? Before you consider a costly replacement, let’s walk through a simple yet effective way to bring it back to life. With a DIY approach to laminate shower refinishing, you’ll not only save money but also unleash your inner creativity. So roll up your sleeves, and let’s transform that shower!
Understanding Laminate Showers and Their Lifespan
Laminate is a popular choice for showers because it’s durable and comes in various styles. However, over time, it can become dull or damaged. The good news is, with the right care, a laminate shower can last for many years. Refinishing your laminate shower not only extends its life but also gives you the chance to customize its look to your liking.
Benefits of a DIY Refinishing Approach
Opting to refinish your laminate shower yourself is not just a money-saver; it’s also incredibly satisfying. You’ll have the freedom to choose your colors and finishes, ensuring the end result is exactly what you want. Plus, you’ll gain valuable skills and confidence in home improvement projects.
Materials and Tools You’ll Need
Before diving into the project, make sure you have all the necessary materials and tools. This will save you time and help you stay organized. You’ll need:
- High-quality laminate cleaner
- Repair kit for any cracks or chips
- Fine-grit sandpaper
- A good-quality primer designed for laminate
- Laminate refinishing paint
- Quality paintbrushes and rollers
- Protective gear such as gloves, goggles, and a respirator mask
Gathering Your Supplies
Start by picking up these supplies at your local home improvement store. Don’t skimp on quality, especially with the primer and paint. These are the key to a smooth, durable finish that will withstand the humid environment of a bathroom.
Safety First: Protective Gear and Precautions
When working with chemicals and paints, safety is paramount. Always wear gloves and a respirator mask to protect yourself from fumes. Goggles will keep your eyes safe from splashes. Ensure the room is well-ventilated, too; this will help the paint dry faster and keep the air quality safe.

The Refinishing Process
Now that you’ve got your materials, tools, and safety gear, it’s time to start the refinishing process. Remember, taking your time to do this right will pay off with professional-looking results. Let’s get started!
Step 1: Cleaning and Preparing Your Shower
Let’s kick things off by making your shower squeaky clean. Remove all your shampoos, conditioners, and shower accessories. Next, grab a high-quality laminate cleaner and scrub every inch of your shower. You’re not just cleaning; you’re also prepping the surface for the primer and paint to follow. Rinse thoroughly and let it dry.
Step 2: Surface Repair
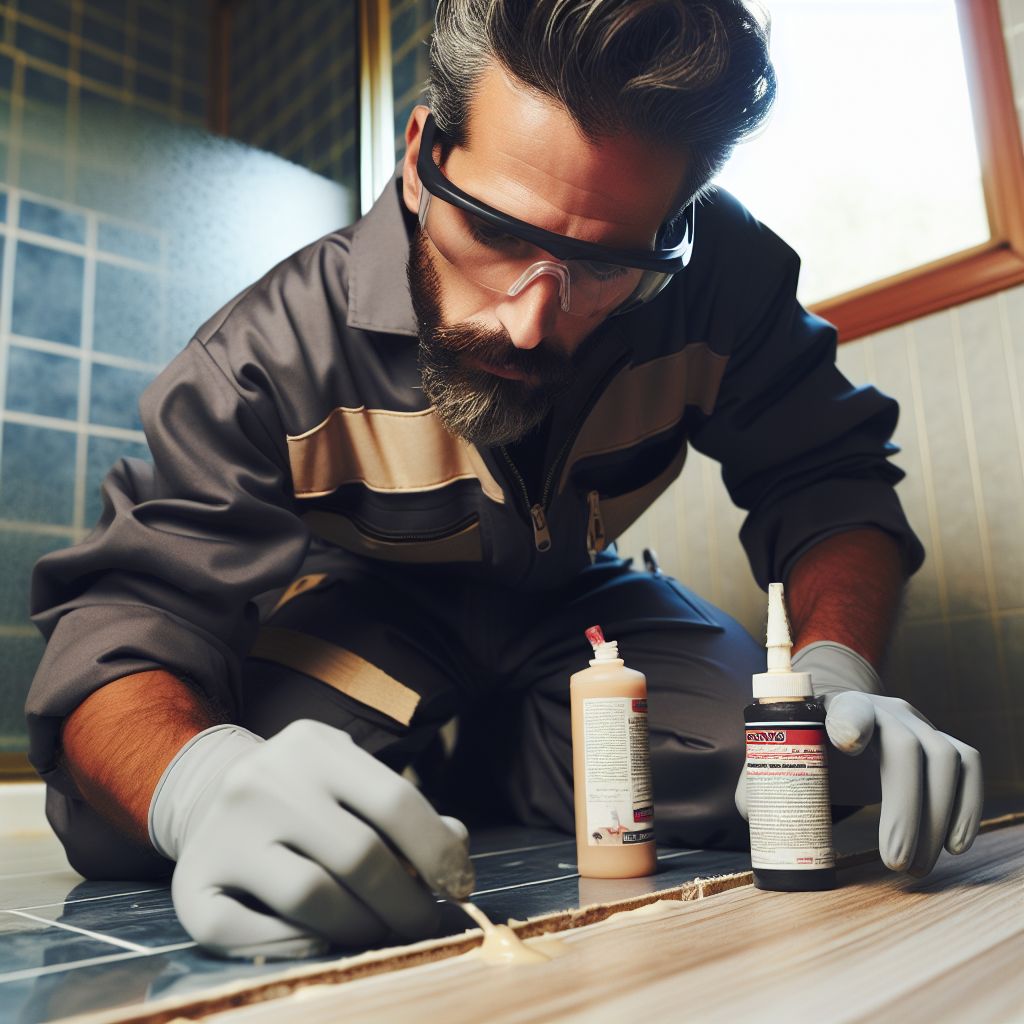
Now, take a close look at your shower. Are there any cracks, chips, or peeling areas? It’s time to fix those up. Using a laminate repair kit, fill in any damages according to the product’s instructions. This step is vital because a smooth surface means a smooth finish.
After the repairs have dried, give the area a once-over with your hand. It should feel as smooth as the rest of your shower surface. If not, a little more sanding in the next step will take care of it.
Remember, the smoother the surface, the better the end result. So don’t rush this part. Take your time to fill in even the smallest imperfections.
Example: For small cracks, you can use a laminate filler that matches the color of your shower. For larger repairs, a two-part epoxy putty might be necessary. Once it’s applied and dried, sand it down to create an even surface with the rest of your shower.
Once you’re satisfied with the repairs, wipe down the area with a damp cloth to remove any dust or residue. Let it dry completely before moving on to the next step.
Step 3: Sanding the Surface
With your shower clean and repairs made, it’s time to sand. Sanding is important because it gives the primer something to hold onto. Using fine-grit sandpaper, gently sand the entire surface of your shower. You’re not trying to remove the laminate, just roughing it up a bit.
Sanding Tips
- Lightly sand the entire laminate surface to roughen it up. This will help the new finish adhere better.
- Use fine-grit sandpaper (around 220 grit) and sand in a circular motion. Be careful not to sand too aggressively to avoid damaging the laminate.
- After sanding, clean the shower again to remove any dust or debris from the sanding process.
- Wipe down the entire surface with a damp cloth and allow it to dry completely.
Step 4: Applying the Primer
Primer is your best friend in the refinishing process. It’s the foundation that ensures your paint sticks and stays put. Choose a primer that’s specifically formulated for laminate and apply it with a smooth foam roller. This helps avoid brush marks and bubbles. Cover every inch of the shower, and make sure there are no drips.
Step 5: Painting
Once the primer is dry to the touch (follow the manufacturer’s drying time recommendations), it’s time for the fun part—painting! Stir your refinishing paint well and pour it into a paint tray. Then, using a fresh foam roller, apply the paint in thin, even coats.
Paint Application Techniques for Smooth Finishes
For a smooth finish, it’s all about technique. Start at the top of the shower and work your way down. Roll the paint on in one direction and avoid going back over areas that have started to dry. This will help prevent streaks and ensure an even coat.
If you notice any drips or uneven spots, smooth them out quickly with the roller. You’ll likely need at least two coats, so don’t worry if the first coat isn’t perfect. Just let each coat dry completely before applying the next.
If you’re applying multiple coats of paint or refinishing product, you may need to lightly sand between coats to ensure a smooth surface. Use fine-grit sandpaper and be gentle to avoid damaging the finish.
Patience is key here. The better you apply the refinishing paint, the more stunning your shower will look.
Step 6: Curing and Aftercare of Your New Shower
After you’ve applied the final coat of paint, your job isn’t quite finished. The paint needs time to cure. This could take anywhere from 24 to 48 hours, depending on the product and the humidity in your bathroom.
Once cured, your new shower will be ready for its first use. Enjoy the fresh, new look and the satisfaction of a job well done.
While you’re working, make sure to keep the bathroom well-ventilated to speed up the curing process.

Maintenance Tips for Your Refinished Shower
To keep your newly refinished shower looking great, follow these maintenance tips. Regular cleaning with mild, non-abrasive cleaners will prevent soap scum and mineral deposits from building up. Avoid harsh chemicals and scrubbing pads that can scratch or damage the surface.
Regular Cleaning Habits
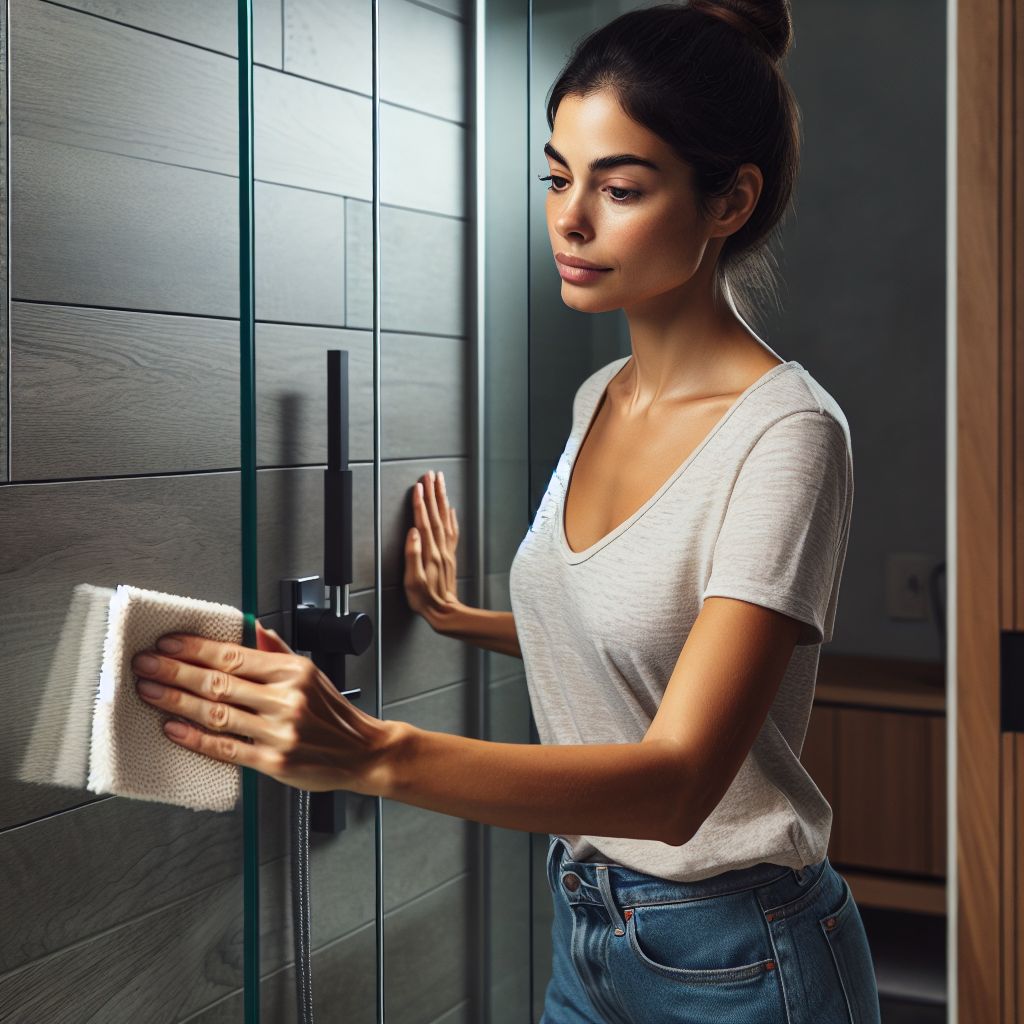
For daily maintenance, a quick wipe-down with a soft cloth after each use can work wonders. This simple habit can keep your shower looking new for longer.
By following these steps and tips, you’ve not only saved money but also given your bathroom a fresh, new look. Remember, with a little bit of knowledge and the right tools, there’s no limit to what you can achieve in your home. Now, it’s time to step back and admire your handiwork. Your laminate shower has been successfully refinished, and it’s all thanks to your effort and creativity.

Frequently Asked Questions
How long will my DIY refinishing last?
One of the most common questions is about the longevity of a DIY refinishing job. If you’ve followed all the steps correctly and used quality materials, your new shower surface can last many years. On average, a well-done refinishing job can last anywhere from 5 to 10 years, depending on usage and maintenance. Most importantly, ensure that the shower is kept clean and that you handle it with care to extend its life.
Can I refinish my shower myself if I have no experience?
Absolutely! Refinishing your laminate shower is a fantastic project for beginners. The key is to follow the instructions for each product you use and take your time with each step. Don’t rush the process, and make sure you’ve prepared the surface properly before applying any paint or primer. If you can paint a wall, you can refinish a shower – it’s all about being thorough and careful with your work.
Are there eco-friendly options for refinishing?
For those who are environmentally conscious, there are eco-friendly options available for refinishing your shower. Look for low-VOC or VOC-free primers and paints, which are less harmful to the environment and your health. They’re also less odorous, which is a big plus in enclosed spaces like a bathroom. You can also find eco-friendly cleaners and sandpapers made from recycled materials to prep your shower.
It’s heartening to see that going green doesn’t mean sacrificing quality. These eco-friendly products perform just as well as their traditional counterparts, so you can feel good about your choice while achieving a beautiful finish.
What should I do if I find mold during the process?
If you uncover mold while refinishing your shower, it’s essential to address it immediately. Mold can be harmful to your health, so wear protective gear and use a mold-killing solution to clean the affected area thoroughly. If the mold has penetrated deep into the walls, you may need to replace that section to prevent it from returning. After removing the mold, let the area dry completely before continuing with your refinishing project.
Remember, mold thrives in damp environments, so improving ventilation and keeping the area dry can prevent its return. Always tackle mold head-on for the health and safety of your household.
How do I maintain the non-slip surface on my shower floor?
For safety, maintaining the non-slip surface on your shower floor is vital. After refinishing, you can add a non-skid additive to your final coat of paint to ensure the floor remains slip-resistant. Once the paint has cured, clean the floor regularly with a non-abrasive cleaner to keep the texture effective. Avoid using harsh chemicals or abrasive tools, as these can wear down the non-slip surface over time.
Regular maintenance and gentle cleaning will keep your shower floor safe and looking great. After all, safety is just as important as aesthetics when it comes to your bathroom.


Leave a Reply