Key Takeaways
- Refinishing your porcelain fireplace can transform the look of your living space.
- Proper preparation, including cleaning and sanding, is critical for a successful refinishing job.
- Choosing the right primer and paint for porcelain surfaces is key to a long-lasting and beautiful finish.
- Applying sealant is the final step to protect your work and enhance durability.
- Regular maintenance will keep your newly refinished fireplace looking great for years to come.
Transform Your Hearth: A Porcelain Fireplace Makeover
Imagine cozying up to a beautifully refinished porcelain fireplace that you revamped yourself. It’s not just a dream—it can be your next DIY project. A fireplace is often the focal point of a room, and giving it a fresh, new look can completely change the feel of your space. Let’s walk through the process together, and I’ll show you how to breathe new life into your porcelain fireplace with a few simple steps.
Why Porcelain? – The Benefits of This Elegant Finish
Porcelain is a fantastic material for a fireplace because it’s durable, easy to clean, and heat-resistant. Plus, it has a glossy finish that can make your living space look more elegant and modern. When it comes to DIY projects, working with porcelain can seem a bit intimidating, but don’t worry. With the right approach, you can achieve a professional-looking finish without the hefty price tag of hiring a pro.
Gathering Your Supplies – The Essentials List
Before we roll up our sleeves and get started, you’ll need to gather a few supplies. Here’s what you’ll need:
- High-grit sandpaper or a sanding block
- Trisodium phosphate (TSP) cleaner or a degreasing solution
- Painter’s tape
- Drop cloths or plastic sheeting
- High-quality primer designed for glossy surfaces
- Porcelain or tile-specific paint
- Paintbrushes and rollers
- Sealant for high-heat areas
- Protective gear such as gloves, goggles, and a mask
Most importantly, take your time selecting the paint color. It’s not just about the hue; it’s about the quality of the paint. Opt for a high-temperature paint that’s specifically designed for porcelain tile to ensure it stands up to the heat and retains its luster over time.

Porcelain Fireplace Refinishing Steps
Step 1: Preparation is Key
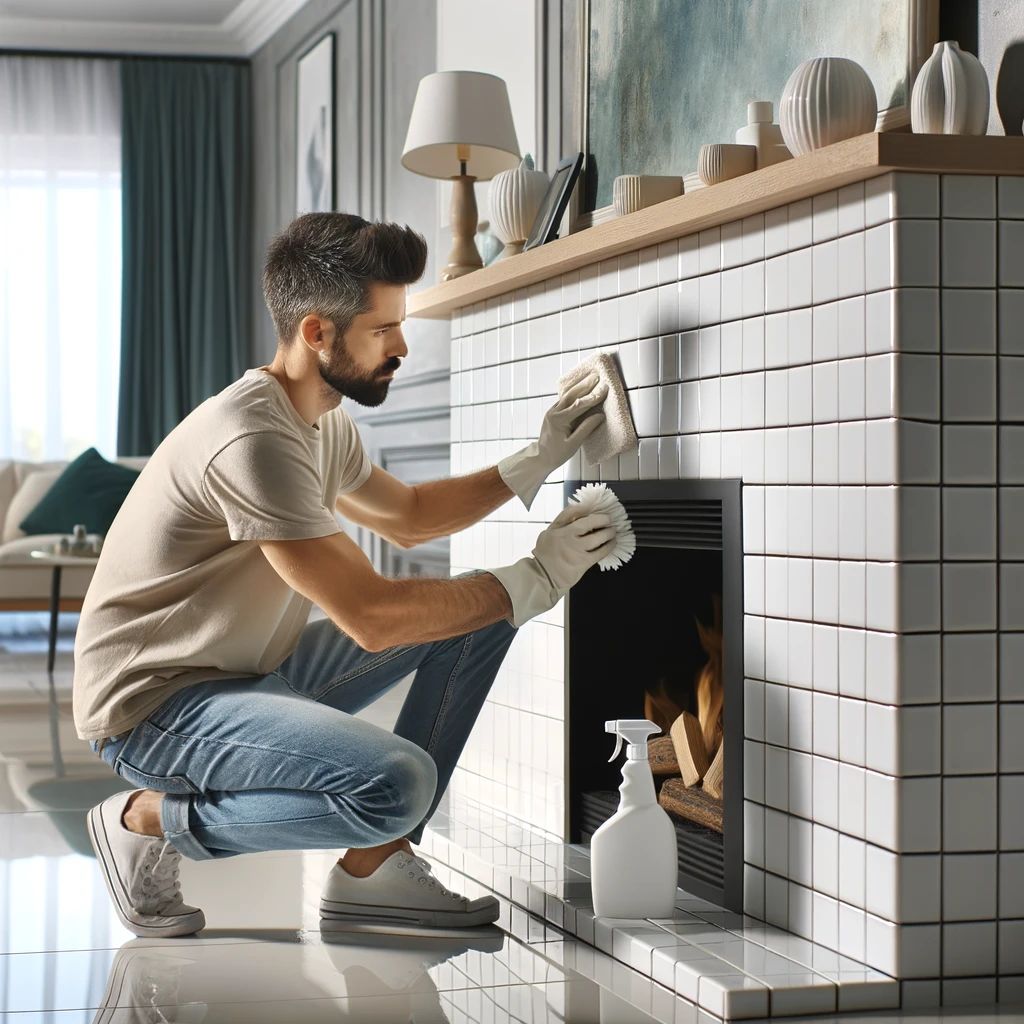
Every great DIY project starts with thorough preparation, and refinishing your porcelain fireplace is no exception. You’ll want to start with a clean slate, so the first step is to give your fireplace a good scrub. This means removing any soot, dust, or grime that could prevent the primer and paint from adhering properly.
Surface Safeguards – Protecting Your Space
Before you begin, lay down drop cloths or plastic sheeting to protect your floors and surrounding furniture. Use painter’s tape to cover any areas you don’t want to paint, such as the mantel or adjacent walls. Safety first—don’t forget to don your gloves, goggles, and a mask to protect yourself from dust and fumes.
Cleaning the Fireplace
For cleaning, a solution of TSP cleaner works wonders for cutting through the grime. If you don’t have TSP, any good degreaser will do the trick. Just make sure to rinse the area with water afterward and let it dry completely. A clean surface ensures that your primer will stick, setting the stage for a flawless finish.
Step 2: Repairing Any Damage
Once your fireplace is clean, inspect it for any chips or cracks. These imperfections can be more than just unsightly—they could potentially worsen over time if not addressed. You can use a porcelain repair kit, which typically includes a filler and a finishing solution, to mend these areas. Apply the filler as directed, let it dry, then sand it down to a smooth finish. This will ensure a seamless look once you start painting.
Step 3: Sanding the Surface
Now, let’s get that surface ready for its new coat of paint. Grab your fine-grit sandpaper or sanding block and gently scuff the surface of the porcelain. This roughens it up just enough to help the primer adhere better. There’s no need to sand it down to the bare material—just enough to take the gloss off and provide some texture for the primer to grip.
After sanding, wipe the surface with a damp cloth to remove any dust. This step is essential; any leftover sanding debris can create bumps under your paint, marring that perfect finish you’re aiming for. So, let’s keep it smooth and move on to priming.
Step 4: Priming for Perfection
Priming is like laying down the foundation for your porcelain fireplace makeover. You’ll want to use a special bonding primer made just for porcelain surfaces. This primer is like the ultimate matchmaker – it bonds your porcelain and the new paint so they stick together like besties. Plus, it seals the surface and gives the paint a nice, smooth canvas to cling to. Think of it as the secret sauce for a picture-perfect finish!
Priming 101 – Selecting the Best Base Coat
Primer is the unsung hero of any paint job. For porcelain, you’ll need a high-adhesion primer designed for glossy surfaces. This will ensure that your paint sticks and stays put, even with the high heat a fireplace endures. Read the labels and choose a primer that’s specifically made for high-heat areas and suitable for porcelain surfaces.
Applying Primer – Smooth Techniques for a Flawless Base
Apply the primer with a brush or roller designed for smooth surfaces. Start with a thin, even coat and let it dry completely. If the primer looks uneven or streaky, don’t worry. The first coat is just to get things started. Once it’s dry, apply a second coat to ensure full coverage. This will give you a solid base for your topcoat of paint.
Step 5: Choosing and Applying Paint
This step is where the fun really kicks in. With a variety of paint choices at your fingertips, it’s time to let your creativity soar. Whether you’re into cozy neutrals or bold pops of color, there’s a shade that’s right for your fireplace.
Color That Captivates – Picking the Perfect Hue
Choosing the right color for your fireplace can set the tone for your entire room. Think about the mood you want to create. Are you going for a cozy, inviting atmosphere, or a sleek, modern vibe? Remember, lighter colors can make a room feel larger and more open, while darker colors create a sense of warmth and intimacy.
Brush vs. Roller – Tools for the Best Paint Application
When it’s time to paint, consider the tools you’ll use. Brushes are great for detailed work and getting into those hard-to-reach areas. Rollers, on the other hand, can provide a smooth, uniform coat over larger surfaces. For the best results, you may want to use both: a roller for the main areas and a brush for the edges and details.
Start painting from the top of the fireplace and work your way down, maintaining a wet edge to avoid lap marks. Apply paint in thin, even coats to prevent drips or runs. It’s better to do multiple light coats than one heavy one, as this helps prevent peeling and cracking over time.
Drying Time and Coats – Ensuring Endurance and Elegance
Check the manufacturer’s instructions for the recommended drying time between coats. Rushing this process can ruin all your hard work, so give it the time it needs. Most paints will require at least two coats for full coverage, but depending on your color choice and the type of paint, you might need an additional coat or two.
Step 6: Sealing Your Masterpiece
The final step in your porcelain fireplace refinishing project is to seal your work. This will protect the paint from the high temperatures and keep it looking fresh for years to come.
Applying sealant can be a bit tricky. You want a thin, even layer without any drips. If you’re not sure, practice on a piece of cardboard first to get the hang of it.
Seal the Deal – Picking a Protector
Pick a sealant that can withstand the high temperatures your fireplace will encounter. A high-gloss sealant can enhance the vibrancy of your paint, while a matte finish will give you a more subdued, sophisticated look. Read the labels and choose the best one for your project’s needs.
Application of Sealant – Techniques for a Lasting Finish
When applying sealant, use long, even strokes and work quickly to avoid leaving brush marks. Start at the top and work your way down, just like with the paint. Allow the first coat to dry completely before deciding if a second coat is necessary. Remember, the goal is protection without altering the beauty of your paintwork.
After everything is dry, remove the painter’s tape slowly and carefully to avoid pulling off any paint. Stand back and admire your handiwork—you’ve just completed a professional-level DIY project!

Maintenance and Care: Preserving Your Fireplace’s Charm
After investing time and effort into refinishing your porcelain tile fireplace, maintaining its allure is key. With the right care, your fireplace will continue to be a stunning feature in your home. Let’s talk about some simple steps to keep it looking as good as new.
Cleaning Tips – Keeping Your Porcelain Pristine
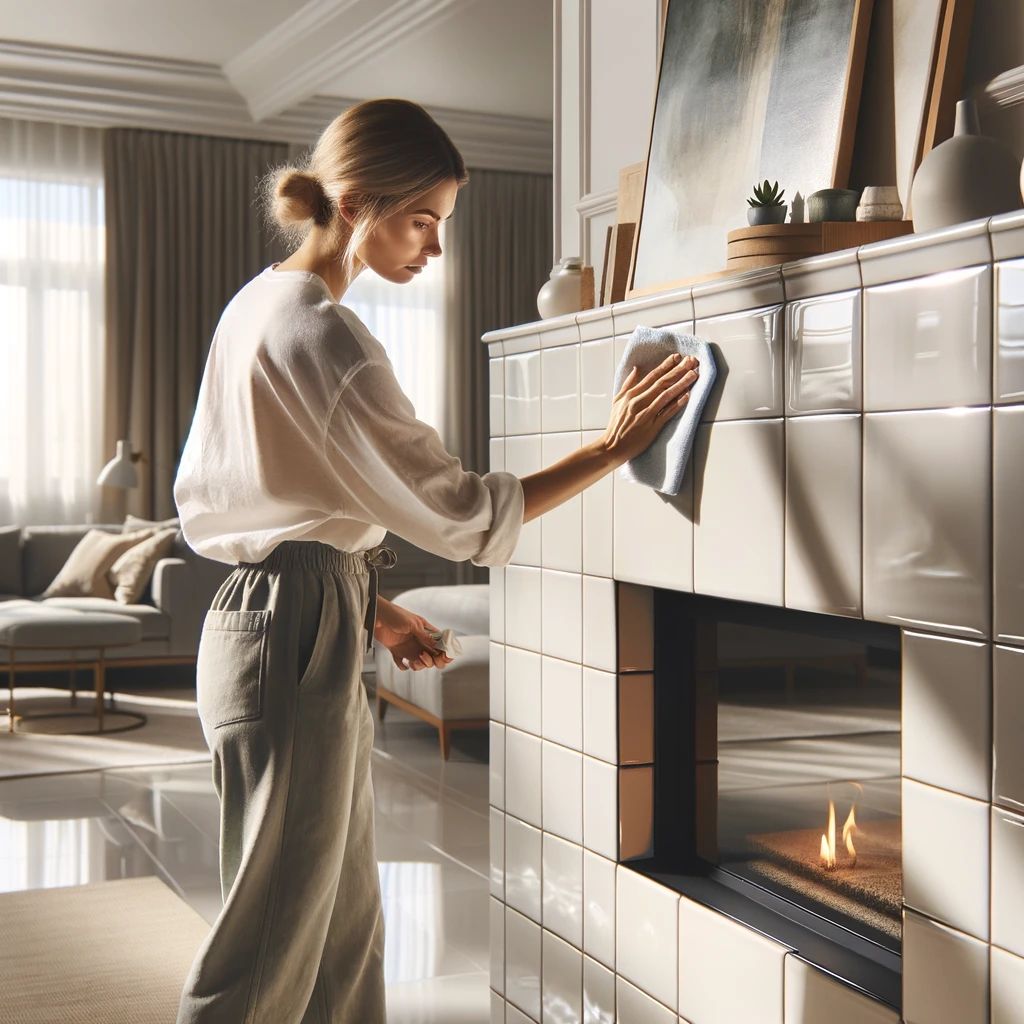
Regular cleaning is essential. Use a soft, damp cloth to wipe down the porcelain surface. Avoid abrasive cleaners or pads that can scratch the finish. If you encounter stubborn stains, a mild mixture of soap and water should do the trick. For deeper cleans, you can use a cleaner specifically formulated for porcelain, just be sure to follow the instructions closely.
Regular Check-Ups – Scheduling a Fireplace Health Plan
Like any other part of your home, your fireplace needs check-ups. Once a year, take a close look at the surface for any signs of wear or damage. If you notice any cracks or chips in the paint or sealant, touch them up right away. This proactive approach will help prevent minor issues from turning into major headaches.
With these steps and a little bit of care, your porcelain fireplace will be the centerpiece of your home for many years. Whether you’re enjoying a quiet night in or entertaining friends and family, your newly refinished fireplace will be a source of warmth and style.

Frequently Asked Questions
Can I refinish my porcelain fireplace without professional help?
Yes, you can refinish your porcelain fireplace without professional help. With the right materials, a bit of patience, and careful attention to detail, you can achieve a stunning result. Just follow the steps outlined in this guide, and don’t hesitate to reach out to home improvement stores or online forums if you have questions along the way.
What kind of paint works best on a porcelain fireplace?
When it comes to painting your porcelain fireplace, the key is to use a high-temperature, porcelain-specific paint. This type of paint is formulated to withstand the heat of a fireplace and adhere to the glossy surface of porcelain. It’s also important to use a high-adhesion primer before painting to ensure the best results.
How long does it take for the paint and sealant to dry?
The drying time for paint and sealant can vary depending on the products you use and the conditions in your home, such as humidity and temperature. Generally, you should wait at least 24 hours between coats of paint, and the same goes for sealant. Always check the manufacturer’s instructions for the best guidance.
How can I maintain the new finish on my fireplace?
Maintaining the new finish on your fireplace involves regular cleaning with non-abrasive materials, annual inspections, and prompt touch-ups if needed. It’s also a good idea to avoid placing too many decorative items on the fireplace’s surface, as this can lead to scratches and wear over time.
Do I need to sand my porcelain fireplace before refinishing?
Yes, sanding is an important step in the refinishing process. It helps to roughen up the glossy surface of the porcelain, allowing the primer and paint to adhere better. Use high-grit sandpaper and be sure to clean away all the dust before moving on to priming.


Leave a Reply