Key Takeaways
- Refinishing porcelain shower tiles is a cost-effective way to revitalize your bathroom.
- Proper cleaning and preparation are essential for a durable finish.
- Choosing the right primer, paint, and sealer is important for the best results.
- Following a step-by-step process ensures a professional-looking outcome.
- Regular maintenance will keep your refinished tiles looking great for longer.
Pristine Perfection: Discovering the Allure of Porcelain Shower Tiles
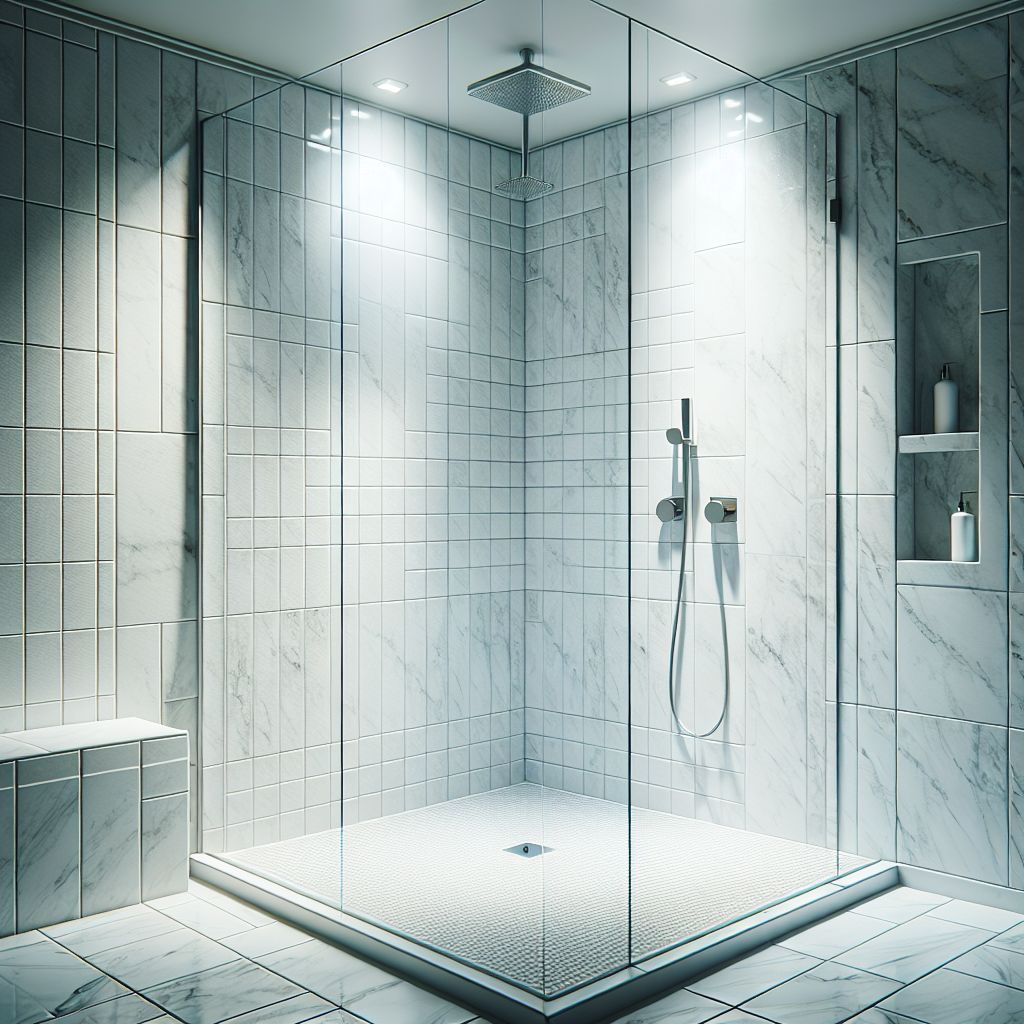
Imagine stepping into your bathroom and being greeted by the subtle elegance of porcelain shower tiles. These tiles are more than just practical; they embody refined taste and modern sensibilities. Their smooth surface reflects light, making even small spaces feel open and inviting. Whether in classic white or intricate patterns, porcelain tiles elevate your home’s aesthetic with durability that lasts, maintaining their charm through countless showers.
Understanding the Characteristics of Porcelain Tiles
Porcelain tiles are like the superheroes of your bathroom, boasting a range of fantastic characteristics that make them stand out. First and foremost, they’re incredibly durable, ready to withstand the daily hustle and bustle of your busy life without losing their shine. Plus, they’re water-resistant, meaning you can splash and play without worry. Porcelain tiles are also low-maintenance, so you can spend less time scrubbing and more time enjoying your sparkling clean shower.
The Perks of Refinishing Your Porcelain Shower Tiles
Let’s talk about the perks of refinishing those beautiful tiles in your bathroom. Think of it as giving your space a mini makeover without breaking the bank and the hassle of a major renovation. By refinishing your porcelain shower tiles, you’re not just restoring their original luster; you’re also extending their lifespan and adding a fresh pop of brilliance to your bathroom décor. It’s like hitting the refresh button on your space, bringing back that sparkle and shine you fell in love with initially.
Gather Your Supplies
Before you begin, make sure you have the following items:
- Quality tile cleaner
- Fine-grit sandpaper (400 to 600 grit)
- Tile primer (high-adhesion type)
- Porcelain tile paint (either latex or epoxy-based)
- Clear tile sealer
- Protective gear (gloves, mask, goggles)
- Paint brushes and rollers
Choosing the right supplies is a game-changer. For example, epoxy-based paints are tougher and more suited for wet environments like showers.
Selecting Your Sandpaper and Primer
When refinishing porcelain tiles, it’s essential to create a surface that your paint can grip onto. This is where sandpaper comes in. You’ll want to use a fine-grit sandpaper to lightly scuff up the glossy surface of your tiles. After sanding, a high-quality bonding primer will provide the perfect foundation for your paint to adhere to.
Choosing the Perfect Paint and Topcoat
The paint you choose needs to withstand the humid conditions of a shower environment. Latex or epoxy-based paints are typically recommended for their durability in wet areas. After painting, a topcoat sealer will protect your work from moisture and wear, keeping your tiles looking fresh and new.

Steps in Refinishing Porcelain Shower Tiles
Roll up your sleeves and get ready to revitalize your shower space with these steps.
Step 1: Deep Cleaning: Removing Residue and Soap Scum
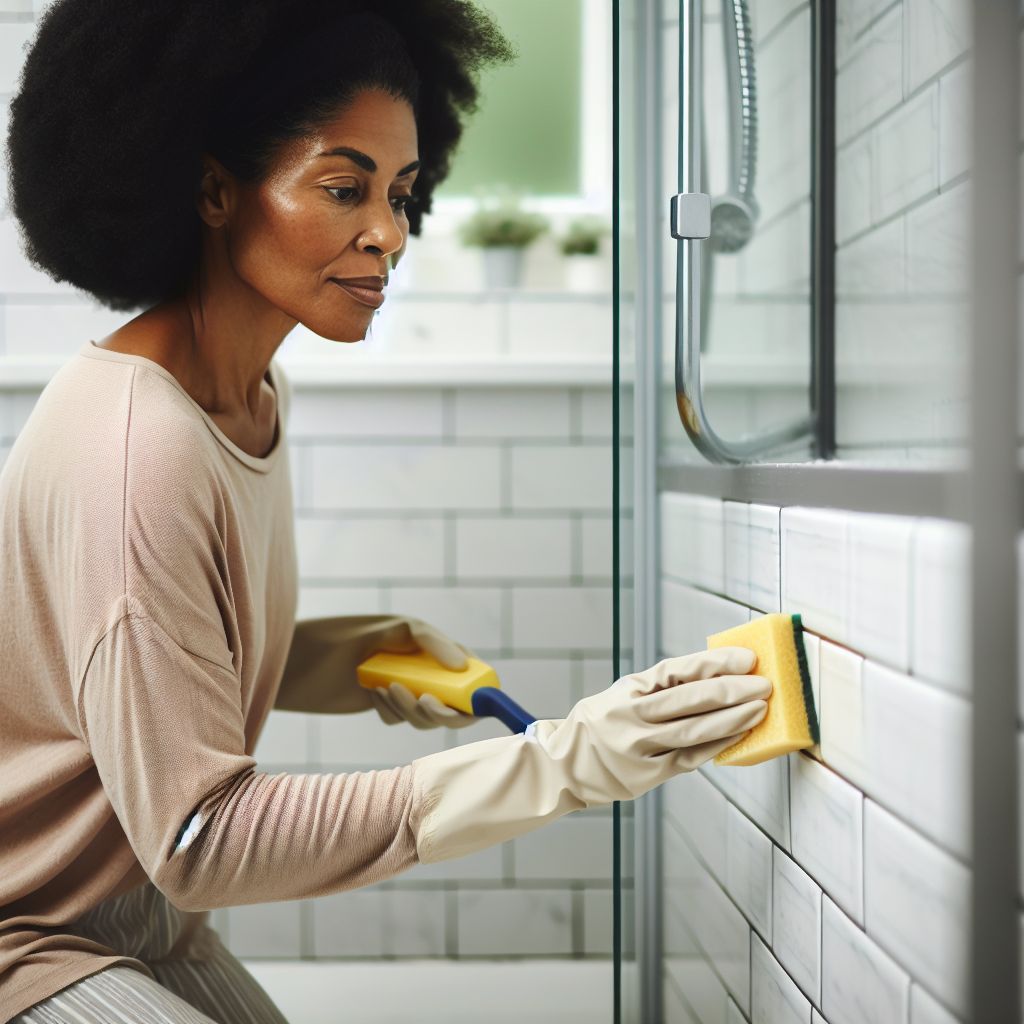
Begin your project with a thorough cleaning. Use a tile cleaner to eliminate all the grime and build-up on your tiles. Let them dry completely before moving on to the next step. A clean surface will not only help the paint stick but also prevent the growth of mold and mildew.
Step 2: Removing Old Caulk and Grout
Old caulk and grout can get in the way of a smooth refinishing job. Carefully remove any old caulk with a putty knife or caulk remover tool. For grout, you might need a grout saw or a rotary tool with a grout removal bit. This will ensure that the new caulk and grout will adhere properly, creating a seamless look for your finished tiles.
Take your time with this step. Patience is key to avoiding damage to the tiles. After you’ve removed the old caulk and grout, clean the area again to remove any leftover residue.
Step 3: Repair Work: Addressing Chips and Cracks
Next, inspect your tiles for any damage. Small chips and cracks can be filled with a two-part epoxy or porcelain repair compound. Apply the filler as directed and smooth it out so that it’s flush with the tile surface. Allow it to dry completely according to the product instructions.
Remember, the smoother your repairs, the less noticeable they’ll be once painted. If you rush this step, imperfections could show through the paint, so take your time to do it right.
Step 4: Sanding the Tiles
Before you start sanding, make sure you’re wearing your protective gear. The dust created by sanding can be harmful if inhaled.
Now it’s time to sand the tiles. This will create a rough surface for the primer and paint to adhere to. Use fine-grit sandpaper (around 220-grit) and sand the tiles lightly and evenly. After sanding, wipe the tiles down with a damp cloth to remove any dust.
Sanding is a critical step that can’t be skipped. It might seem tedious, but it’s what gives the primer and paint a surface to hold onto. Without it, your finish might not last as long as it should.
After sanding, give the tiles one last clean. A tack cloth works well for picking up any remaining dust. You want the cleanest possible surface before moving on to priming.
Step 5: Priming: The Foundation for Durability
With the tiles cleaned and sanded, it’s time to apply primer. Choose a high-adhesion primer designed for use on ceramic or porcelain surfaces. Apply a thin, even coat using a brush or roller. Allow the primer to dry completely, following the manufacturer’s recommended drying time.
Primer not only helps the paint stick, but it also provides a layer of protection for the tiles. Skipping this step could lead to peeling paint down the line, so don’t rush it.
Step 6: Applying the Finish
Once your primer is dry, it’s time for the main event: painting. Use a high-quality epoxy or acrylic paint specifically formulated for use on porcelain. Apply your chosen paint using a brush or roller. For best results, apply several thin coats rather than one thick coat. This will help prevent drips and ensure even coverage.
Allow the paint to dry completely between coats. The number of coats needed will depend on the type and color of the paint you’re using, as well as the color of the original tiles.
If you’re applying multiple coats of paint or refinishing product, you may need to lightly sand between coats to ensure a smooth surface. Use fine-grit sandpaper and be gentle to avoid damaging the finish.
Step 7: Sealing the Deal: Topcoat Application
After the final coat of paint has dried, it’s time to seal your hard work. Apply a clear tile sealer to protect the paint from moisture and wear. This is especially important in a shower environment where water resistance is key.
Apply the sealer as directed by the manufacturer, using a brush or roller. Make sure to cover every inch of your newly painted tiles. Once applied, allow the sealer to dry completely before using the shower.
Step 8: Reapplying Caulk and Grout
With the paint and sealer dry, you can now reapply caulk and grout. Use a waterproof caulk for the best protection against moisture. Smooth the caulk with a caulking tool or your finger, dipped in soapy water, for a clean finish.
For grouting, choose a grout that’s suitable for wet areas and apply it with a grout float. Wipe away excess grout with a damp sponge and allow it to dry following the product’s instructions.
Step 9: Curing
Finally, give your newly refinished tiles time to cure. This usually takes at least 24 to 48 hours, but check the instructions on your paint and sealer to be sure. During this time, avoid using the shower to ensure that the finish sets properly.
Patience during the curing process pays off with a durable, long-lasting finish. Once cured, your tiles will be ready to handle the daily shower routine.

Maintain the Magic
Now that you’ve given your bathroom a stunning makeover, it’s important to maintain the new look. With the right care, your DIY refinishing job will keep your porcelain shower tiles looking great for years to come. Just remember, every effort you put into this project is a step towards a more beautiful and valuable home.
Post-Refinish Care Instructions
After all the hard work you’ve put into refinishing your porcelain shower tiles, it’s essential to take care of them to ensure the finish lasts as long as possible. Here’s what you need to do:
- Use gentle, non-abrasive cleaners to avoid scratching the surface.
- Avoid bleach and other harsh chemicals that can strip the sealer and damage the paint.
- Clean spills and soap scum promptly to prevent staining.
- For regular maintenance, simply wipe the tiles with a soft, damp cloth.
Remember, the gentler you are with cleaning, the longer your new finish will last.
Enduring Elegance: Protecting Your Investment
Protecting your newly refinished shower tiles isn’t just about maintaining their appearance—it’s also about safeguarding the time, effort, and resources you’ve invested. To keep your tiles looking their best:
- Reapply a sealer every one to two years, depending on the level of shower use.
- Inspect the caulk and grout regularly for signs of wear and replace as needed.
- Keep the shower well-ventilated to prevent mold and mildew growth.
These simple steps will help extend the life of your refinishing job and keep your bathroom looking timeless.

Frequently Asked Questions
How Long Does Tile Paint Take to Dry?
Tile paint drying times can vary depending on the brand and type of paint used. Typically, it takes about 24 hours for the paint to dry to the touch, but you should wait at least 48 to 72 hours before exposing the tiles to moisture. Always check the manufacturer’s instructions for the best guidance.
Can You Refinish Tiles in a Rented Property?
If you’re renting, it’s always best to get permission from your landlord before refinishing tiles. Some landlords may allow it, while others may have restrictions. It’s important to have a clear agreement to avoid any potential issues with your security deposit.
What to Do with Leftover Paint and Supplies?
Leftover paint and supplies can be stored for touch-ups or future projects. Make sure to seal the paint can tightly and store it in a cool, dry place. If you decide not to keep them, check with your local waste disposal service for guidelines on how to properly dispose of home improvement materials.
Are DIY Refinished Tiles as Durable as Factory Tiles?
While DIY refinished tiles can look as good as new, they may not be as durable as factory-finished tiles. However, with proper application and maintenance, your DIY finish can last several years and provide a cost-effective alternative to replacement.
How Often Should I Reseal Refinished Tiles?
To maintain the integrity of your refinished tiles, plan to reseal them every one to two years. This timeframe can vary based on the amount of use your shower gets and the type of products used. Regular resealing helps to protect against water damage and keeps your tiles looking glossy.
By following this comprehensive guide and caring for your refinished tiles, you’ll enjoy a bathroom that radiates beauty and sophistication for years to come.


Leave a Reply