Key Takeaways
- Refinishing your porcelain tile backsplash can significantly update your space at a low cost.
- You’ll need specific supplies such as high-adhesion primer, epoxy or tile paint, and safety gear.
- Cleaning, sanding, and repairing your tiles are important steps before painting.
- Sealing your work with a clear coat will protect it and make it last longer.
- Regular maintenance will keep your DIY refinishing looking great for years.
Rejuvenate Your Kitchen with a DIY Porcelain Tile Backsplash Refinish
Before you start, it’s essential to understand why refinishing your backsplash is a smart move. Not only does it save you money, but it also allows you to unleash your creativity, choosing colors and patterns that reflect your personal style. It’s also an eco-friendly option, as you’re giving new life to the existing materials.
Benefits of Refinishing Your Backsplash
Refinishing your porcelain backsplash has multiple advantages. It’s cost-effective, customizable, and you can complete it over a weekend. Plus, you’ll feel a sense of accomplishment knowing you’ve done it yourself.
Gather Your Supplies: The Essentials List
For this project, you’ll need a few key supplies:
- High-adhesion primer
- Epoxy or tile paint
- 400 to 600-grit sandpaper
- Tack cloth or damp rags for cleaning
- Paintbrushes and rollers
- Paint tray
- Safety gear (gloves, goggles, mask)
- Cleaner or degreaser
- Repair materials (caulk or putty)
- Clear urethane sealer
Choosing the Right Paint for Porcelain
When it comes to painting porcelain tiles, not just any paint will do. You need a paint that will adhere well and stand up to the moisture and cleaning products typically used in kitchens. Epoxy or tile-specific paints are your best bet.
Safety Gear to Protect Your Health
Before starting, gear up with safety glasses, gloves, and a mask. These will protect you from dust and fumes during the refinishing process.
Cleaning Agents and Sanding Equipment
A clean surface is critical for paint adhesion, so you’ll need a good cleaner or degreaser. After cleaning, sanding with 400 to 600-grit sandpaper will help create a surface that the paint can easily stick to.

DIY Porcelain Tile Backsplash Refinishing Steps
Embarking on a do-it-yourself project to refinish a porcelain tile backsplash is an exciting journey filled with creativity and transformation. With the right tools, techniques, and a touch of enthusiasm, you can breathe new life into your kitchen without breaking the bank. Whether you’re aiming to update outdated colors, repair minor damage, or simply refresh the overall appearance, these DIY refinishing steps will pave the way to a stunning and rejuvenated porcelain tile backsplash that reflects your personal style and creativity.
Step 1: Thoroughly Cleaning Your Tile
Start by removing any items from the backsplash area and nearby countertops. Then, clean your tiles thoroughly. Use a degreaser or a mixture of warm water and mild detergent to remove any grease, dirt, and grime. Rinse well and let dry completely.
Because the next steps depend on a clean surface, don’t rush this part. A well-prepared tile will ensure your paint job lasts.
Step 2: Removing the old Finish (if applicable)
Removing the Old Finish by Sanding
After cleaning, if your backsplash tiles have a glossy finish, you’ll need to remove it. This is because the new paint needs a rougher surface to grip onto. Take your sandpaper and gently, in circular motions, sand the tile surface. This is not about removing the tile’s glaze completely, but rather just scuffing it up so the new finish has something to hold onto.
As you work, remember to wipe the dust away frequently. This will help you see your progress and ensure a uniform scuff on all tiles. After sanding, go over the tiles with a damp cloth or tack cloth to remove any remaining dust. This step is essential for a clean surface that’s ready for the next phase.
Using a Chemical Stripper
Removing the old finish from a porcelain tile backsplash can be challenging, especially since porcelain tiles have a durable surface that is resistant to damage. You can use a commercial paint stripper or solvent if you decide to do chemical stripping.
Apply a commercial paint stripper or solvent specifically designed for removing paint or finishes from tiles. Follow the manufacturer’s instructions carefully, as some products may require you to apply the stripper, wait for it to soften the finish, and then scrub the surface with a scrub brush or abrasive pad to remove the old finish.
Now that you’ve prepped the surface, you’re ready to move on to repairs. Even the smallest chip or crack can become more noticeable once painted, so it’s best to address these issues now.
Step 3: Repairing Any Damages
Examine your tiles closely for any cracks, chips, or holes. For small imperfections, a bit of caulk or tile putty will do the trick. Apply the product according to the manufacturer’s instructions and smooth it out so that it’s flush with the tile’s surface. Let it dry completely before you proceed.
Step 4: Sanding: Creating a Surface That Paint Adheres To
Once repairs are made, it’s time to sand the entire backsplash. This will not only smooth out the repairs but also ensure that the primer and paint adhere properly to all of the tiles. Use a fine-grit sandpaper and work gently. When finished, wipe the tiles clean of any dust.
Step 5: Priming: The Key Step for Durability
Priming your tiles is a step you can’t afford to skip. It’s the foundation of your refinishing project. A high-adhesion primer or bonding primer will ensure that your paint sticks to the tiles and stays there. These are formulated to stick to slick surfaces like porcelain.
Applying Primer for a Uniform Base
- Before you start, stir your primer well.
- Beginning in one corner, roll the primer onto the tiles in smooth, even strokes. Overlap each pass slightly to avoid missed spots.
- For areas the roller can’t reach, use your brush to apply primer, again aiming for even coverage.
- Once the whole area is primed, give it time to dry. This could take a few hours to overnight, depending on the primer. Be patient—it’s worth the wait.
- After the primer is set, take a moment to inspect your work. Look for drips or uneven areas and lightly sand them down if necessary.
- Wipe away the dust, and you’re ready for the fun part—painting.
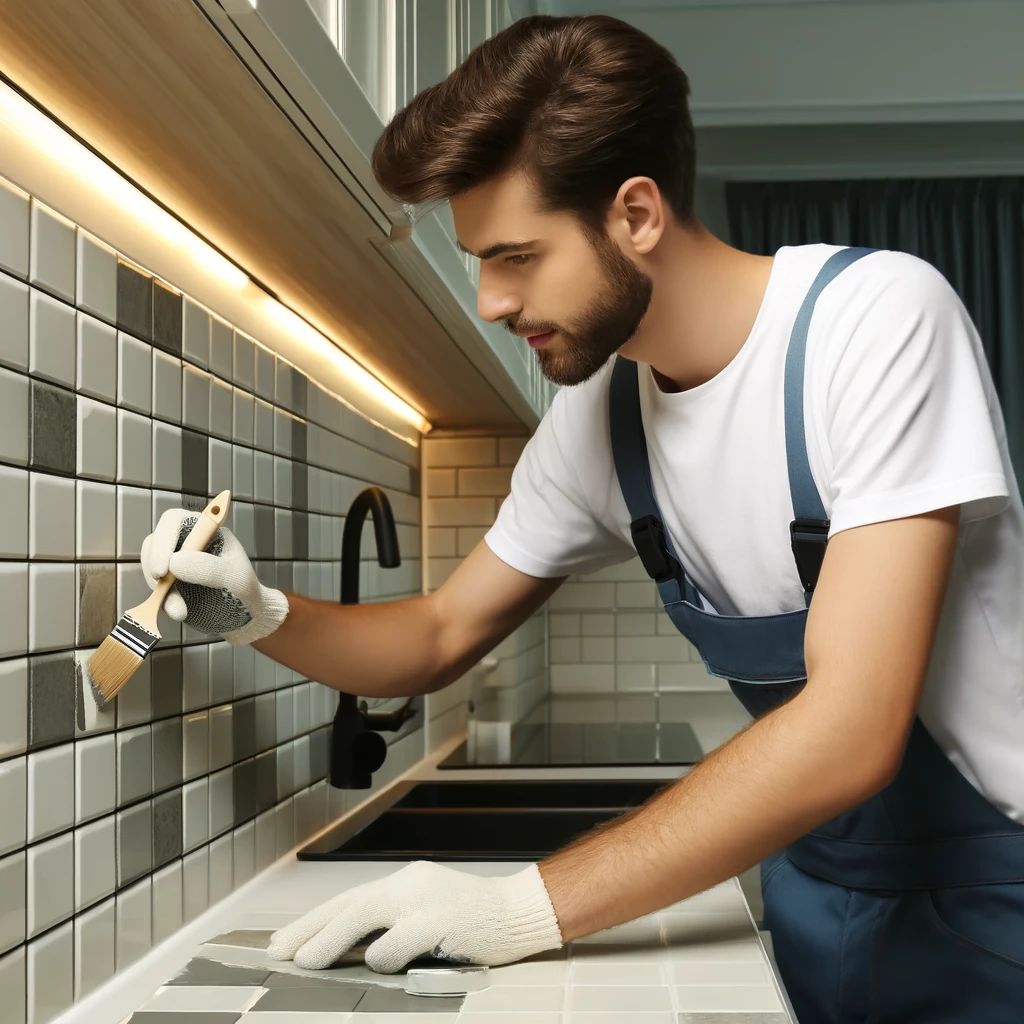
Step 6: Painting: Applying the New Finish
Now, let’s bring some color to your kitchen. When painting, you’ll follow much the same process as priming. Use a foam roller for the main areas and a brush for the details. Apply the paint in thin, even coats. It’s better to do multiple light coats than one thick one, as this will prevent drips and give a more professional finish.
Painting Technique
Begin with your roller, and just like with the primer, work in smooth, even strokes. Overlap each pass slightly to ensure full coverage. Use your brush to get into the grout lines and edges. Let the first coat dry completely before applying the second. This could take a few hours, so be patient.
Incorporating Patterns and Designs
If you’re feeling adventurous, consider adding patterns or designs to your backsplash. You can use stencils or painter’s tape to create geometric designs, or freehand a more organic look. Remember, this is your chance to personalize your space, so have fun with it!
Step 7: Sealing the Deal: Protect Your Project
Once your paint has dried, it’s time to seal your work. A clear urethane sealer will protect your paint from moisture, grease, and other kitchen messes. Apply the sealer with a clean foam roller, working in the same methodical way you did with the primer and paint. Allow it to dry completely before using your kitchen again.
Sealing is the final step in ensuring your backsplash withstands the test of time. It will make cleaning easier and keep the tiles looking fresh and new.
After sealing, stand back and admire your work. You’ve just given your kitchen a fresh look, and you did it all yourself.
Maintenance and Care for Your Refinished Backsplash
After all the effort you’ve put into refinishing your porcelain backsplash, you’ll want to keep it looking as good as new. The secret is in the upkeep. Regular maintenance not only prolongs the life of your backsplash but also makes it easier to clean and enjoy over the years.
Regular Cleaning Tips
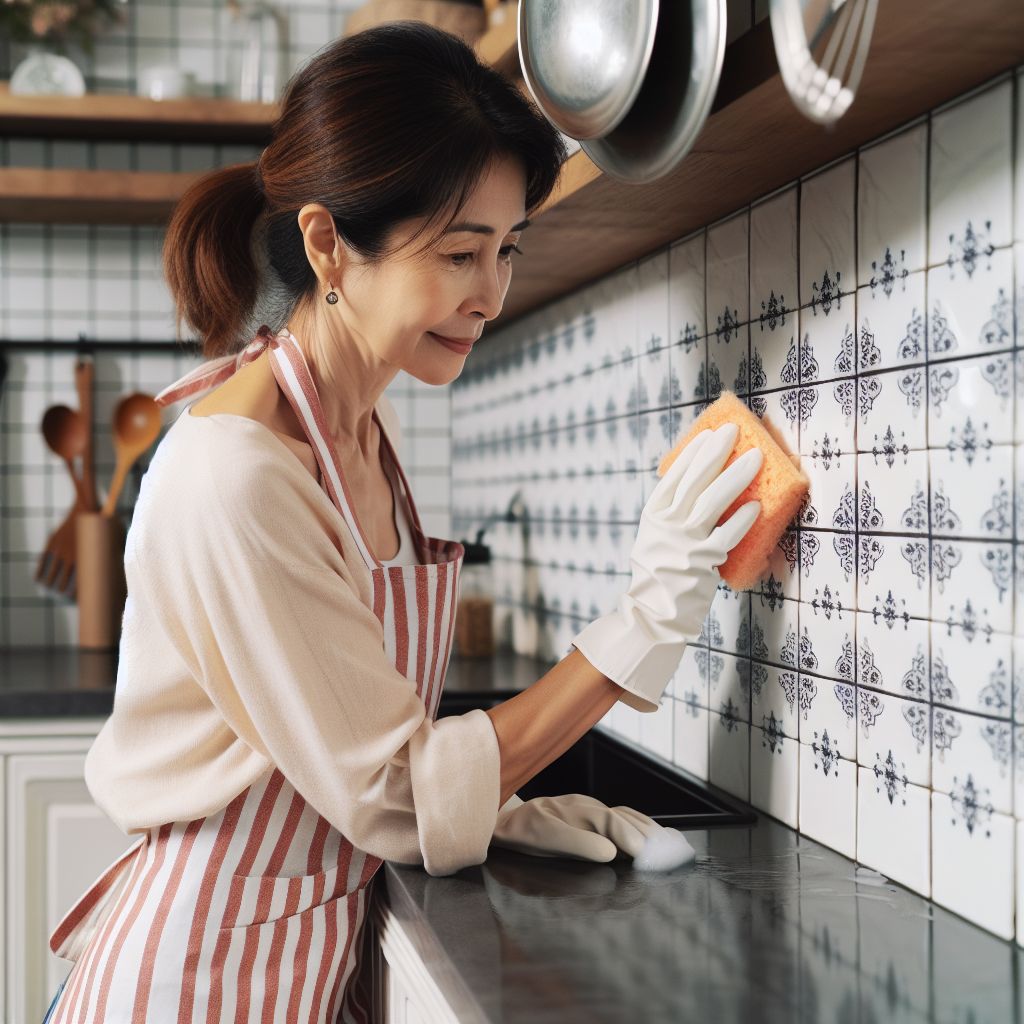
To maintain the pristine look of your refinished backsplash, gentle cleaning is key. Avoid harsh chemicals or abrasive tools. Instead, opt for mild soap and water or a gentle cleaner. Wipe down the backsplash regularly with a soft cloth or sponge to prevent dirt build-up. And if you encounter tough stains, tackle them promptly with a non-abrasive cleaner to prevent any damage to the sealer and paint.
Minor Repairs and Touch-ups
Even with the best care, life happens, and your backsplash may eventually show signs of wear. For minor scratches or chips, a small touch-up with the original paint can work wonders. Just dab a small amount of paint on the affected area and let it dry. If the sealer is damaged, reapply it to the touched-up spot to seal it against moisture and dirt.
Frequently Asked Questions
How Long Does a Refinished Tile Backsplash Last?
A well-executed refinish can last several years, especially with proper care and maintenance. The longevity also depends on the quality of the materials used and the conditions the backsplash is exposed to, like heat and humidity.
Can You Refinish a Tile Backsplash Without Sanding?
Sanding provides the best foundation for the new paint, but if you’re unable to sand due to the condition of the tiles or other concerns, a high-quality adhesive primer might suffice. Just keep in mind that skipping sanding may affect the finish’s durability.
Is a DIY Refinish Better Than Professional Tile Work?
DIY refinishing can be just as effective as professional work, if done correctly. It allows for personal customization and can be more cost-effective. However, professionals bring experience and may offer guarantees on their work, which can be worth considering.
How to Choose Colors That Complement Your Kitchen?
When selecting colors for your backsplash, consider the color scheme of your kitchen. Look at your countertops, cabinets, and walls. Choose a color that harmonizes with these elements or opt for a neutral tone that serves as a versatile backdrop. You can also draw inspiration from home décor magazines or online resources.
What Are the Signs That Your Backsplash Needs Refinishing?
If your backsplash is looking dull, has chips or cracks, or the color is outdated, it might be time for a refresh. Refinishing is a fantastic way to update your space without the need for a complete overhaul.
Remember, the key to a successful DIY project is preparation, patience, and the willingness to learn. By following these steps and tips, you can transform your kitchen with a beautiful, durable, and refreshed porcelain tile backsplash. So roll up your sleeves and get ready to bring a new burst of life into your home!


Leave a Reply