Key Takeaways
- Quartzite vanity refinishing is a cost-effective way to refresh your bathroom’s look.
- Essential tools for the job include sandpaper, primer, refinishing product, and sealant.
- Preparation is key: clean and sand the vanity surface before applying any product.
- Adding personal touches to your vanity can create a customized look that reflects your style.
- Regular maintenance ensures the longevity and beauty of your refinished vanity.
Transform Your Bathroom Vanity with a DIY Refinish
Revamping your bathroom vanity doesn’t have to mean a hefty bill from a professional. With a little elbow grease and some creativity, you can transform your worn-out quartzite vanity into a stunning centerpiece. Not only is this project surprisingly simple, but it also offers a sense of accomplishment once you see the stunning results.
The Beauty of Quartzite
Quartzite is a natural stone prized for its durability and timeless appeal. Unlike other materials that might show wear and tear easily, quartzite can withstand the rigors of bathroom use. Its resilience to scratches and stains makes it an ideal candidate for a DIY refinishing project. So, if your vanity is looking a bit dull or has minor blemishes, don’t worry – it’s nothing that a good refinishing can’t fix.
Why Refinishing is Worth It
Choosing to refinish rather than replace has its perks. It’s cost-effective, environmentally friendly, and allows you to keep the quality stone you already have. It’s also an opportunity to get creative and inject your personal style into your bathroom decor. You’ll be amazed at how a refinished vanity can change the entire feel of the room.
Gathering Your Refinishing Toolkit
Before diving into the refinishing process, you’ll need to gather your tools. A successful refinishing job is all about having the right materials on hand.
Required Materials and Tools
Before you start the process of refinishing your quartzite bathroom vanity, make sure you have all the necessary materials and tools.
- Sandpaper (various grits)
- Primer designed for stone surfaces
- High-quality refinishing product
- Sealant for stone surfaces
- Soft cloths and microfiber rags
- Protective gear (gloves, mask, eyewear)
It’s important to choose products specifically designed for stone to ensure the best outcome. When selecting a refinishing product, consider the final look you want to achieve – glossy, matte, or somewhere in between.
Safety Gear to Protect You
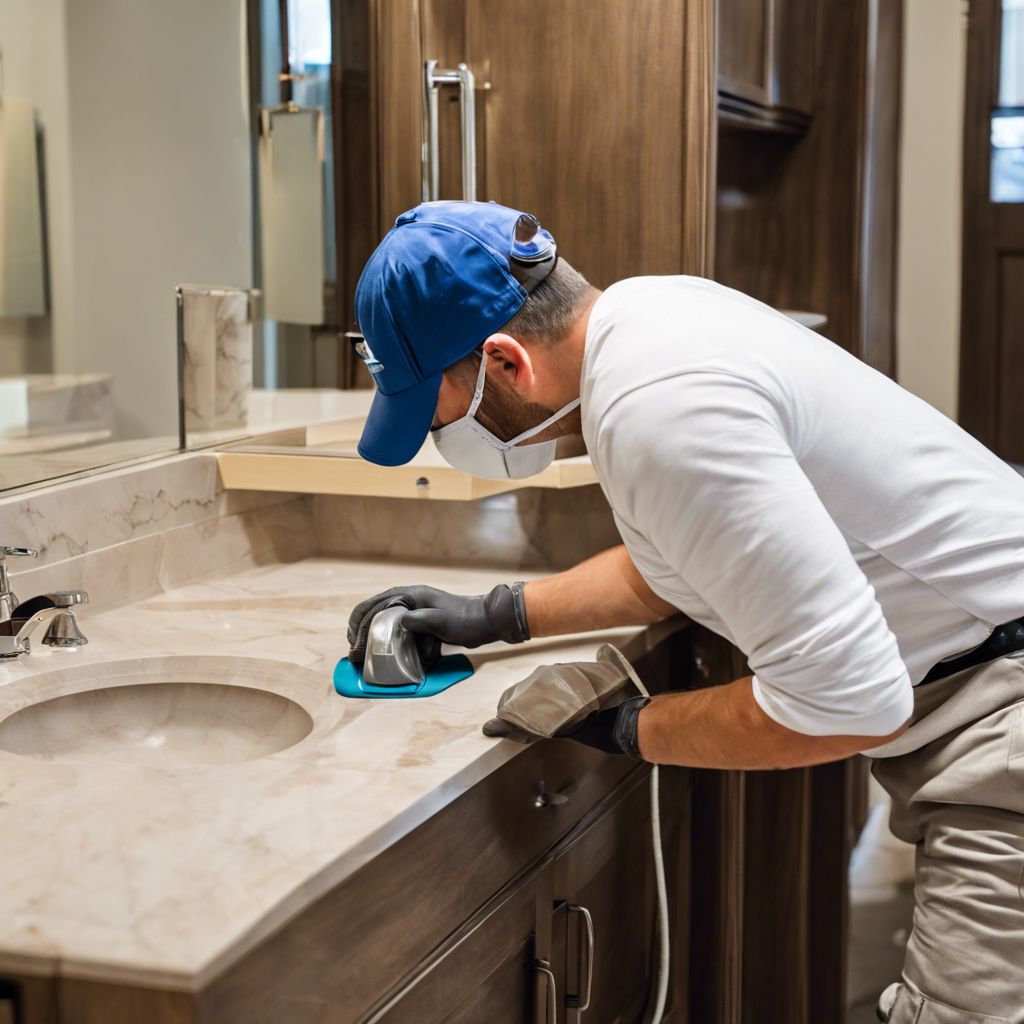
Don’t overlook your safety. Refinishing involves chemicals and dust, so protect yourself. Wear gloves to keep the chemicals off your skin, a mask to avoid inhaling any particles, and eyewear to keep your eyes safe. Safety first means you can enjoy your beautiful vanity for years to come.
Now that you have your tools, materials, and safety gear, you’re ready to embark on the journey of transforming your quartzite vanity. Stay tuned for the detailed steps in the refinishing process.

Refinishing Quartzite Bathroom Vanity Steps
Refinishing a quartzite bathroom vanity involves several steps to ensure a smooth and professional-looking finish. Follow these steps to give your bathroom vanity a beautiful makeover.
Step 1: Cleaning the Surface
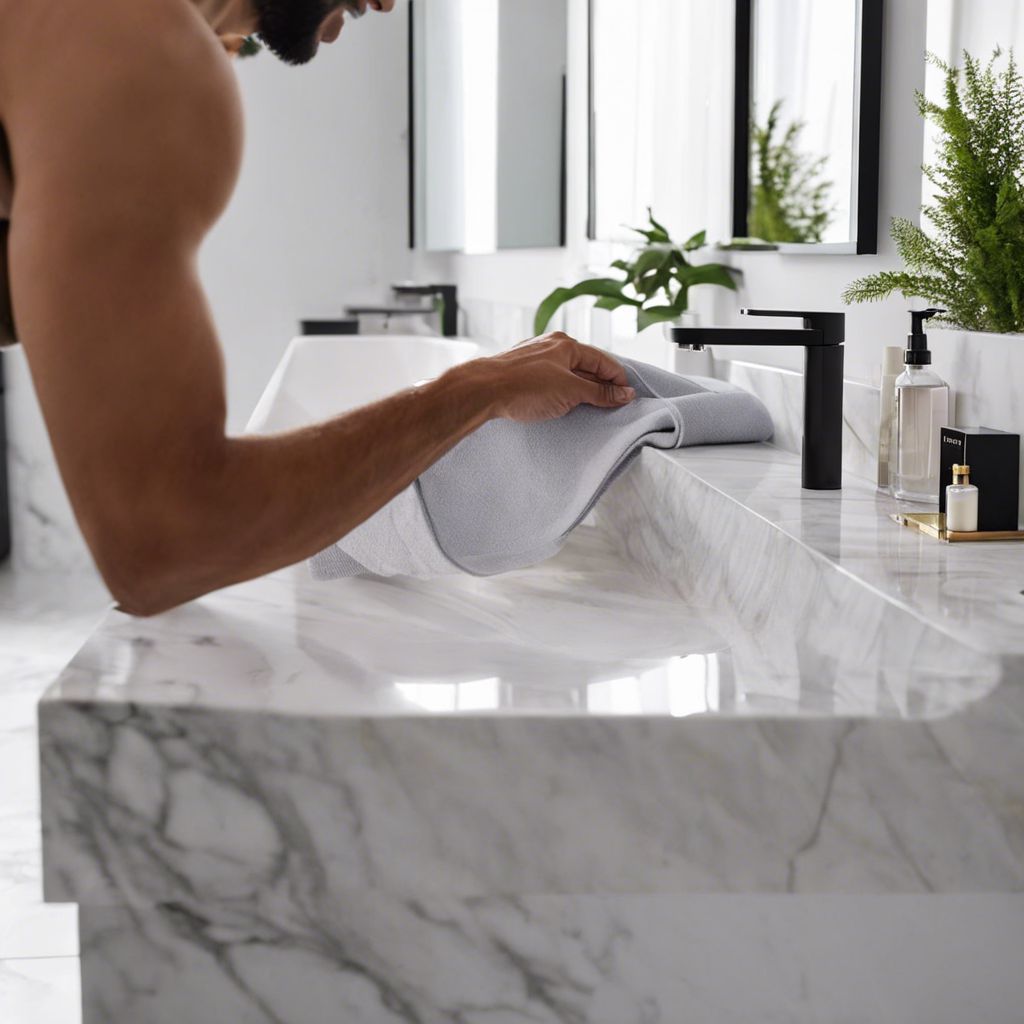
First things first, let’s get that vanity spotless. Any refinishing job starts with a clean slate. Take a mild soap and warm water, then give your vanity a good scrubbing. Be thorough – any leftover grime or residue can interfere with the refinishing products. Once you’ve cleaned it, wipe the surface down with a damp cloth to remove any soap, and then follow up with a dry microfiber rag to ensure there’s no lingering moisture.
Remember, water is the enemy of a smooth refinishing job. If your vanity isn’t completely dry, you might end up with a less-than-ideal finish. So, take your time and make sure it’s bone dry before moving on to the next step.
Step 2: Sanding the Surface
Now, let’s talk about sanding. This step is critical because it helps the new finish adhere to the surface. Start with a coarse grit sandpaper to rough up the surface, then move to a finer grit to smooth it out. Sanding also removes any superficial scratches or etchings that might have occurred over the years.
While sanding, keep these points in mind:
- Always sand in the direction of the stone’s veining.
- Don’t press too hard – let the sandpaper do the work.
- Wipe the surface between sandings to remove dust.
After sanding, you’ll notice the surface has a more uniform look, which means you’re ready for the next phase.
Step 3: Repairing Any Damage
Quartzite is tough, but it’s not invincible. If you’ve found chips or cracks, now’s the time to address them. You can use a stone epoxy to fill in any blemishes. Just make sure the color matches your vanity’s natural hues. Apply the epoxy as directed, smooth it out, and allow it to dry completely.
Once it’s dry, give it another quick sand to ensure the repaired spots blend seamlessly with the rest of the surface. Your vanity should now look as good as new – or better!
Step 4: Applying Primer
Primer is like the secret sauce of refinishing. It’s what helps your finish stick around for the long haul. Apply a primer that’s designed for stone, following the manufacturer’s instructions. Usually, you’ll want to use a roller or a brush for an even coat. Wait for the primer to dry completely before moving on. This might take a few hours, but it’s worth the wait.
Step 5: Applying the Refinishing Product
With your primer set, it’s time to bring in the star of the show – the refinishing product. Whether you’re going for a glossy or matte finish, make sure to apply the product in thin, even layers. It’s all about patience here; too much product can lead to drips or an uneven finish.
Apply as many coats as the product recommends, allowing ample drying time between each. By the end, you’ll see a remarkable transformation that’ll make you proud of your handiwork.
Step 6: Finishing Touches: Sealant and Polish
The final step is to seal your hard work. A high-quality sealant will protect your vanity from water, stains, and scratches. Apply the sealant according to the manufacturer’s directions, usually with a soft cloth, covering the entire surface. Once it’s dry, you can polish your vanity to the desired sheen. And voilà – you’ve got a vanity that looks like it came straight out of a luxury home magazine.

Customize Your Vanity Like a Pro
Refinishing your vanity is not just about restoration; it’s about customization. This is where you can let your personality shine through. You’ve got a blank canvas, so why not make it uniquely yours?
Choosing Colors and Finishes
Color is powerful. It can set the mood for your entire bathroom. When selecting a color for your vanity, consider the overall palette of your space. Do you want a soothing, spa-like vibe with soft neutrals? Or are you looking for a bold statement with rich, vibrant hues? The choice is yours.
Finishes can vary too. From a high-gloss that reflects light beautifully to a matte finish that offers a modern, understated elegance – your options are plentiful.
Adding Personal Details and Designs
For those who want to take it a step further, consider adding stencils or patterns. You can use painter’s tape to create geometric designs or even apply decals for a more intricate look. Just be sure to seal everything once you’re done to protect your designs from the humidity and wear of a busy bathroom.
With these tips, your vanity won’t just be refurbished; it will be a reflection of your taste and style.
Making Your Refinish Last
A job well done deserves to be maintained. And maintaining your newly refinished quartzite vanity is straightforward.
Regular Maintenance Tips
Here’s how to keep that new vanity glow:
- Use gentle cleaners – harsh chemicals can damage the finish.
- Wipe up spills immediately to prevent staining.
- Keep the surface dry to avoid water spots.
These simple habits will keep your vanity looking fresh for years.
Remember, the longevity of your refinishing job is directly tied to the care you put into maintaining it. Treat it well, and it will stay looking like new.
When to Reapply Sealant
Sealant is your vanity’s shield against the elements. But just like any shield, it can wear down over time. Most sealants will last a year or two, but this can vary based on the amount of use and the type of sealant. A good rule of thumb is to check the sealant every six months. If water no longer beads up on the surface, it’s time for a fresh coat.

Frequently Asked Questions
What Makes Quartzite Different From Other Stones?
Quartzite stands out for its hardness and durability. It’s tougher than granite and resists scratching better than marble. Plus, its unique veining and color patterns make it a sought-after choice for homeowners looking for both beauty and brawn in their bathroom design.
Can Refinishing Your Vanity Increase Home Value?
Absolutely! A well-maintained and stylish bathroom can be a significant selling point. Refinishing your quartzite vanity not only enhances the room’s appeal but also demonstrates to potential buyers that you’ve invested in quality maintenance.
How often Should You Refinish Your Quartzite Vanity?
Quartzite’s resilience means you won’t need to refinish often. Typically, a well-maintained quartzite vanity might only need a refinish every 5-10 years. Of course, this depends on the level of use and care. Keep an eye on the finish and address any dullness or damage as soon as it appears.
Is DIY Refinishing Economical Compared to Professional Work?
In most cases, yes. DIY refinishing can save you a considerable amount of money. Professionals do bring expertise, but if you’re willing to put in the time and effort, you can achieve results that are just as stunning at a fraction of the cost.
What are the Most Common Mistakes to Avoid in DIY Refinishing?
When it comes to DIY refinishing, the most common pitfalls are:
- Rushing the process – take your time at each step.
- Skipping the prep work – a clean, well-prepped surface is vital.
- Using the wrong products – make sure you use materials suitable for quartzite.
- Applying too much product – thin, even layers are key.
- Neglecting safety gear – protect yourself from chemicals and dust.
Steer clear of these mistakes, and you’re well on your way to a successful refinishing job.


Leave a Reply