Key Takeaways
- Refinishing a sandstone fireplace can rejuvenate the look of your living space.
- Preparation is key: inspect, clean, and repair your fireplace before starting.
- Choose the right materials: from sealants to paints, select products designed for sandstone.
- Step-by-step guidance ensures a professional finish even for beginners.
- Maintenance is essential: learn how to keep your fireplace looking its best over time.
Transform Your Hearth: The Adventure of Refinishing a Sandstone Fireplace
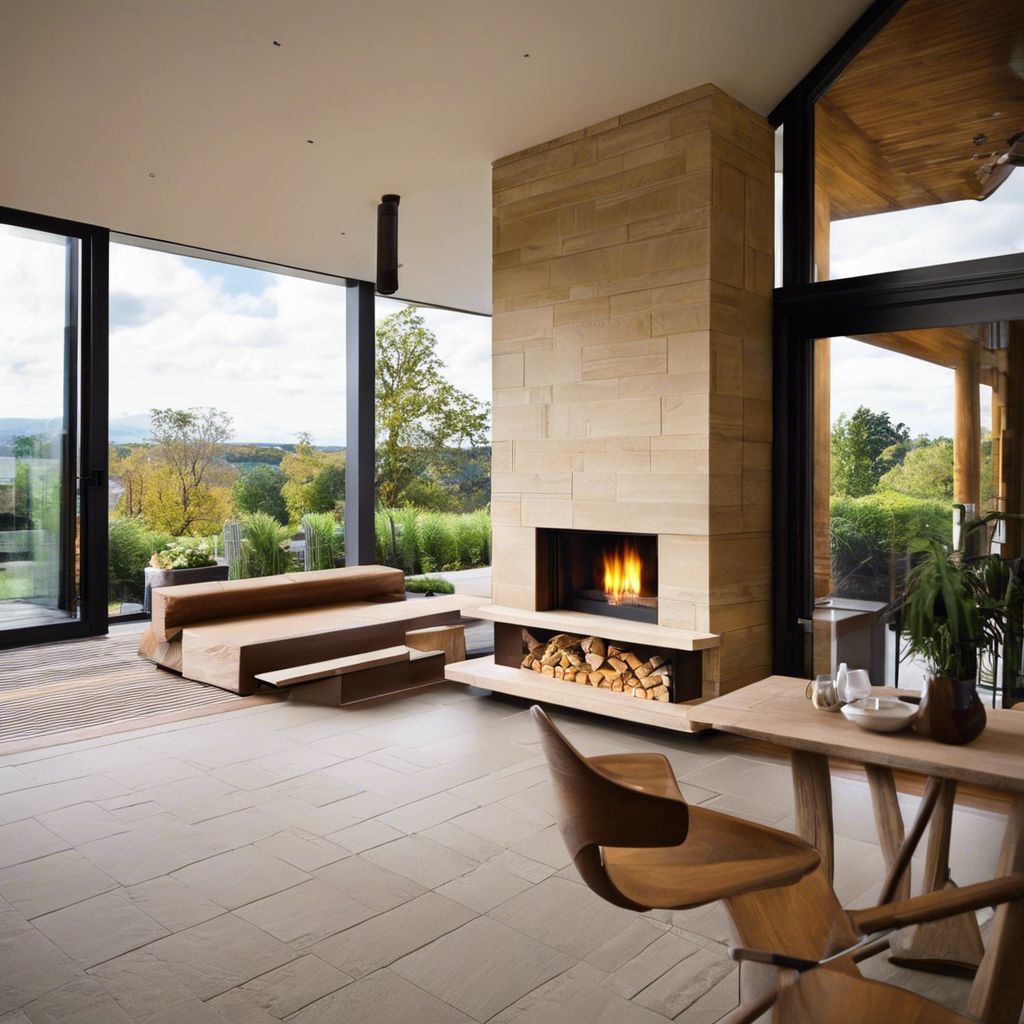
Imagine sitting by a cozy fire, surrounded by the warm glow of a freshly refinished sandstone fireplace. It’s not just a dream; it’s a weekend project that can transform your living space. With a little elbow grease and the right know-how, you can turn a dull, dated fireplace into the centerpiece of your home.
Why Refinish Your Sandstone Fireplace?
A fireplace is often the heart of the home, but over time, it can lose its luster. Sandstone, while durable, is porous and can absorb stains and soot, making it look worn. Refinishing not only restores its natural beauty but can also protect it from future damage. It’s also a cost-effective way to update your interior without a full renovation.
The Materials You’ll Need
Before diving in, gather all the necessary supplies. You’ll need:
- Stone cleaner or a mild detergent
- Stiff-bristled brush
- Repair mortar or stone filler
- Fine-grit sandpaper or a sanding block
- Stone sealant
- Paintbrushes or rollers (if painting)
- Masonry paint or stone enhancer (optional)
- Protective gear such as gloves and safety glasses

The Refinishing Process: Step-by-Step Guide
Refinishing your sandstone fireplace is not just about aesthetics; it’s about preserving the integrity of your home’s focal point. With the right approach, you can ensure your fireplace remains a source of warmth and enjoyment for years to come. Let’s roll up our sleeves and get to the heart of the process.
Step 1: Assessing for Repairs
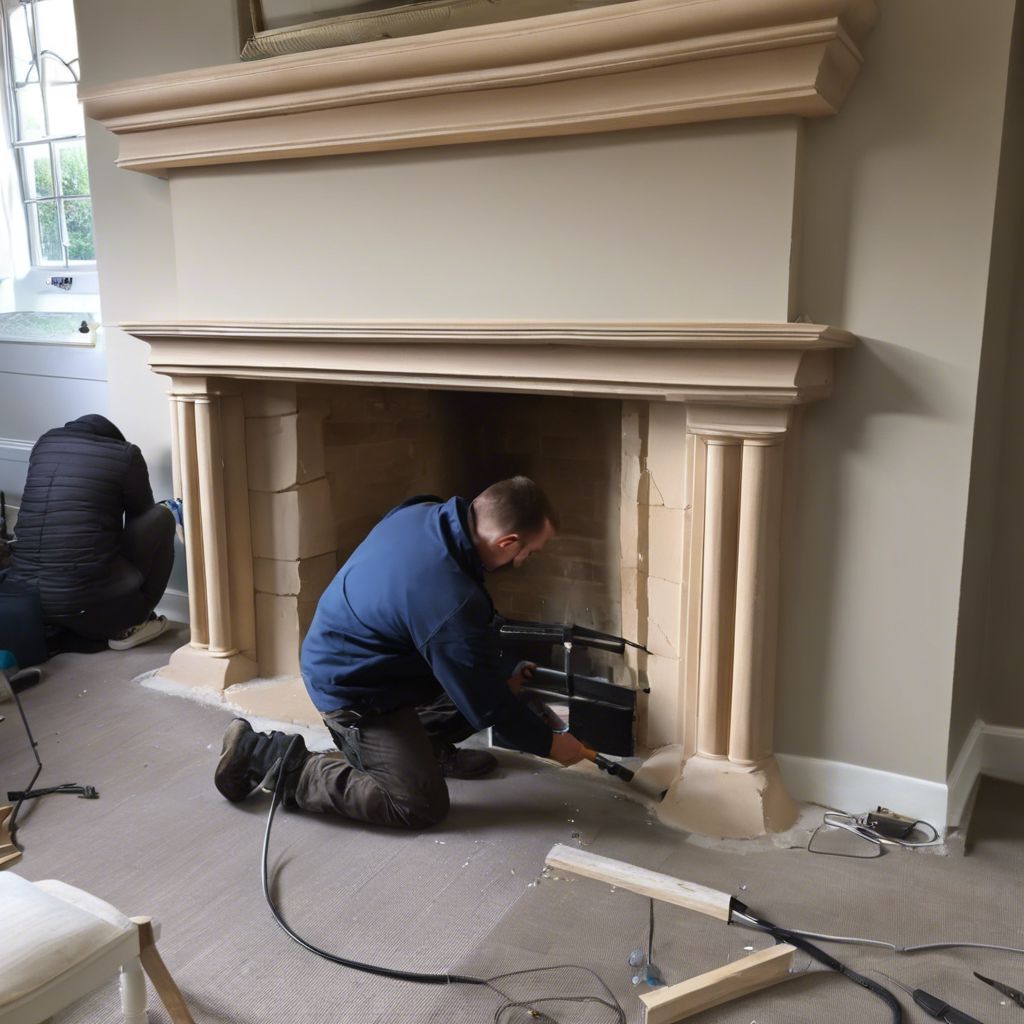
Evaluate the current condition of the sandstone fireplace. Are there any cracks or chips? Identify any areas of damage, staining, or discoloration.
Step 2: Cleaning the Surface
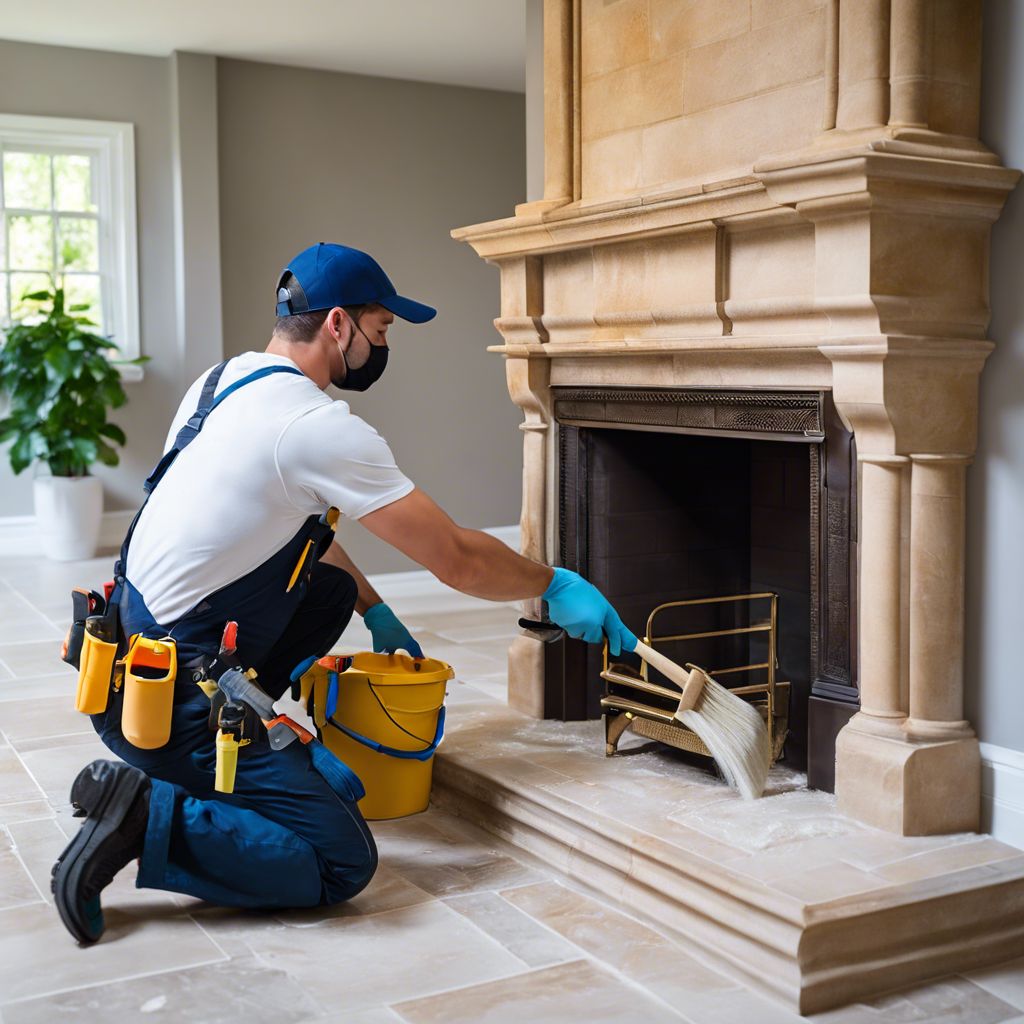
After assessing your fireplace, it’s time to get down to the nitty-gritty. Cleaning the surface is essential for the new finish to adhere properly. Here’s how:
- Wet the surface slightly to prevent dust from becoming airborne.
- Apply stone cleaner generously and scrub with a stiff brush.
- Rinse thoroughly with clean water and allow the stone to dry completely.
Cleaning might seem basic, but it’s a step that can’t be rushed or skipped. A clean surface is the foundation of a successful refinishing job.
Step 3: Repairing Chips and Cracks
Now, focus on any damage. Chips and cracks can be eyesores, but more importantly, they can worsen over time if not addressed. Mix your repair mortar or stone filler according to the manufacturer’s instructions and apply it to the damaged areas. Use a putty knife for precision and make sure to smooth it out to match the surrounding surface.
Remember, patience is your ally. Rushing repairs can lead to a finish that’s less than perfect. Give each step the time it deserves, and you’ll be rewarded with a fireplace that looks as good as new.
Step 4: Smoothing Your Stone
Once repairs are complete, the next step is smoothing your stone. This is where you’ll need your medium-grit sandpaper or sanding block. Gently sand the surface of your sandstone, focusing on any rough patches or uneven areas. The goal is to create a smooth, even surface that will make the sealant and optional paint or enhancer adhere better. Remember to wipe away any dust with a damp cloth after sanding.
Choosing the Right Sandpaper
When selecting sandpaper, opt for a medium-grit option, typically around 120 to 150 grit. This will be abrasive enough to smooth out imperfections without causing damage to the sandstone. If you’re unsure, test a small, inconspicuous area first to ensure it doesn’t scratch the stone.
Sanding Techniques for a Uniform Finish
For a uniform finish, sand in circular motions and avoid pressing too hard. Let the sandpaper do the work. If you’re using a sanding block, keep it flat against the stone to maintain an even surface. Take your time with this process; a well-sanded fireplace is the foundation of a beautifully refinished piece.
Step 5: Seal the Deal: Choosing and Applying Sealant
Sealing your sandstone is important. It protects the stone from stains and wear, and it also brings out the natural beauty of the sandstone. Choose a sealant that’s specifically designed for stone, and make sure it’s suitable for the high temperatures a fireplace will be exposed to.
Types of Sealant for Sandstone
There are several types of sealants available, including:
- Penetrating sealers: These seep into the stone, providing protection without changing the appearance of the stone.
- Enhancing sealers: These not only protect the stone but also intensify its natural colors and features.
- Topical sealers: These sit on the surface of the stone, offering a protective coat with a sheen.
Most importantly, read the instructions on the sealant carefully and follow them to the letter. This will ensure the best protection for your fireplace.
Application Tips for Longevity
Apply the sealant with a clean brush or roller, working in small sections. Allow the sealant to penetrate the stone for the recommended time before wiping away any excess. It’s often a good idea to apply two coats for optimal protection, especially if your fireplace sees a lot of use. Allow ample drying time between coats and before using the fireplace again.
Step 6: Applying a Stone Enhancer (optional)
If you want to deepen the color of your sandstone and give it a wet look, a stone enhancer can be applied after the sealant. This is an optional step but can really make your sandstone pop and add a touch of luxury. Just like with the sealant, apply the enhancer with a brush or roller, following the product’s instructions for the best results.
Whether you decide to apply a stone enhancer or not, the difference in your fireplace’s appearance will be striking from the refinishing process. Not only will it look refreshed, but it will also have an added layer of protection that will extend its life and beauty.
Step 7: Polishing (optional)
If you prefer a glossy finish, you can polish the sandstone after sealing and enhancing. Use a stone polishing compound and a soft cloth or polishing pad to buff the surface to a shine.

Painting Possibilities: Selecting Your Color
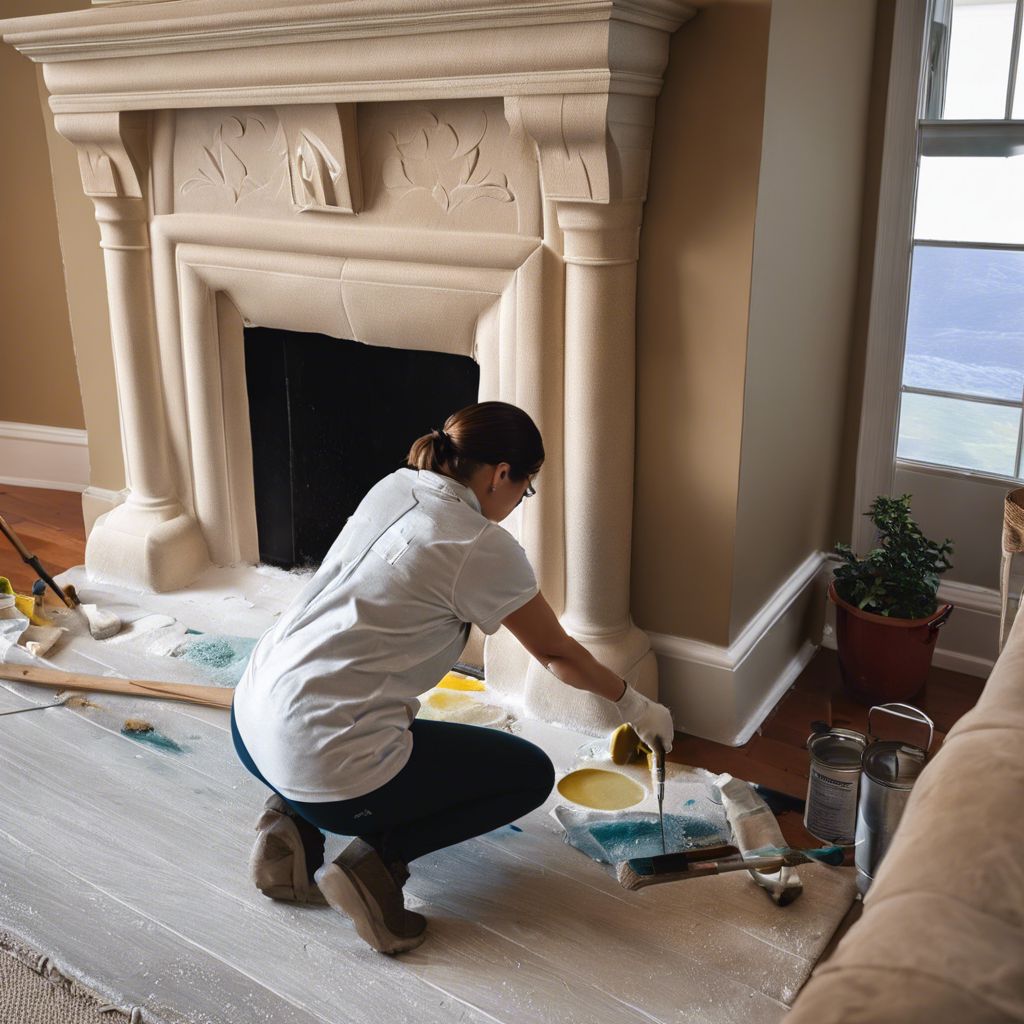
Now, let’s talk about color. If you choose to paint your sandstone fireplace, you should apply the primer first, followed by the paint after the sanding step. Keep in mind that the color you select can completely change the ambiance of the room. Whether you prefer a classic white, a bold black, or something more vibrant, ensure that the paint is high-temperature resistant and suitable for use on stone.
Applying a primer designed for stone surfaces before painting can help the paint adhere better and last longer. When you’re ready to paint, use a roller designed for textured surfaces to get into the nooks and crannies of the stone. A brush can be helpful for touch-ups and hard-to-reach areas.
Color Schemes to Complement Your Space
Choosing a color scheme for your fireplace can be exciting. Consider the following:
- The room’s existing color palette
- The atmosphere you want to create (warm and cozy vs. modern and sleek)
- How the color will look in natural and artificial light
Remember, a fireplace can either be a statement piece or blend seamlessly with the rest of the room, depending on the color you choose.
Applying Paint Evenly on Sandstone
When painting, work in small sections and use even strokes. It’s better to apply several thin coats than one thick coat, as this will prevent drips and ensure even coverage. Allow the paint to dry completely between coats, and don’t rush – the end result is worth the wait.
Common Pitfalls in Refinishing Fireplaces
Refinishing a fireplace is straightforward if you follow the steps above, but there are pitfalls to watch out for. Skipping preparation steps, such as cleaning and sanding, is a common mistake. Not allowing enough drying time between coats of sealant, enhancer, or paint can also lead to disappointing results.
Overlooked Prep Steps
Don’t overlook the importance of a thorough prep. Every step, from cleaning to repairing to sanding, lays the groundwork for a professional-quality finish. Cutting corners here can lead to a finish that doesn’t last or doesn’t look as good as it should.
Missteps in Material Choice
Choosing the wrong materials for refinishing can spell disaster for your fireplace project. For instance, using a sealant that’s not heat-resistant could result in damage when the fireplace is in use. Similarly, applying the wrong type of paint can lead to peeling or discoloration over time. Always opt for products specifically designed for use on stone and capable of withstanding high temperatures.

Maintenance: Preserving Your Fireplace’s Beauty
Once your fireplace is beautifully refinished, regular maintenance is key to keeping it in top condition. This doesn’t have to be a chore; simple, consistent care will go a long way in preserving the look and integrity of your sandstone fireplace.
Cleaning is essential, but so is inspection. Regularly check for signs of wear or damage, especially after heavy use during the colder months. Addressing small issues promptly can prevent larger problems down the line.
Regular Cleaning Tips
For regular cleaning, avoid harsh chemicals that can erode the sandstone. Instead, use a soft cloth or brush with a solution of mild soap and water. Wipe down the stone gently to remove any soot or stains. For tougher stains, a mixture of baking soda and water can act as a gentle abrasive.
Remember to never use acidic cleaners on sandstone, as they can cause permanent damage. Always test any cleaning solution on a small, inconspicuous area first to ensure it won’t harm the stone’s finish.
Preventative Care for Sandstone
- Use a sealant every one to two years, or as recommended by the manufacturer.
- Place a screen in front of the fireplace to minimize soot buildup on the stone.
- Avoid placing candles or oil lamps directly on the stone surface, as they can leave residue or cause discoloration.
These simple steps will not only keep your fireplace looking great but also protect your investment. Your sandstone fireplace is not just a functional element of your home; it’s a piece of art that deserves to be cared for.
Most importantly, don’t wait until the fireplace looks dirty or damaged to give it attention. Regular maintenance is easier than a full-scale refinishing project and will ensure your fireplace remains a beautiful and inviting part of your home for years to come.

Frequently Asked Questions
Can I refinish a sandstone fireplace myself?
Absolutely! With the right tools, materials, and a bit of patience, you can refinish a sandstone fireplace on your own. Just follow the step-by-step guide provided, take your time, and pay attention to detail. It’s a rewarding DIY project that can significantly enhance the look of your home.
However, if you’re unsure about any step or if the fireplace requires extensive repairs, it’s a good idea to consult a professional. Safety should always come first, especially when it comes to your home’s heating elements.
How often should I reseal my sandstone fireplace?
It’s generally recommended to reseal sandstone every one to two years, but this can vary depending on usage and the specific product used. Check the manufacturer’s guidelines for the sealant you choose, and keep an eye on the stone’s appearance. If you notice water no longer beads up on the surface, it’s time to reapply.
What type of paint works best on a sandstone fireplace?
When painting sandstone, look for masonry paint that’s formulated for stone surfaces. It should be heat-resistant and capable of adhering to porous materials. Acrylic latex paint is often a good choice due to its durability and ease of use.
Remember to apply a primer first to ensure the best possible finish. This will help the paint adhere to the stone and provide a more even color.
How do I choose the right sandpaper for sanding my fireplace?
Choosing the right sandpaper is critical for achieving a smooth finish without damaging the stone. Opt for a medium-grit sandpaper, around 120 to 150 grit. If you’re not sure, start with a higher grit and work your way down if necessary. Always sand gently and in circular motions for the best results.
Can I change the color of my sandstone fireplace multiple times?
While it’s possible to change the color of your sandstone fireplace more than once, it’s important to consider the stone’s porosity. Sandstone absorbs paint, which can make it challenging to switch colors frequently. It’s best to choose a color you’ll be happy with long-term. If you do decide to repaint, ensure you properly prepare the surface each time to avoid a build-up of paint layers.


Leave a Reply