Key Takeaways
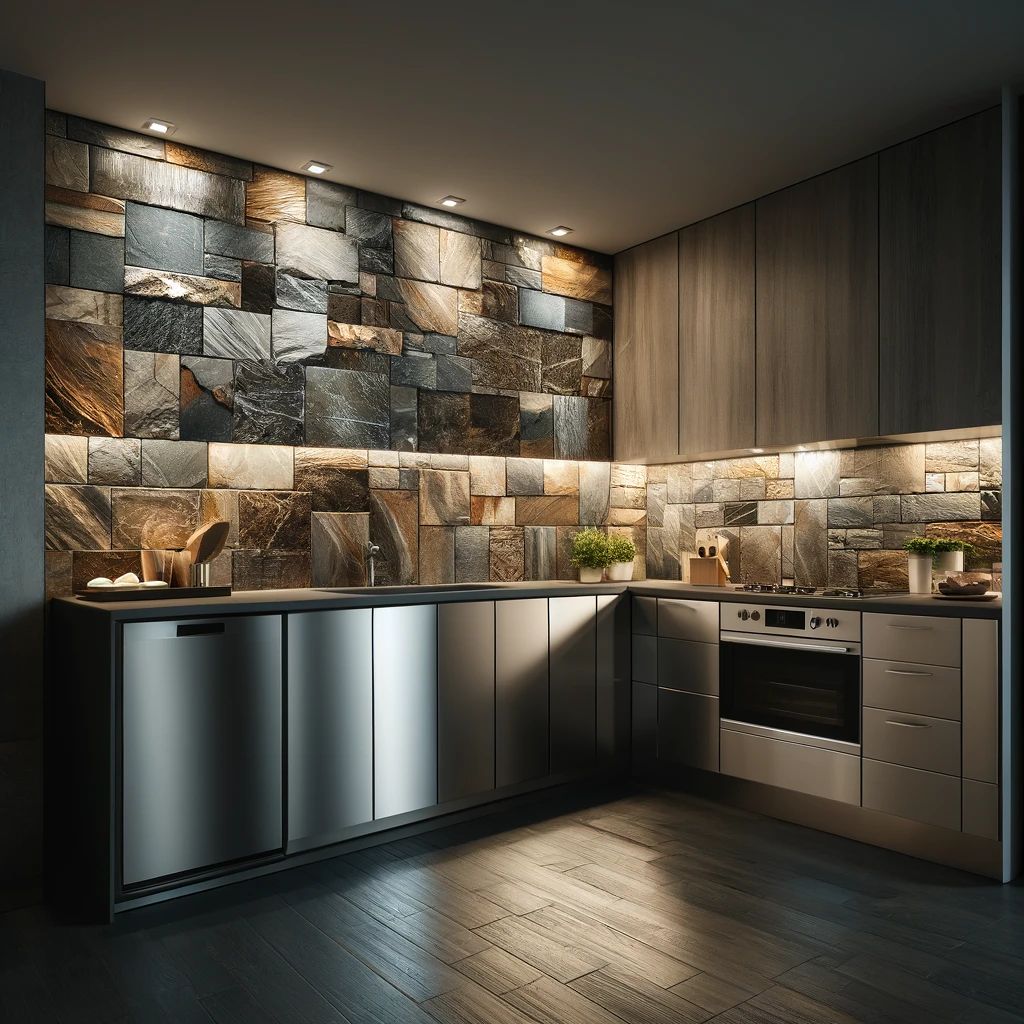
- Refinishing your slate tile backsplash can transform the look of your kitchen or bathroom.
- Having the right supplies is essential for a successful DIY project.
- Preparation of the area and safety are paramount before starting.
- The step-by-step instructions below will guide you through cleaning, repairing, and refinishing your slate tiles.
- Proper maintenance after refinishing ensures your backsplash remains beautiful for years to come.
Unlock Your Slate Tile’s Potential
Imagine your slate tile backsplash not as a permanent fixture, but as a canvas waiting for a fresh burst of life. With the right approach, you can infuse new energy into your space. It’s not just about preserving what you have; it’s about elevating it to something that truly reflects your style and the character of your home.
The Magic of Refinishing
Refinishing is like waving a magic wand over your tired slate tiles. It’s a process that can brighten up a dull surface, unify mismatched tiles, or even change the color to match a new design scheme. Most importantly, it’s a project you can tackle yourself with a bit of guidance and patience.
Benefits of a Fresh Backsplash
A revitalized backsplash isn’t just about aesthetics; it’s also a practical upgrade. A well-maintained and sealed slate surface resists stains and water damage, making it easier to clean and prolonging its life. So a weekend spent refinishing can pay off in both beauty and durability.
Gather Your Supplies
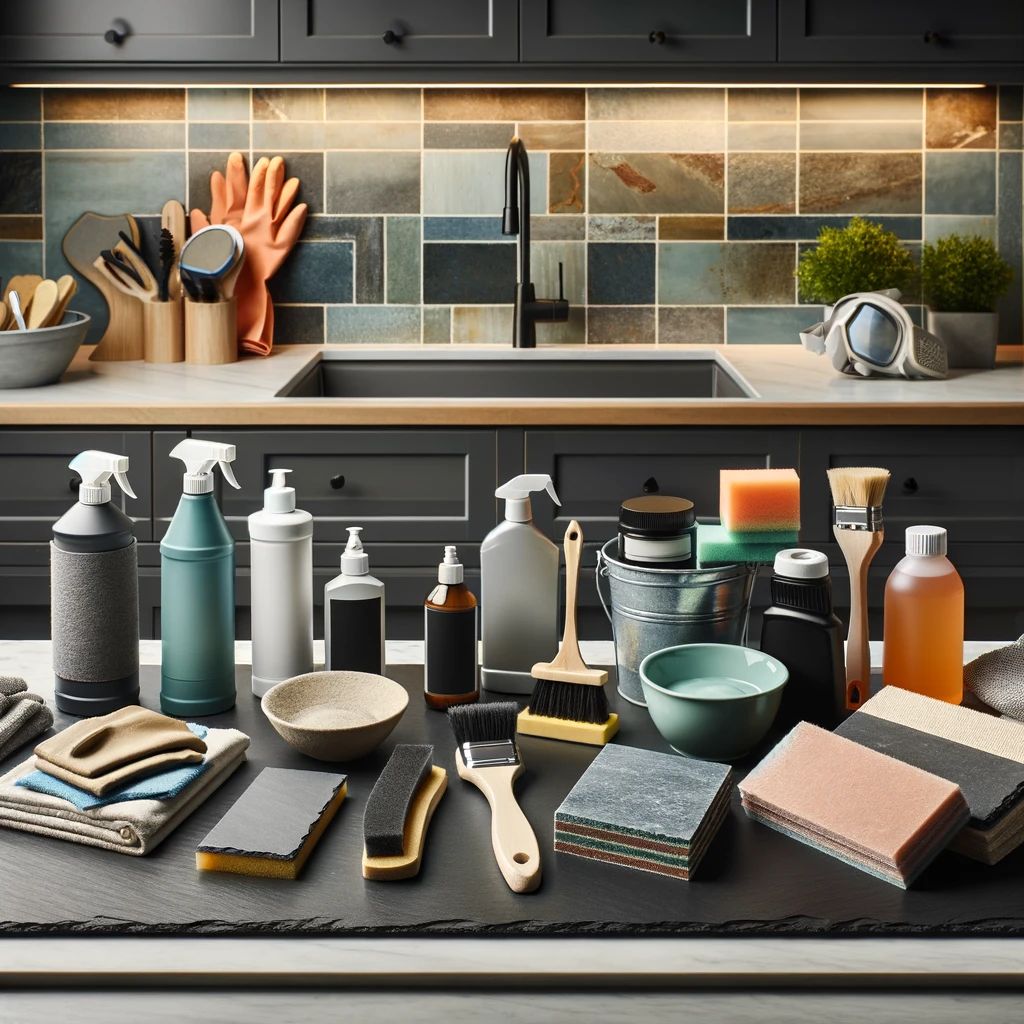
Before you dive into the world of DIY, you’ll need to arm yourself with the right tools and materials. Like a chef gathering ingredients before cooking, this step is important for a smooth process.
Tools of the Trade
- Stone cleaner specific to slate
- Grout cleaner and a small brush for application
- Sandpaper or a sanding block (medium-grit)
- Sealer and color enhancer for slate
- Protective gloves, goggles, and masks
- Soft cloths and sponges for application and cleanup
- Bucket and mop for general cleaning
Choosing the right sealer is vital because it will dictate the final look and maintenance level of your backsplash. A high-gloss sealer can give a shiny, wet look, while a penetrating sealer will offer a more natural finish.
Choosing Your Finishes
Consider the finish that will best suit your lifestyle and design preferences. Do you want to enhance the natural color of the slate or change it entirely? Sealers come in various finishes, and some can even add a tint to your tiles. Remember, the finish you choose will influence the overall ambiance of the room.
Setting the Stage
Now, let’s set the stage for your DIY adventure. Clear the area of any appliances, decorations, or movable furniture. This will give you room to maneuver and protect your belongings from any spills or splashes.
Creating a Safe Workspace
Safety comes first. Make sure the room is well-ventilated to avoid inhaling fumes from the cleaners and sealers. Always wear protective gloves, goggles, and a mask when handling chemicals. It’s not just about getting the job done; it’s about doing it safely.
With your supplies in hand and workspace prepped, you’re ready to begin the transformation of your slate tile backsplash. Let’s roll up our sleeves and get started on the steps to a stunning new surface.

Slate Tile Backsplash Refinishing Steps
Refinishing a slate tile backsplash requires a systematic approach to restore its beauty and functionality. With these steps, you’ll be able to revive your slate tile backsplash successfully.
Step 1: Cleaning Your Canvas
Think of your slate tiles as a canvas; they must be clean before you start painting your masterpiece. Start by thoroughly cleaning the slate tiles. Use a mild detergent or stone cleaner and warm water to remove any dirt, grease, or grime. Scrub the surface with a soft-bristled brush or sponge, paying attention to grout lines. This step is essential because any dirt or grime left on the tiles could interfere with the refinishing process.
Allow the slate to dry completely, which might take several hours or overnight. Patience is key here; starting the next step with damp tiles is a no-go.
Step 2: Getting Rid of Stains and Old Sealer
Removing the Stain
Removing stains from a slate tile backsplash during the refinishing process requires some careful attention to avoid damaging the tiles. Different stains require different treatments. Common types include oil/grease, water/mineral deposits, and organic stains like food or mildew.
Stain Removal Techniques
- For oil or grease stains: Use a poultice made from baking soda and water or a commercial oil stain remover. Apply the poultice to the stain, cover it with plastic wrap, and let it sit overnight before rinsing.
- For water/mineral deposits: Vinegar or a commercial lime scale remover can be effective. Apply the solution to the stained area, let it sit for a few minutes, then scrub gently and rinse thoroughly.
- For organic stains: A mixture of hydrogen peroxide and baking soda can help lift stains from organic materials. Apply the paste to the stain, let it sit for a while, then scrub and rinse.
Removing the Old Sealer
If there’s an existing sealer on the slate, it needs to be removed before refinishing. You can use a sealer remover or solvent according to the manufacturer’s instructions. Ensure the area is well-ventilated and follow safety precautions.
Step 3: Repairing Any Damage
After removing the stain or old sealer, inspect the slate tiles for any cracks, chips, or other damage. Repair these areas using a suitable filler or epoxy resin designed for stone surfaces. Allow the repairs to dry completely before proceeding.
Now, take a close look at the grout. If you see cracks or missing pieces, it’s time for a touch-up. Grout repair is not just cosmetic; it also prevents water from seeping behind the tiles, which can cause damage. Mix grout according to the manufacturer’s instructions and apply it with a grout float, wiping away any excess with a damp sponge.
Let the grout cure for the time recommended by the manufacturer before proceeding to the next step. This usually takes about 24 hours. Remember, rushing through this process can compromise the quality of your project.

Step 4: Sanding the Surface
Use fine-grit sandpaper or a sanding block to lightly sand the entire surface of the slate tiles. This helps to smooth out any rough spots and provides better adhesion for the new sealer or finish.
After sanding, clean the slate tiles once more to remove any dust or debris created during the sanding process. A damp cloth or sponge should suffice for this step.
Step 5: Surface Refinishing
With your slate tiles clean and grout repaired, it’s time to refinish. Refinishing is about more than just making your tiles look good; it’s about protecting them from future wear and tear. This process will vary depending on the type of finish you’ve chosen, so follow the instructions specific to your product closely.
Choose a sealer or finish specifically formulated for slate tiles. Apply the sealer evenly using a clean paintbrush or roller, working in small sections at a time. Follow the manufacturer’s instructions regarding application techniques and drying times. Typically, multiple coats may be required for optimal protection and durability.
After the final coat, wait at least 24 hours before using the area to ensure the sealer has cured properly. This patience will pay off with a durable and stunning finish.
Sealing for Permanence
Sealing your slate tiles is not a step to be skipped. This barrier is your first defense against spills and stains, locking in the beauty of your tiles and making maintenance a breeze. Apply the sealer evenly, and make sure to wipe up excess as you go to prevent a hazy finish.
Enhancing
If you’ve chosen an enhancing sealer, you’re in for a treat. These products are designed to deepen and enrich the natural colors of your slate. They bring out hidden hues and patterns, adding depth and interest to your backsplash. Just like the sealer, apply it evenly and be mindful of drips.
Polishing (optional)
For those who love a bit of shine, polishing your slate after sealing can give it a gleaming finish. This step is optional, but if you choose to polish, make sure the sealer is completely dry. Use a soft cloth and a circular motion to buff the surface to the desired sheen.
Remember, the more effort you put into these finishing touches, the more professional and polished your final result will be. So take your time, and don’t cut corners.
Step 6: Finishing Touches
As you near the end of your project, take a step back and admire your work. Look for any missed spots or uneven areas that may need a touch-up. This final inspection is your chance to perfect your backsplash before you put everything back in place and start using the area again.
Final Inspection
During your final inspection, check the light reflection on the tiles to spot any areas that might have been missed or need a second coat of sealer. Ensure the grout lines are clean and even, and there are no hazy patches on the tiles. Once you’re satisfied with your inspection, you can rest assured that you’ve done a thorough job.

Maintenance for Longevity
After the hard work of refinishing, maintaining your slate tile backsplash is key to keeping it looking great. Regular cleaning with a gentle, pH-neutral cleaner will prevent buildup and keep the tiles looking fresh. Avoid harsh chemicals or abrasive tools that can scratch or damage the sealant. Wipe up spills promptly to prevent staining, and every few months, do a thorough cleaning to keep your backsplash in top condition.
It’s a good idea to reapply sealer periodically. How often will depend on the product used and the amount of wear your backsplash receives, but generally, resealing every one to two years is a good rule of thumb. This will ensure your slate remains protected and continues to repel stains effectively.

Frequently Asked Questions (FAQ)
Can I Refinish Slate Tiles to Any Color?
While slate tiles can be enhanced or tinted, the natural color variations in the stone will affect the outcome. It’s possible to darken slate tiles with a color-enhancing sealer, but lightening them significantly is not usually feasible. If you’re considering a color change, test the product on a spare tile or in an inconspicuous area first to ensure you’re happy with the result.
How Long Does the Refinishing Process Take?
The refinishing process can take a weekend or longer, depending on the size of your backsplash and the condition of your tiles. Cleaning, repairing, and sealing each require time to dry and cure, so it’s important to plan accordingly and not rush the process. Good things come to those who wait, and that’s certainly true for DIY refinishing projects.
Do I Need To Strip Old Sealer Before Refinishing?
If your slate tiles have been previously sealed, you’ll need to strip the old sealer before applying a new coat. Old sealer can prevent the new sealer from adhering properly, leading to an uneven finish and reduced protection. Use a sealer remover specific to slate, and follow the manufacturer’s instructions carefully.
How Do I Maintain My Newly Refinished Backsplash?
Maintaining your newly refinished backsplash involves regular cleaning with the right products, promptly addressing spills, and resealing as needed. Use cleaners that are specifically formulated for natural stone and avoid vinegar or acidic solutions that can etch the surface. For daily maintenance, a soft cloth or sponge with warm water will often suffice.
Is It Necessary to Hire Professionals for Slate Tile Refinishing?
While DIY slate tile refinishing is achievable for many homeowners, some may prefer to hire professionals, especially if the project is large or the tiles are in poor condition. Professionals can bring experience and specialized equipment to the task, ensuring a high-quality finish. However, with careful planning and attention to detail, homeowners can successfully refinish their slate tile backsplash on their own.
In conclusion, refinishing your slate tile backsplash can be a rewarding DIY project that breathes new life into your space. By following these steps and tips, you can achieve a professional-looking finish that not only enhances the beauty of your home but also provides lasting protection for your slate tiles. Remember to take your time, work safely, and enjoy the process of transforming your backsplash into a stunning feature that you’ll be proud of for years to come.


Leave a Reply