Key Takeaways
- Travertine tile refinishing can revitalize the look of your floors.
- Gather the right tools and materials before starting the refinishing process.
- Understand the unique characteristics of travertine to avoid damage during refinishing.
- Follow the detailed, step-by-step process below to ensure the best results.
- Maintain your refinished travertine flooring with proper cleaning and care.
Embarking on Your Travertine Tile Floor Refinishing Journey
Before diving into the nitty-gritty, it’s important to understand that travertine is a natural stone with specific needs. It’s porous and sensitive to acidic substances, which means that it can stain or etch easily if not properly cared for. However, with the right approach, you can bring back its original splendor or even enhance it to suit your taste.
Why Consider Refinishing Travertine Floor Tiles
Sprucing up your travertine floor tiles is like giving your space a much-needed spa day. As time goes by, those gorgeous tiles might lose their luster due to everyday use and unexpected spills. Refinishing can save the day, bringing back their natural beauty and charm. Plus, it adds an extra layer of defense, ensuring your floors stay fabulous for years to come. It’s all about investing in a space that brings you joy and keeping it looking its best.
Gathering Your Tools and Materials
Before we roll up our sleeves, let’s talk about what you’ll need. Here’s a quick checklist:
- A vacuum cleaner to remove loose dirt and debris.
- Masking tape and plastic sheets to protect surrounding areas.
- Mild, stone-safe cleaners – avoid anything acidic!
- Soft towels or cloths for drying the surface.
- A steam cleaner for deep cleaning, if available.
- Stone sealer to protect your tiles after refinishing.
- Stone stripper and a floor scrubber for removing old sealant.
- Scrubbing brushes for those tough spots.
Remember, using the right products is key to not damaging your precious travertine.
Understanding Travertine Tile Characteristics
Travertine is a type of limestone formed in hot springs and has a distinctive look with its pitted holes and troughs. These are often filled for a smoother finish, but you can also leave them for a more natural, textured look. It comes in a variety of colors, from soft ivory to rich walnut, giving you plenty of room for creativity.
Most importantly, travertine’s porosity means it’s susceptible to staining and requires regular sealing. With this in mind, you’re ready to start the refinishing process.

Step-by-Step Travertine Refinishing Process
Now, let’s walk through the refinishing steps. It’s a journey that requires patience and attention to detail, but the reward is a stunning floor that can elevate the entire feel of your home.
Step 1: Preparing the Area
First things first: clear the stage. Move furniture and rugs out of the way and give yourself plenty of room to work. Next, protect your baseboards, cabinets, and any adjacent flooring with masking tape and plastic sheets. This step prevents any accidental damage during the refinishing process.
Step 2: Cleaning the Tiles Thoroughly
Using your vacuum, remove all the loose dirt and dust. Follow up with a gentle cleaner — remember, nothing acidic — and mop the floor carefully. If you have a steam cleaner, now’s the time to use it for a deep clean. After cleaning, ensure the floor is completely dry before moving on to repairs.
Step 3: Repairing Any Damage or Cracks
Take a close look at your travertine tiles, just like giving them a little check-up. Look out for any cracks, chips, or places where the tiles seem to be coming loose. If you spot any of these, don’t worry, it’s nothing a little TLC can’t fix.
Grab yourself a travertine repair kit or some epoxy resin filler and follow the instructions on the kit carefully. Once you’ve worked your repair magic, give those areas some time to dry properly. This step is super important to make sure your repairs hold up well in the long run.
Step 4: Deep Cleaning
For stubborn stains or ingrained dirt, you may need to perform a deep cleaning. Mix a stone-safe cleaning solution with warm water. Use a soft-bristled brush to gently but firmly work the solution into the tile. Pay special attention to grout lines and any pits or crevices in the travertine. Rinse thoroughly with clean water, ensuring no cleaner residue is left behind. A clean floor is essential before moving on to the next steps; any leftover dirt can affect the finish.
Step 5: Honing for a Smooth Finish
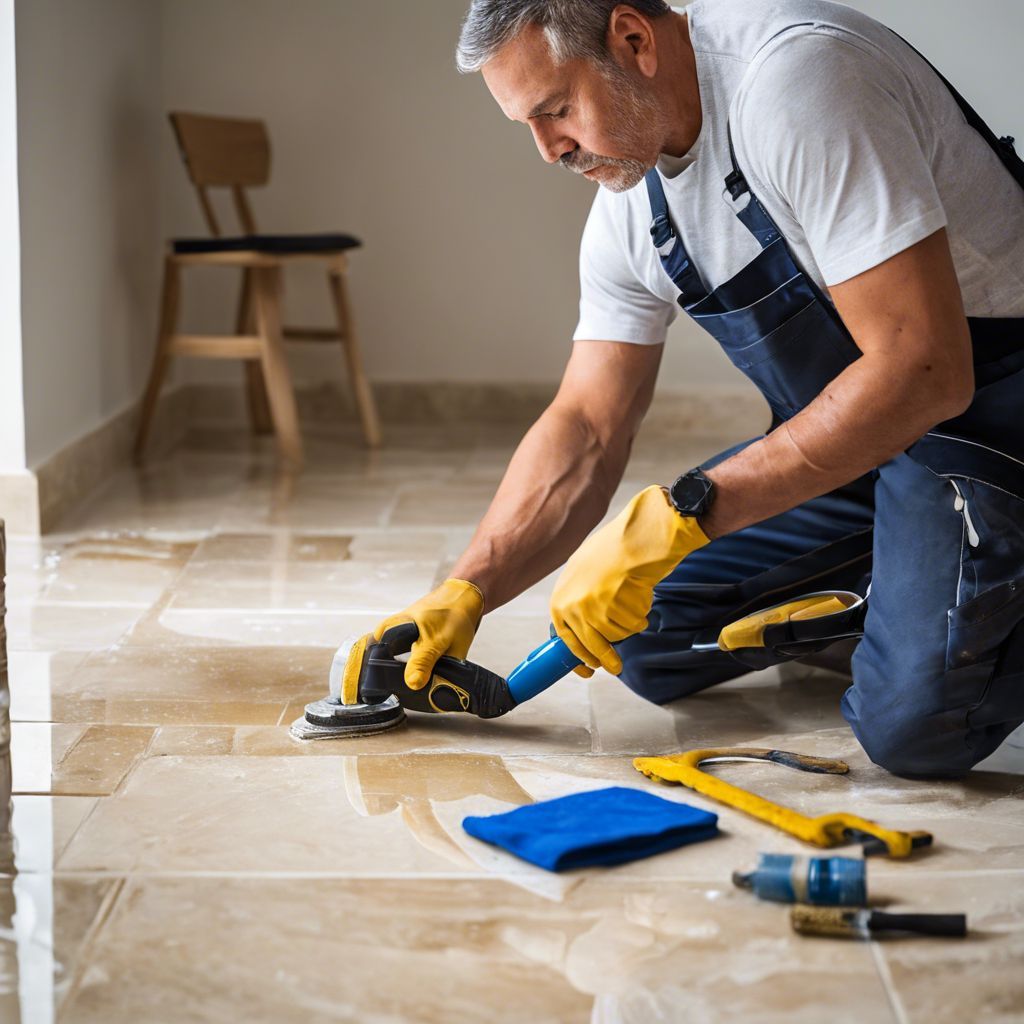
Honing is the secret to removing any superficial scratches and etch marks, giving your travertine a smooth, matte finish. You’ll need honing pads, which can be attached to a hand buffer or floor machine. Start with a coarse pad and work your way to a finer grit. Move the buffer in a circular motion, overlapping your paths to ensure an even finish. Honing can be dusty work, so consider wearing a mask and keeping the room ventilated.
After honing, wipe the floor with a damp cloth to remove any dust. You’ll immediately notice a more uniform surface and, depending on the level of honing, a subtle sheen starting to appear.
Step 6: Polishing to Restore Shine
If you want a glossy finish, polishing is your next step. Switch to a polishing pad on your buffer and apply a stone polish. Work in small sections, using the same circular motions as with honing. The polish will fill in microscopic pores and reflect light, which brings out the natural beauty of the travertine. Once you’ve polished the entire floor, buff it with a clean, dry cloth to bring out the shine.
Remember, polishing is optional. If you prefer the honed look, you can skip straight to sealing.
Step 7: Sealing for Protection
Sealing is non-negotiable. It protects your travertine from stains and makes it easier to clean. Choose a sealer designed for travertine and apply it with a soft cloth or mop. Cover the floor evenly, making sure not to miss any spots. It’s best to apply two thin coats rather than one thick one. Let the sealer dry according to the manufacturer’s instructions before walking on the floor or replacing furniture.

Pro Tips for a Flawless Finish
For a finish that really wows, keep these pro tips in mind:
- Test your cleaners on an inconspicuous area first to ensure they don’t cause discoloration.
- During honing and polishing, regularly check your progress. Stop when you’ve reached the desired finish.
- When sealing, work in a well-ventilated area and give the sealer ample time to cure.
These small details can make a big difference in the final look of your travertine.
Choosing the Right Sealant
Sealants come in two varieties: penetrating and topical. Penetrating sealers soak into the pores of the travertine, providing protection without changing the appearance. Topical sealers, on the other hand, sit on the surface and can give a glossy finish. Consider the look you want and the level of maintenance you’re willing to undertake when choosing your sealant.
Buffing Techniques to Avoid Streaks
To avoid streaks when buffing, always keep your pads clean and change them as soon as they show wear. Overlap your strokes, and don’t rush the process. Patience is key to a streak-free shine. If you do end up with streaks, a little more polish and a soft cloth can usually buff them out.
Maintaining Your Travertine Flooring Post-Refinishing
Once your floor is refinished, regular maintenance will keep it looking beautiful. Here are a few daily practices:
- Immediately wipe up spills to prevent staining.
- Use a dry dust mop daily to remove dirt and debris.
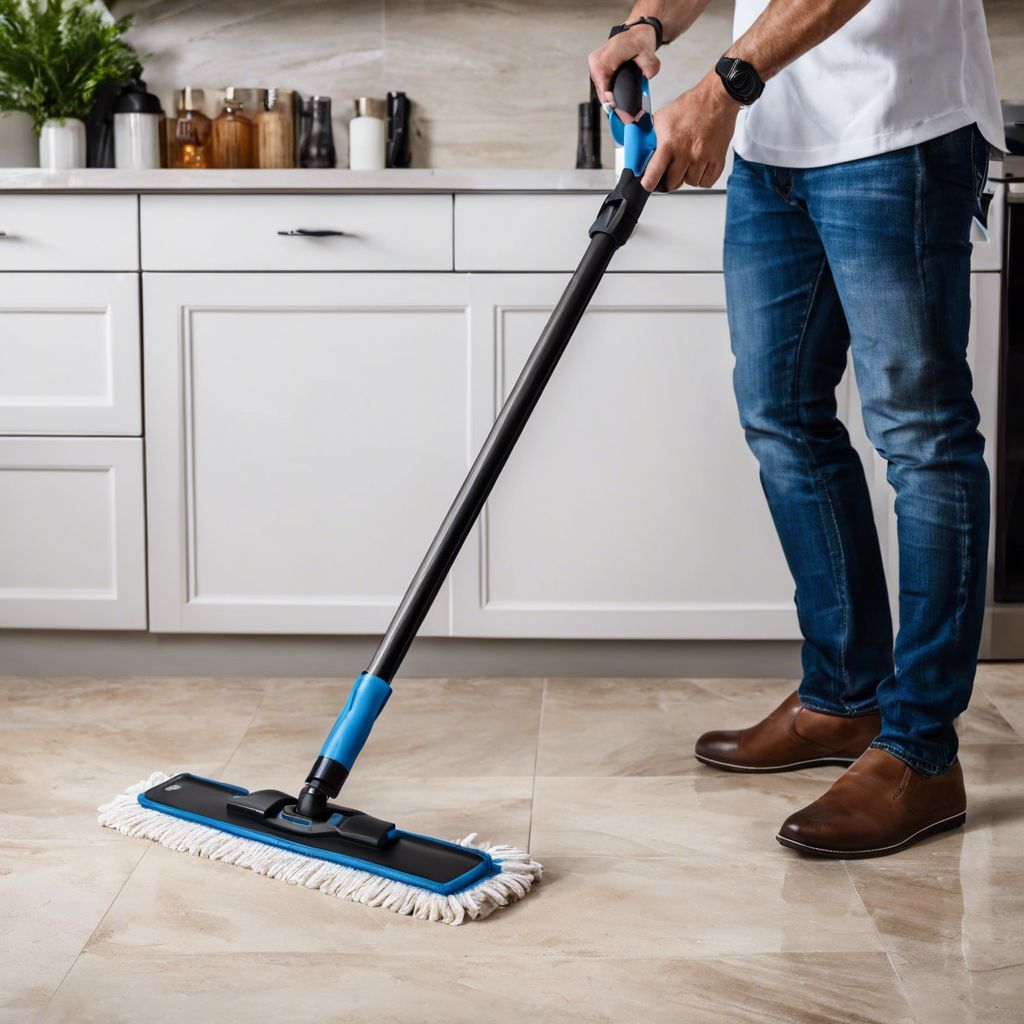
- For wet cleaning, use a damp mop with a stone-safe cleaner.
These simple habits will help your travertine tile flooring stay in top condition for years to come.
Dealing with Spills and Stains
Handling spills and stains on travertine is a bit like being a good goalie; quick reflexes are key. The moment a spill occurs, blot it up with a soft cloth to prevent the liquid from penetrating the stone. Don’t wipe, as this can spread the stain. For stubborn stains, a poultice made from baking soda and water can be applied to draw out the impurity. Just spread it over the stain, cover with plastic wrap, and let it sit for 24 to 48 hours before rinsing off.
Periodic Maintenance to Prolong Shine
Periodic maintenance is the secret to longevity for your travertine floors. Every few months, give your floors a thorough inspection. Look for any new chips or cracks and repair them promptly to prevent further damage. Resealing the floor every one to two years will also help maintain its resistance to staining and etching. This way, your travertine will not only look better but will also last longer.

Frequently Asked Questions (FAQ)
Do I Need Professional Help to Refinish Travertine Floors?
While professional help ensures top-notch results, refinishing travertine floors can be a DIY project if you’re willing to invest the time and effort. It’s essential to do your research, gather the right tools, and follow the steps carefully. If you’re unsure or if the job is extensive, it might be best to consult with a professional.
How Often Should Travertine Floors Be Refinished?
Travertine floors typically need to be refinished every 5 to 10 years, depending on foot traffic and maintenance. Regular cleaning and prompt spill management can extend the time between refinishing jobs. Keep an eye on the floor’s finish; when it starts to dull or scratch, it’s time for a refresh.
Can Refinishing Travertine Floors Change the Color or Texture?
Refinishing can slightly alter the color or texture of your travertine floors, depending on the methods used. Honing can change the texture to a more matte finish, while polishing can bring out the natural colors and patterns in the stone. However, these changes are generally subtle and enhance the stone’s beauty.
Is It Possible to Refinish Travertine Tile by Myself?
Yes, it is possible to refinish travertine tile by yourself. Here’s a simplified rundown:
- Prepare the area by cleaning and removing debris.
- Repair any cracks or damage.
- Deep clean or steam clean the tiles.
- Hone the floor with a honing pad for a smooth finish.
- Polish the floor if a glossy look is desired.
- Seal the tiles to protect against future damage.
With patience and careful execution, you can achieve professional-looking results on your own.
What Are the Dangers of Not Properly Sealing Travertine Tiles?
Sealing is an essential step in the refinishing process, providing a barrier that helps preserve the beauty and integrity of your travertine tiles. If not done correctly, you risk:
- Stains: Unsealed travertine is more susceptible to staining from spills, which can be difficult to remove.
- Etching: Acidic substances can etch the surface, leading to dull spots and a marred finish.
- Moisture Damage: Without a sealant, travertine can absorb water, leading to mold or mildew growth.
- Wear and Tear: Unsealed travertine can wear down faster, losing its luster and resulting in costly repairs or replacement.
In conclusion, while travertine tile refinishing requires some effort, the results can be truly transformative. By following this guide, you can restore the elegance of your travertine flooring, ensuring it remains a stunning feature in your home for years to come. Remember to handle the stone with care, use the right products, and maintain the finish regularly. Your travertine will thank you with a timeless beauty that enhances the overall ambiance of your space.


Leave a Reply