Key Takeaways
- Refinishing a Sheesham wood table can revive its natural beauty and extend its lifespan.
- Preparation is key: assess the table’s condition, gather necessary tools, and protect your workspace.
- Stripping the old finish and thorough sanding are essential steps for a smooth and even finish.
- Applying the right stain and sealant will enhance the wood’s natural grain and protect it from future damage.
- Proper maintenance post-refinishing will ensure your table stays beautiful for years to come.
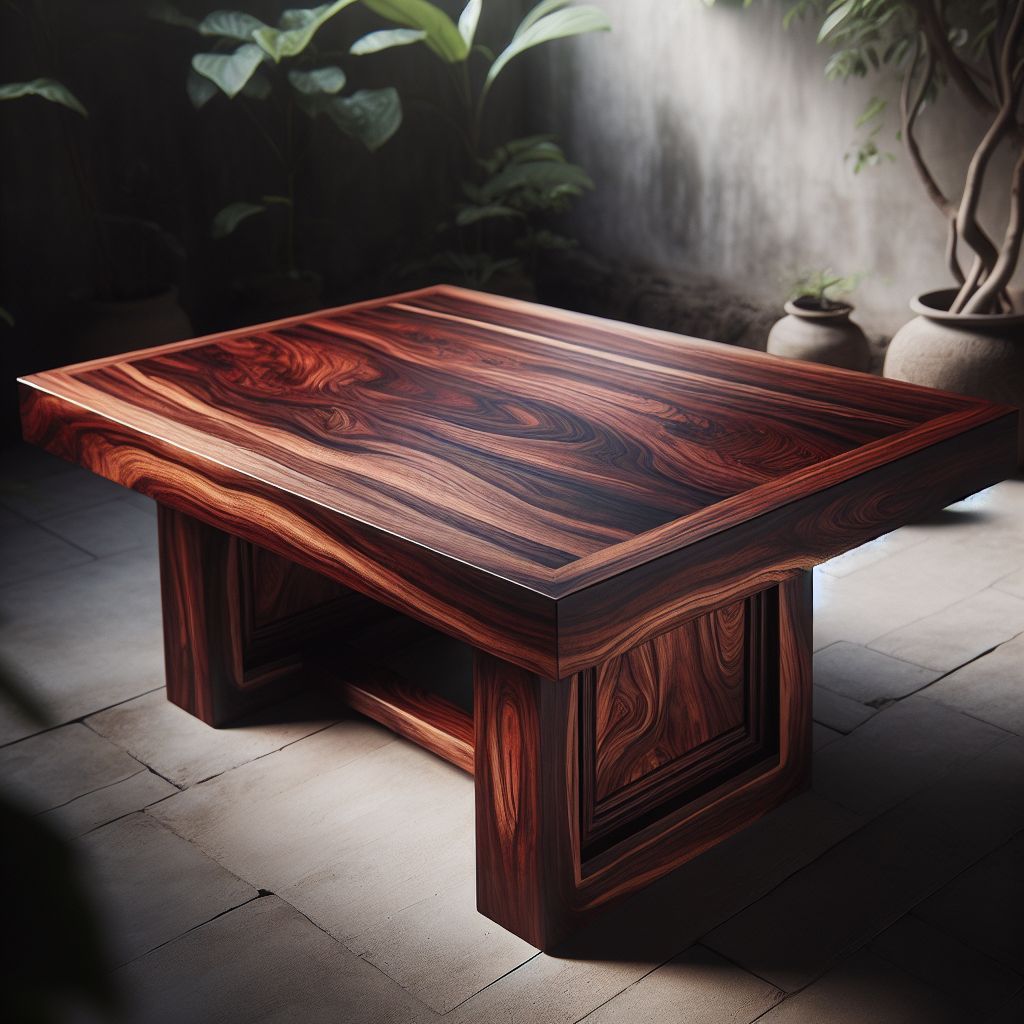
Restoring the Beauty: Refinishing Your Sheesham Wood Table
There’s something inherently satisfying about taking an old, worn-out piece of furniture and breathing new life into it. Refinishing a Sheesham wood table not only restores its natural beauty but also gives you a sense of accomplishment and pride. Let’s dive into the process and discover how you can transform your Sheesham wood table into a stunning centerpiece.
The Benefits of Refinishing
Refinishing your Sheesham wood table offers numerous benefits. First and foremost, it allows you to preserve a beautiful piece of furniture that might otherwise end up discarded. Refinishing can also enhance the table’s durability, making it resistant to scratches, stains, and other damage. Most importantly, a refinished table can significantly improve the aesthetic appeal of your living space.
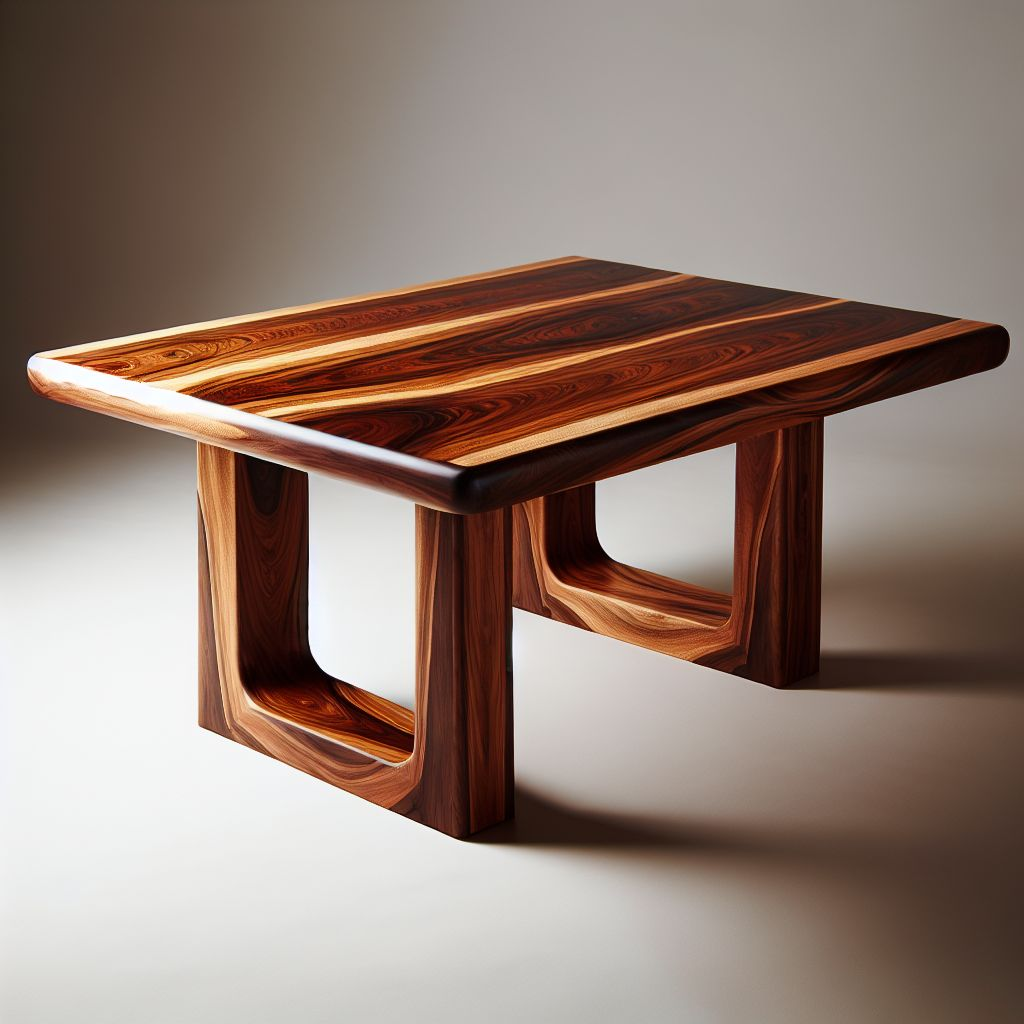
The Appeal of Sheesham Wood Table
Sheesham wood, also known as Indian Rosewood, is prized for its rich color, unique grain patterns, and durability. It’s a hardwood that boasts a natural resistance to decay and pests, making it an excellent choice for furniture. However, like all wood, it requires proper care and maintenance to keep it looking its best.
Unique Characteristics
One of the standout features of Sheesham wood is its distinctive grain, which can range from straight to wavy or interlocked. This natural variation means that no two pieces of Sheesham wood furniture are exactly alike. The wood’s color can vary from golden brown to deep reddish-brown, adding to its visual appeal. I
Common Problems with Sheesham Wood
Despite its many advantages, Sheesham wood can develop issues over time. Common problems include surface scratches, fading due to sunlight exposure, and water stains. Also, if the wood isn’t properly sealed, it can become susceptible to moisture damage.
Preparing to Refinish Your Sheesham Wood Table
Before you begin the refinishing process, it’s essential to prepare adequately. This involves assessing the table’s condition, gathering the necessary materials and tools, and protecting your workspace. Proper preparation ensures a smoother refinishing process and better results.
Assessing the Condition
Start by thoroughly inspecting your Sheesham wood table. Look for any scratches, dents, or areas where the finish has worn away. Note any damage that will need to be repaired during the refinishing process. If the table has significant structural issues, it may require more extensive repairs before you can proceed with refinishing.
Gathering Materials and Tools
Having the right materials and tools on hand is essential for a successful refinishing project. Here’s a list of what you’ll need:
- Chemical stripper
- Sandpaper (various grits)
- Paint stripper
- Wood stain
- Sealant (polyurethane or varnish)
- Paintbrushes and rags
- Protective gear (gloves, goggles, and a mask)
- Wood filler (for repairing any damage)
- Drop cloths or plastic sheeting (to protect your workspace)
Protecting Your Workspace
Refinishing a table can be a messy process, so it’s important to protect your workspace. Lay down drop cloths or plastic sheeting to catch any drips or spills. Make sure you have good ventilation, as some of the chemicals used in the refinishing process can be harmful if inhaled.
Step-by-Step Guide to Refinishing
Now that you’re prepared, it’s time to start the refinishing process. Follow these steps to achieve a beautiful, professional-looking finish on your Sheesham wood table.
Step 1: Preparing the Table
The first step in refinishing your table is to prepare it for the work ahead. This involves removing any detachable parts and giving the table a thorough cleaning.
Removing the Detachable Parts
Begin by taking off any removable parts, such as the table legs or hardware. This will make it easier to work on the table and ensure that you can reach all areas during the refinishing process. Keep all the screws and small parts in a safe place so you can easily reassemble the table later.
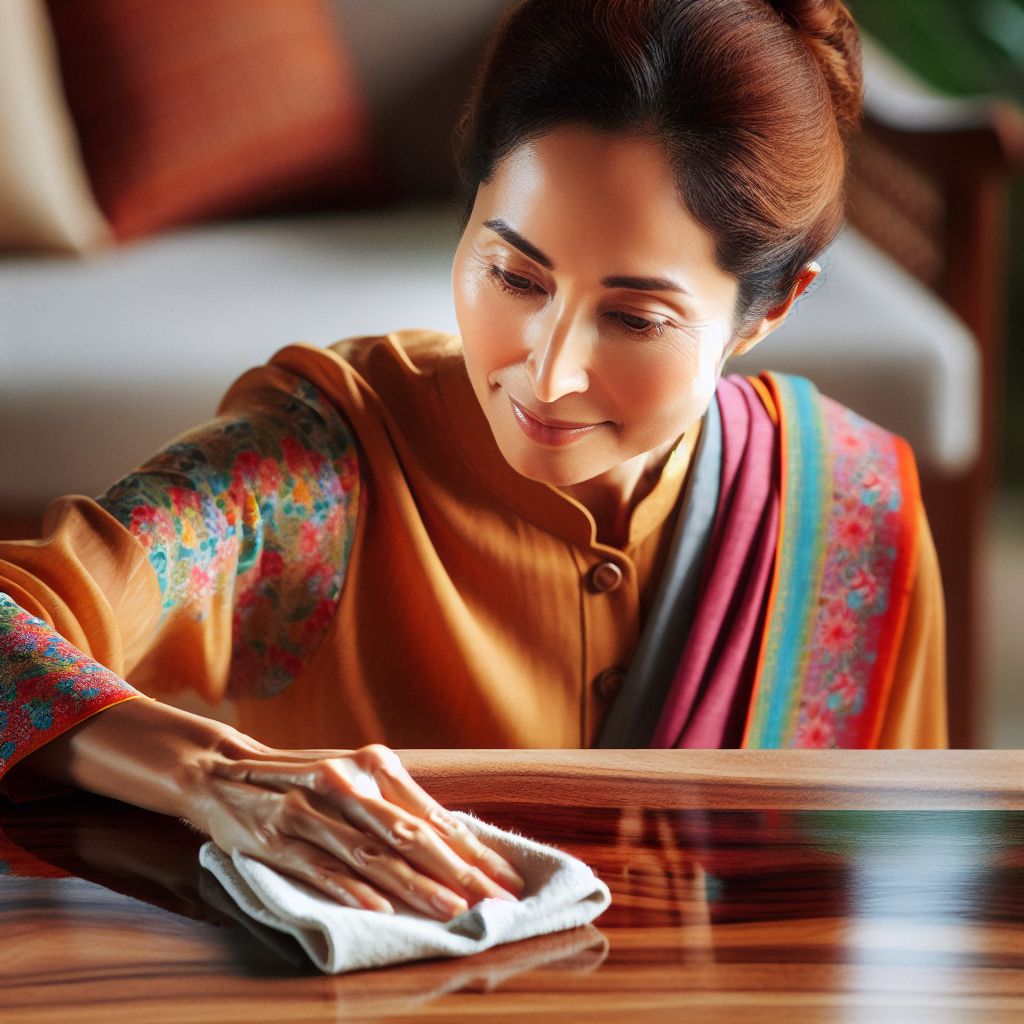
Cleaning the Table
Once you’ve removed any detachable parts, it’s time to clean the table. Use a mild detergent mixed with water and a soft cloth to wipe down the entire surface. This will remove any dirt, grease, or old wax that could interfere with the refinishing process. Make sure to dry the table thoroughly afterward to prevent any moisture from seeping into the wood.
Step 2: Stripping the Old Finish
Stripping the old finish is an essential step in the refinishing process. It allows you to remove any existing varnish, paint, or stain, providing a clean slate for the new finish. Here’s how you can do it effectively.
Applying the Chemical Stripper
- Put on protective gloves, goggles, and a respirator mask.
- Apply the chemical stripper to the surface of the table using a paintbrush. Follow the manufacturer’s instructions regarding the thickness of the application and the waiting time.
- Allow the stripper to sit for the recommended time to soften the old finish.
Removing the Old Finish
- Once the finish has softened, use a plastic scraper to gently scrape off the old finish. Be careful not to damage the wood.
- For intricate areas or stubborn spots, use steel wool or a scouring pad dipped in the stripper.
- After removing the old finish, clean the surface with mineral spirits or water, depending on the stripper’s instructions, to neutralize the stripper and remove any residue. Then, wipe the table with clean rags and allow it to dry completely.
Step 3: Sanding the Surface
After the table is dry, sand the surface with 120-grit sandpaper to smooth out any rough areas and remove any remaining finish. Progress to 220-grit sandpaper for a fine, smooth surface. Finally, wipe the table with a tack cloth or use a vacuum to remove all dust and debris.
Step 4: Repairing the Damage
Before you move on to staining, it’s important to repair any damage to the table. Fill in any scratches, dents, or holes with wood filler. Apply the filler with a putty knife, making sure to overfill slightly so you can sand it down later. Once the filler has dried, sand it smooth with fine-grit sandpaper.
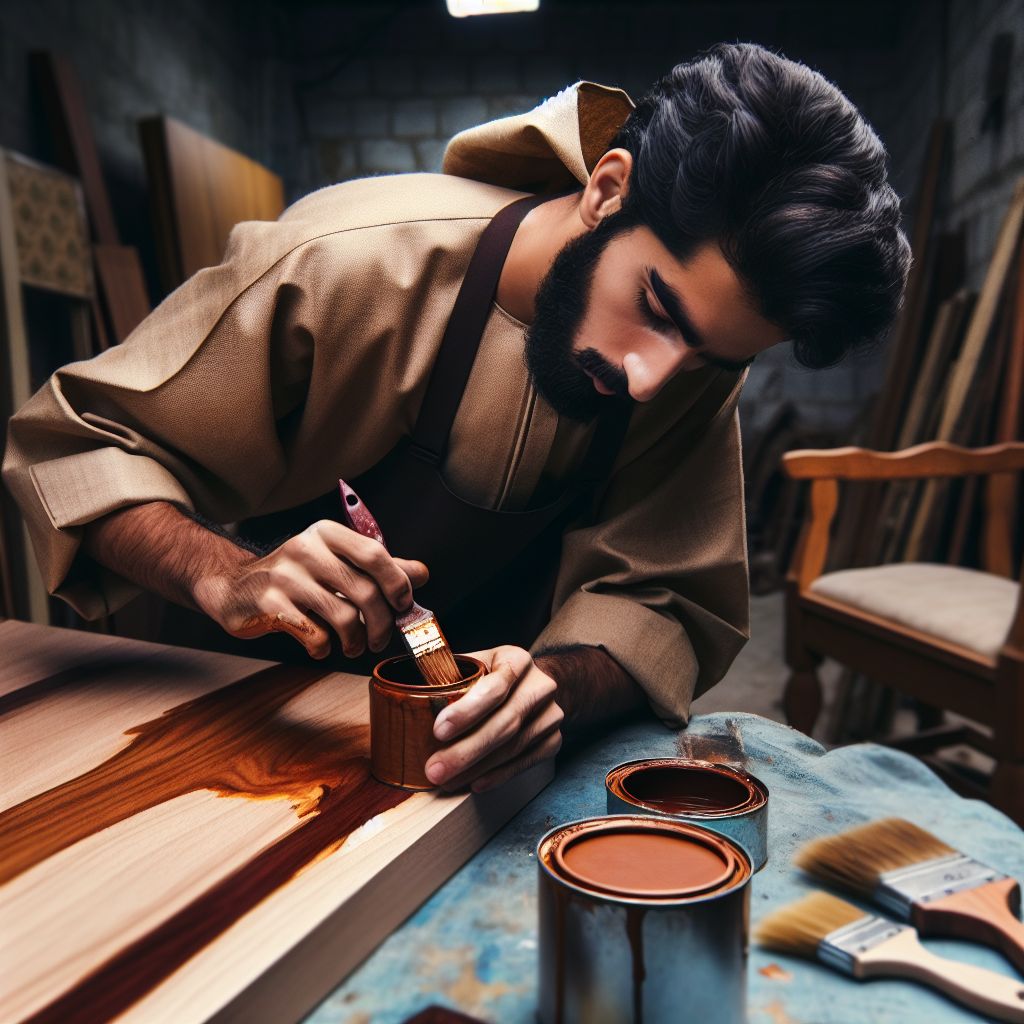
Step 5: Applying Stain
Now that your table is prepped and repaired, it’s time to apply the stain. Choose a wood stain that complements the natural color of Sheesham wood. Apply the stain with a clean cloth or brush, working in the direction of the grain. Allow the stain to penetrate the wood for the time recommended by the manufacturer, then wipe off any excess with a clean cloth.
For a deeper color, you can apply additional coats of stain, allowing each coat to dry thoroughly before applying the next. Remember, it’s always easier to darken the wood with additional coats than to lighten it if you apply too much stain initially.
Step 6: Protecting Your Refinished Table
After staining, the next step is to protect your newly refinished table with a sealant. This will help preserve the wood and keep it looking beautiful for years to come.
Appropriate Sealants
There are several types of sealants you can use, including polyurethane, varnish, and lacquer. Each has its own advantages and disadvantages:
| Sealant | Advantages | Disadvantages |
| Polyurethane | Durable, water-resistant, easy to apply | Can yellow over time, longer drying time |
| Varnish | Flexible, resistant to UV damage | Requires multiple coats, longer drying time |
| Lacquer | Quick-drying, high gloss finish | Strong fumes, less durable than polyurethane |
Choose the sealant that best fits your needs and apply it according to the manufacturer’s instructions. Generally, you will need to apply multiple coats, sanding lightly between each coat for the best results.
Step 7: Finishing Touches
Once the sealant has dried, you can move on to the finishing touches. This involves reassembling the table and ensuring everything is in place.
Reassembly
Carefully reattach any detachable parts you removed earlier, such as the legs or hardware. Make sure all screws and bolts are tightened securely. If you encounter any issues during reassembly, consult the manufacturer’s instructions or seek professional assistance.
Step 8: Curing
The final step in the refinishing process is allowing the table to cure. This involves letting the sealant fully harden, which can take anywhere from a few days to a few weeks, depending on the type of sealant used. During this time, avoid placing any heavy objects on the table or exposing it to extreme temperatures or humidity.
Avoiding Common Mistakes
Refinishing a table can be a rewarding project, but there are some common mistakes that can hinder your success. Here are a few to watch out for:
Using the Wrong Products
Using the wrong products can lead to disappointing results, so it’s crucial to choose the right type of stain and sealant for Sheesham wood. Always read the labels and follow the manufacturer’s instructions carefully. Before applying the stain to the entire table, test it on a small, inconspicuous area. Use also high-quality brushes and cloths to avoid streaks and ensure an even application.
Skipping Steps
Skipping steps can lead to an uneven finish or damage to the wood. Each step in the refinishing process is important, so take your time and follow the instructions carefully. Don’t rush through sanding, staining, or sealing, as these steps are important for achieving a beautiful finish.
Inadequate Sanding
One of the most common mistakes is not sanding enough. Proper sanding is essential for removing the old finish and preparing the wood for staining. Make sure you sand thoroughly, using progressively finer grits of sandpaper to achieve a smooth surface.
Essential Maintenance Tips Post-Refinishing
After you’ve refinished your Sheesham wood table, proper maintenance is key to keeping it looking beautiful. Here are some tips to help you care for your table:
- Use coasters and placemats to protect the surface from spills and heat.
- Avoid placing the table in direct sunlight to prevent fading.
- Dust the table regularly with a soft, dry cloth.
- Wipe up spills immediately to prevent water damage.
- Reapply a protective wax or polish periodically to maintain the finish.
Frequently Asked Questions (FAQ)
What makes Sheesham wood unique?
Sheesham wood, also known as Indian Rosewood, is unique due to its rich color, distinctive grain patterns, and durability. Its natural resistance to decay and pests makes it an excellent choice for furniture. Each piece of Sheesham wood furniture is one-of-a-kind, thanks to the wood’s natural variations.
Can I refinish a Sheesham wood table by myself?
Yes, you can refinish a Sheesham wood table by yourself with the right tools and materials. The process involves several steps, including sanding, staining, and sealing. By following the step-by-step guide provided, you can achieve professional-looking results.
How long does the refinishing process take?
The refinishing process can take several days to a few weeks, depending on the condition of the table and the products used. Each step, from sanding to sealing, requires adequate drying time. Patience is key to achieving a beautiful, long-lasting finish.
Is it important to seal a Sheesham wood table?
Yes, sealing a Sheesham wood table is vital to protect the wood and enhance its durability. A good sealant will safeguard the table from scratches, stains, and moisture damage. It also helps maintain the wood’s natural beauty and shine.


Leave a Reply