Key Takeaways
- Refinishing solid wood cabinets is a cost-effective way to update your room’s appearance.
- Proper preparation and choosing the right materials are essential for a successful refinishing project.
- Stripping, sanding, and applying a new finish can breathe new life into old cabinets.
- Regular maintenance will keep your newly refinished cabinets looking great for years to come.
- DIY solid wood cabinet refinishing can significantly increase the value of your home.
Unlock the Potential of Solid Wood Cabinet Refinishing
Ready to give your cabinets a fresh look? Refinishing is like giving your cabinets a makeover without the hefty price tag of a full renovation. Picture this: bringing out the natural charm of your solid wood cabinets, from the warm tones of mahogany to the cozy feel of oak. With a little TLC and some expert craftsmanship, you can transform those tired old cabinets into eye-catching centerpieces that reflect your unique style.
Materials and Tools You’ll Need for Cabinet Refinishing
Before diving into the refinishing process, it’s essential to gather all the necessary materials and tools. Here’s what you’ll need:
Gathering the Essentials
- Quality wood stripper
- Heavy-duty sandpaper and a sanding block
- Wood filler for repairing dings and scratches
- Stain or paint of your choice
- High-quality brushes or a paint sprayer for even application
- Protective gear such as gloves, goggles, and a respirator mask
- Drop cloths or plastic sheeting to protect your floors and countertops
Choosing the Right Stain or Paint
Choosing the right finish for your cabinets is important. Stain enhances the natural beauty of wood, while paint offers a broader range of color options and can provide a more modern look. Wood stains vary from oil-based for rich color to water-based for quick drying. Each type offers different advantages for your project.
Consider the overall style of your kitchen or space and the look you want to achieve when making your decision.
Remember, stains and paints can look different once applied, so it’s a good idea to test them on a small, inconspicuous area of your cabinetry or on a spare piece of wood first.

Setting the Stage for Refinishing Success
Now that you have all your materials ready, let’s set the stage for a successful refinishing project.
Step 1: Preparing Your Workspace
Start by clearing out your kitchen. Remove all items from your cabinets and clear off countertops. Remove all hardware such as knobs, handles, and hinges.
Protecting Surfaces and Ensuring Ventilation
Lay down drop cloths or plastic sheeting to protect your floors and countertops from spills and debris. Cover any surfaces you don’t want to get dirty with plastic sheeting and secure it with painter’s tape.
Next, create a well-ventilated workspace by opening windows or setting up fans to circulate the air. Good ventilation is essential, not just for drying but for your health as well, especially when working with chemicals like strippers and finishes.
Step 2: Cleaning
Kickstart your cabinet transformation with a simple yet essential step: cleaning! Grab some mild detergent, roll up your sleeves, and get ready to banish dirt, grease, and grime. For those pesky, extra stubborn spots, a trusty degreaser might be your best friend.
Step 3: Stripping
Stripping the old finish is the first step in the refinishing process. Apply a generous layer of wood stripper to your cabinets according to the manufacturer’s instructions. Allow it to sit for the recommended time, then use a scraper to gently remove the old finish. Be careful not to gouge the wood.
Stripping the Old Finish Without Damaging Wood
When stripping the finish, it’s important to work in small sections and to remove the stripper before it dries. If you’re working with intricate cabinet designs or moldings, you may need to use a small brush or toothpick to get into the crevices.
Remember, the goal is to remove the old finish, not the wood beneath it. So, work gently and be patient.
Step 4: Sanding
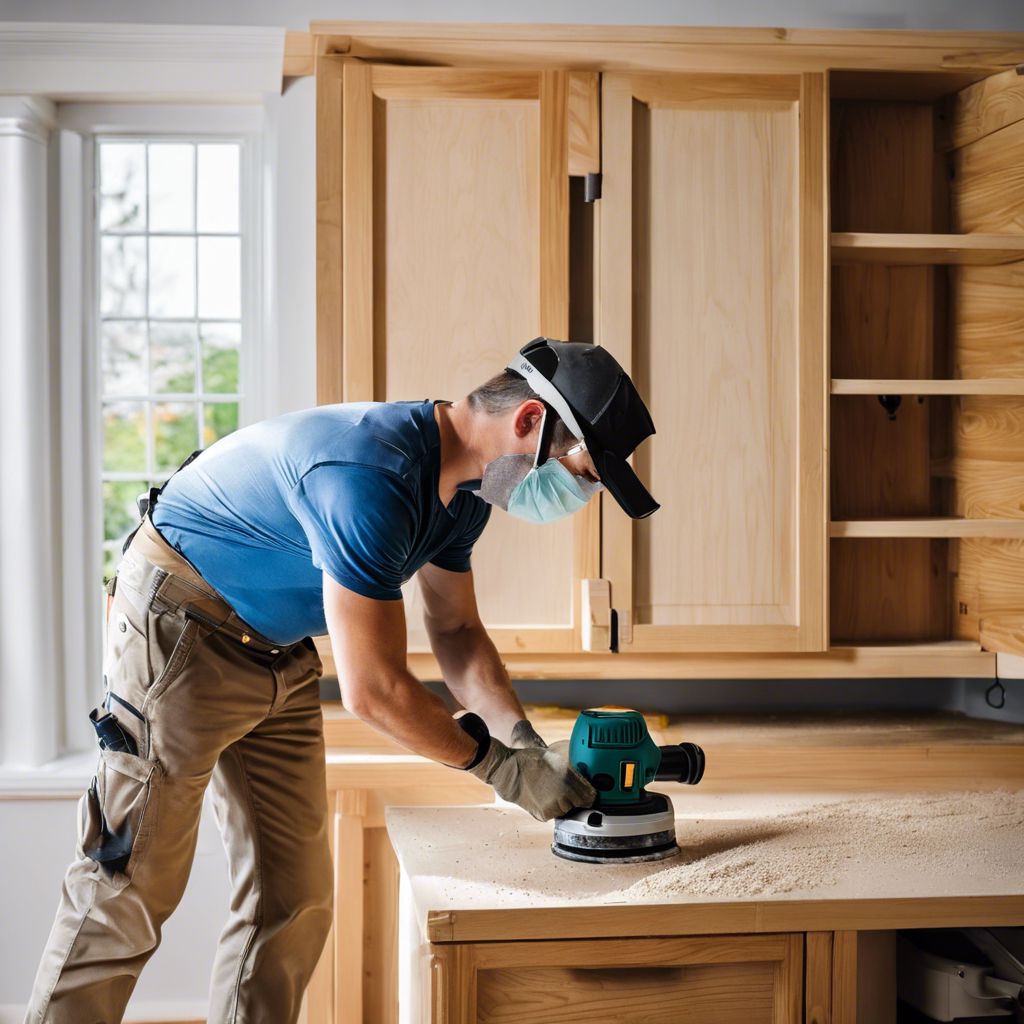
After stripping, the next step is sanding. Sanding smooths out the surface of the wood, removing any remaining finish and preparing it for the new stain or paint. It’s important to sand in the direction of the wood grain to avoid scratches that could be visible after refinishing.
Sanding Techniques for a Flawless Base
Start with a coarse-grit sandpaper to remove the bulk of the old finish and any imperfections. Then, switch to a medium-grit sandpaper to smooth out the surface. Finish with a fine-grit sandpaper for a silky-smooth base. If you’re using an electric sander, keep it moving to avoid creating divots in the wood.
Cleaning up the dust after sanding is vital. Use a vacuum to remove the majority of the sawdust, and follow up with a tack cloth to pick up any residual dust. This step ensures that your new finish will adhere properly and be free of blemishes.
Step 5: Repairing Any Damage
Before applying a new finish, inspect your cabinets for any damage. Look for scratches, dings, or holes that need to be filled. Use a wood filler that is compatible with your chosen finish, filling in any imperfections according to the product instructions. Once the filler is dry, sand the area again lightly to ensure a smooth, even surface.
Step 6: Priming
Now that your cabinets are repaired, it’s time to lay the groundwork for that flawless finish! Grab your wood primer and get ready to give those cabinets a little love. This magical primer not only helps the new finish stick like glue but also ensures a silky smooth surface. After you’ve applied it generously, give it some time to dry – patience is key here. Follow the manufacturer’s instructions to the T, and before you know it, you’ll be one step closer to kitchen perfection.
Step 7: Applying Stain (optional)
If you’re opting to stain your cabinets, now is the time. Choose a stain that complements your kitchen’s aesthetic and apply it with a brush or cloth, working in the direction of the grain. It’s best to apply stain in thin, even coats to build up the desired color gradually.
Achieving an Even Tone with Stain
To achieve an even tone, wipe off excess stain with a clean cloth before it dries. This will prevent blotchiness and ensure a uniform color. Allow the stain to dry completely, which may take several hours or overnight, depending on the humidity and temperature.
Step 8: Applying Finish
Once your stain has dried, or if you’re skipping the staining step, it’s time to apply the finish. A finish protects your cabinets from wear and tear and gives them a polished look. You can choose from various finishes, including polyurethane, varnish, or lacquer.
Apply the finish with a high-quality brush or sprayer for an even coat. If using a brush, be sure to smooth out any drips or bubbles for a professional look. Use thin coats to avoid drips and runs. Allow the first coat to dry, then lightly sand with a fine-grit sandpaper to ensure a smooth second coat. Apply as many coats as necessary, sanding between each one for the best adhesion and giving each one plenty of time to dry.
Tips for a Smooth, Durable Finish
For a smooth, durable finish, patience is key. Don’t rush the drying process, and take the time to apply each coat evenly. The end result will be worth the effort, with a hard-wearing finish that stands up to the daily demands of kitchen life.
Step 9: Sealing
Now that your paint or stain has dried to perfection, it’s time to add that extra layer of protection to keep your cabinets looking pristine. Grab your clear sealer or topcoat and get ready to seal the deal. This superhero-like coat will shield your cabinets from moisture, stains, and pesky scratches, ensuring they stay looking fabulous for years to come. After you’ve applied it generously, give it some time to dry completely – patience pays off here.
Step 10: Reassembling and Showcasing Your Refinished Cabinets
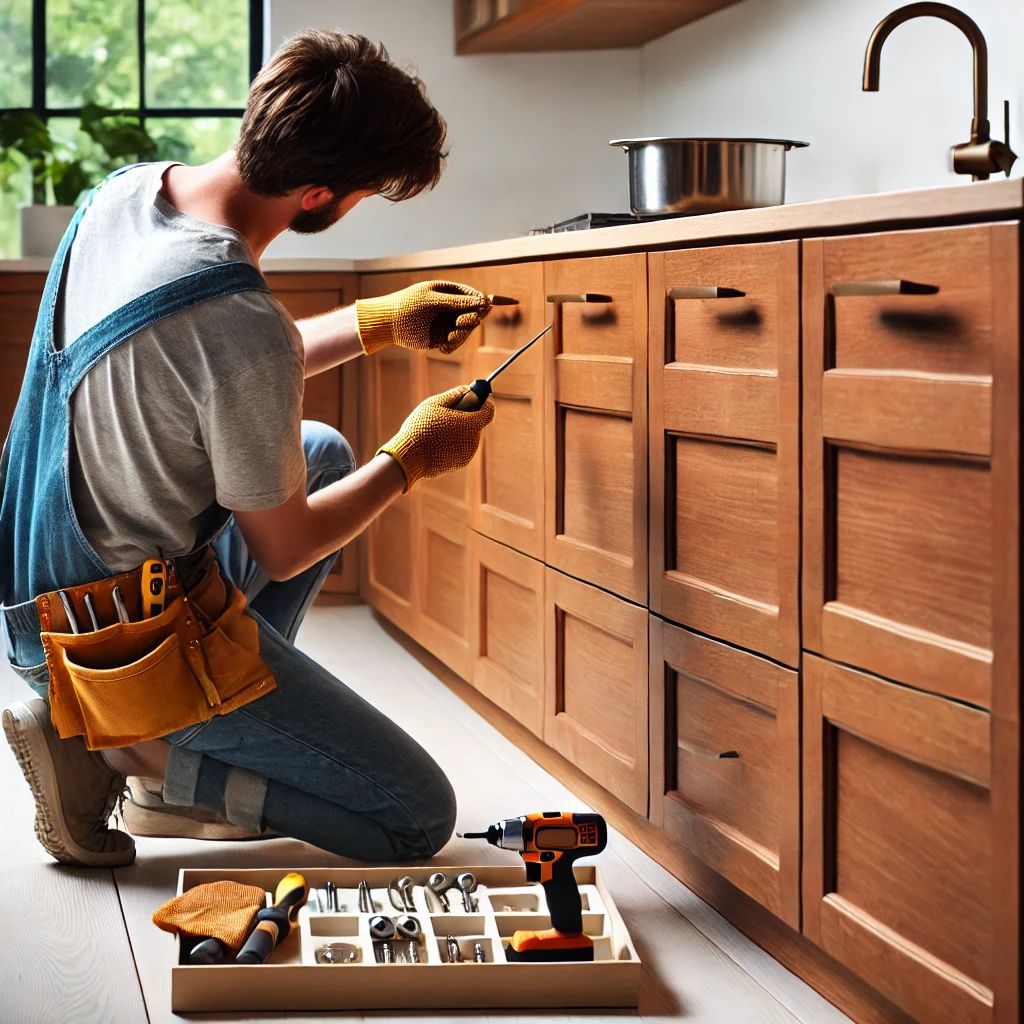
Once everything is dry and cured, carefully reattach the doors and hardware. If you’re adding new hardware, this is the time to drill any necessary holes.
Adjust the doors and drawers to ensure they fit properly and operate smoothly. This might require a bit of tweaking with hinges and drawer slides, but it’s an important step to get that perfect look and functionality.
Attaching Hardware and Doors
When attaching hardware and doors, it’s helpful to use a template to ensure consistency. Take your time to align everything correctly, as these final touches will make a significant impact on the overall appearance of your cabinets.
Once everything is reassembled, step back and admire your handiwork. Your solid wood cabinets should now look refreshed, modern, and ready to withstand many more years of use.

Maintenance Tips to Protect Your Newly Refinished Cabinets
After investing time and effort into refinishing your solid wood cabinets, you’ll want to keep them looking as good as new. Proper care and maintenance are essential to preserve the beauty and function of your cabinets long-term.
Daily Care and Cleaning Practices
For daily cleaning, use a soft cloth and a mild, non-abrasive cleaner to wipe down the surfaces. Avoid harsh chemicals or scrubbing pads, which can damage the finish. Wipe up spills and splatters promptly to prevent staining or water damage.
It’s also a good idea to avoid hanging damp towels over cabinet doors. Excess moisture can lead to warping or discoloration over time. Instead, use hooks or towel bars installed away from your cabinet surfaces.
Long-Term Preservation of Wood Finish
Every few months, apply a good quality furniture polish to your cabinets to help maintain the finish and add a protective layer against wear and tear. Be sure to test the polish on an inconspicuous area first to ensure it doesn’t discolor the wood.

Frequently Asked Questions
What’s the Best Type of Finish for Kitchen Cabinets?
The best type of finish for kitchen cabinets often depends on your aesthetic preference and the level of durability you need. Polyurethane finishes are popular due to their toughness and resistance to moisture, making them ideal for kitchens. They come in various sheens, from matte to high gloss.
How Often Should Wood Cabinets Be Refinished?
Wood cabinets typically need to be refinished every 10 to 15 years. However, this can vary based on the level of use and care they receive. If you notice the finish wearing thin or the color fading, it might be time for a cabinet refinishing.
Can You Refinish Cabinets Without Stripping Them?
Yes, it’s possible to refinish cabinets without stripping them if the existing finish is still in good condition. You can lightly sand the surface and apply a fresh coat of paint or stain. However, for the best results, especially if the old finish is damaged, stripping is recommended.
What Are the Latest Trends in Cabinet Color and Finish?
Currently, neutral tones like whites, grays, and blues are trending for cabinets. Matte and satin finishes are popular choices, offering a modern look while still being practical for cleaning and maintenance.
Two-toned kitchens, where upper and lower cabinets are painted in contrasting colors, are also on the rise. It’s a great way to add depth and interest to your kitchen’s design.
Do Refinished Cabinets Affect Home Value?
Refinished cabinets can indeed affect home value. A well-executed cabinet refinishing project can significantly enhance the appeal of your home, which is a major selling point for many homebuyers.
In conclusion, refinishing your solid wood cabinets is a rewarding project that not only revives your space but also adds value to your home. By following this step-by-step guide and using the right techniques and materials, you can achieve a professional and long-lasting finish. Remember to maintain your cabinets with regular cleaning and care, and you’ll enjoy the fruits of your labor for many years to come.


Leave a Reply