Key Takeaways
- Refinishing vinyl floors can restore their shine and extend their lifespan.
- Preparation is key: ensure the area is clean and protected before starting.
- You’ll need specific tools and materials like a stripping solution, a polishing compound, and a buffing machine.
- Follow a step-by-step process to achieve professional results.
- Regular maintenance and preventative measures will keep your vinyl floors looking new.
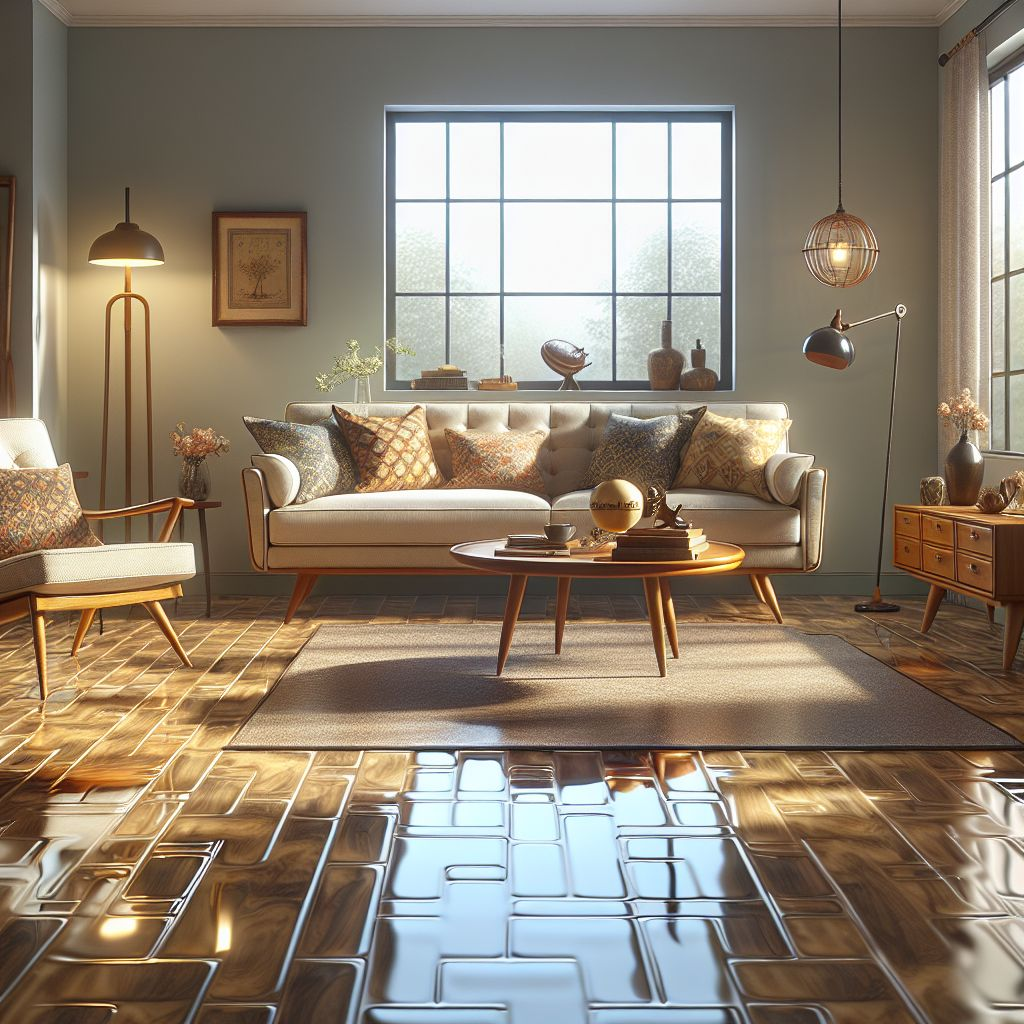
Transforming Your Space: DIY Vinyl Floor Refinishing
Vinyl floors are a popular choice for many homes due to their durability, water resistance, and easy maintenance. However, over time, even the best vinyl floors can start to look worn and dull. This is where refinishing comes in. With a little effort and the right tools, you can restore your vinyl floors to their former glory.
Understanding Vinyl Flooring
Vinyl flooring is made from synthetic materials, primarily PVC (polyvinyl chloride), which gives it its durability and water resistance. It comes in various styles, including sheets, tiles, and planks, making it a versatile option for different spaces in your home.
Why Consider Refinishing
Refinishing your vinyl floors can bring back their original shine and make them look brand new. It’s a cost-effective alternative to replacing the flooring entirely. Plus, it can extend the lifespan of your floors, saving you money in the long run.
Fast Start to DIY Vinyl Floor Refinishing
Before diving into the refinishing process, it’s essential to gather all the necessary tools and materials. Preparation is key to achieving the best results.
What You’ll Need
- Vacuum or broom
- Mop and bucket
- Stripping solution (if needed)
- Polishing compound
- Buffing machine
- Protective gear (gloves, goggles)
- Microfiber cloths
Initial Preparations
Before starting the project, it’s essential to make initial preparations to ensure a smooth process.
Clear the Area
Start by removing all furniture and items from the room. This will give you ample space to work and ensure that nothing gets in the way during the refinishing process.
Protecting Your Workspace
Lay down protective coverings on adjacent surfaces and walls to prevent any accidental spills or splashes from damaging them. Ensure that you have proper ventilation in the room, especially if you’re using a stripping solution.
DIY Vinyl Floor Refinishing Steps
Refinishing your vinyl flooring can rejuvenate your space, providing a fresh, updated look without the cost of replacing the entire floor. Although vinyl floors cannot be sanded like hardwood, there are effective methods to restore their appearance and durability. Let’s explore the essential steps for a successful DIY vinyl floor refinishing project.
Step 1: Deep Cleaning
The first step in the refinishing process is to thoroughly clean the floor. Use a vacuum or broom to remove any loose dirt and debris. Follow this with a mop and a mild cleaning solution to get rid of any stubborn grime. Ensure the floor is completely dry before moving on to the next step.
Step 2: Assessing the Floor
Once the floor is clean, assess its condition by looking for signs of damage, such as deep scratches, dents, or areas where the finish has worn away completely. This step is essential as it helps determine whether repairs are needed before applying a new finish.
Walk around the room and inspect the surface from different angles, paying special attention to high-traffic areas, which are more likely to show wear and tear. Minor scratches or scuffs can often be smoothed out during the buffing process, but deeper damage may require additional attention.
Step 3: Repairing the Damage
Before you can refinish your vinyl floor, you need to repair any significant damage. For small dents or deep scratches, you can use a vinyl floor repair kit. These kits typically include a filler compound that you apply to the damaged area, then smooth out with a putty knife.
For larger areas of damage, you might need to replace a section of the vinyl flooring. This can be done by cutting out the damaged area and replacing it with a matching piece of vinyl. Make sure to follow the manufacturer’s instructions for the best results.
Step 4: Applying a Stripping Solution (if necessary)
If your vinyl floor has an old finish that needs to be removed, you’ll need to apply a stripping solution. This step is essential for floors with built-up layers of wax or polish that can interfere with the new finish.
To apply the stripping solution, follow these steps:
- Wear protective gear, including gloves and goggles.
- Apply the stripping solution according to the manufacturer’s instructions.
- Use a mop or sponge to spread the solution evenly across the floor.
- Allow the solution to sit for the recommended time.
- Scrub the floor with a scrub brush to remove the old finish.
- Rinse the floor thoroughly with clean water and allow it to dry completely.
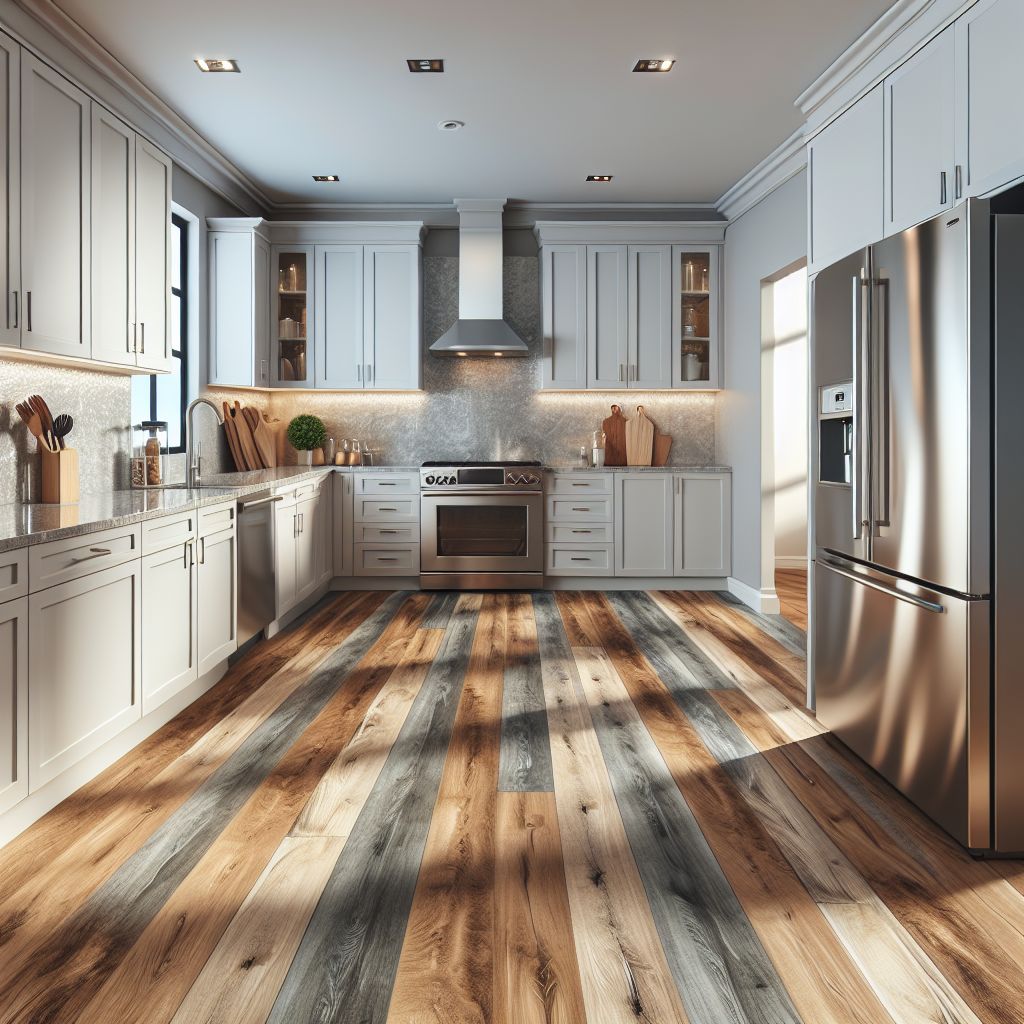
Step 5: Applying a New Finish
Once the floor is clean and any old finish has been removed, it’s time to apply a new finish. This step will restore the shine and protect your vinyl floor from future damage.
- Choose a high-quality vinyl floor polish or finish.
- Pour a small amount of the finish onto the floor.
- Use a clean, damp mop or applicator pad to spread the finish evenly.
- Work in small sections to ensure an even application.
- Allow the finish to dry completely before applying additional coats if needed.
Most importantly, follow the manufacturer’s instructions for the best results. Some finishes may require multiple coats, while others may only need one.
Choosing the Right Finish
There are several types of finishes available for vinyl floors. The right one for you will depend on your specific needs and preferences. Here are some common options:
- Gloss Finish: Provides a high-shine, reflective surface. Ideal for areas where you want a polished look.
- Satin Finish: Offers a low-sheen, matte appearance. Great for hiding imperfections and providing a more natural look.
- Matte Finish: No shine, giving the floor a more understated, contemporary look. Perfect for modern interiors.
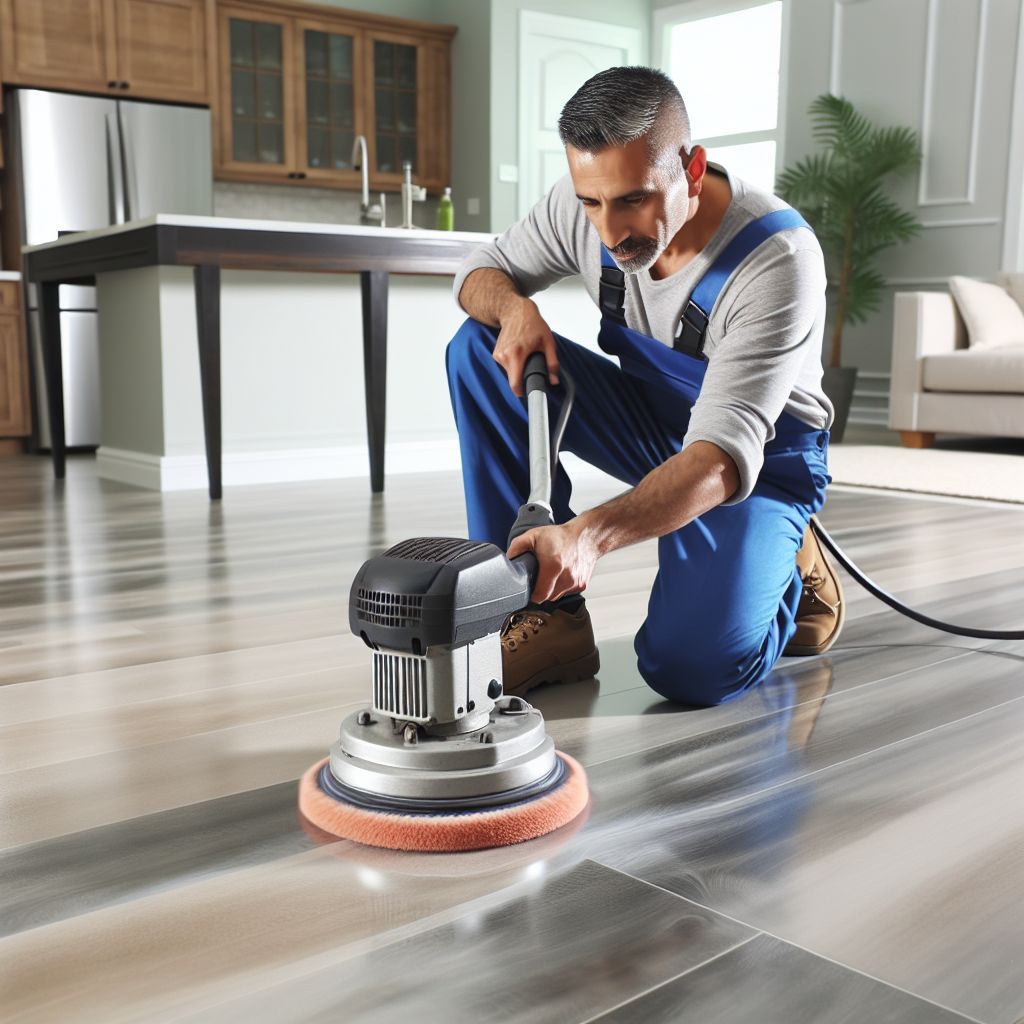
Step 6: Buffing the Floor
After applying the new finish, the next step is to buff the floor. Buffing helps to smooth out the finish and bring out the shine. You can use a buffing machine for this step, which can be rented from most hardware stores.
To buff the floor, follow these steps:
- Attach a polishing pad to the buffing machine.
- Turn on the machine and slowly move it across the floor in a circular motion.
- Work in small sections to ensure even coverage.
- Buff the entire floor until you achieve the desired level of shine.
Step 7: Final Cleaning
Once the floor has been buffed, the final step is to clean up any residue left behind. Use a microfiber cloth to wipe down the floor and remove any dust or debris.
Make sure the floor is completely dry before moving furniture back into the room. This will prevent any damage to the new finish.

Maintenance Tips for Longevity
Now that your vinyl floor looks brand new, you’ll want to keep it that way. Regular maintenance is key to preserving the finish and extending the lifespan of your floor.
Regular Cleaning Tips
Keep your vinyl floor clean by sweeping or vacuuming regularly to remove dirt and debris. Use a damp mop and a mild cleaning solution for a deeper clean. Avoid using abrasive cleaners or scrub brushes, as they can damage the finish.
Preventative Measures
Take proactive measures to protect your vinyl floor from damage. Place doormats at entrances to reduce the amount of dirt and moisture that gets tracked in. Use furniture pads under heavy items to prevent scratches and dents. And don’t forget to promptly wipe up spills to prevent stains from setting into the floor. These simple steps will help maintain the appearance and longevity of your vinyl flooring.
Monthly Upkeep
To keep your newly refinished vinyl floors looking their best, establish a routine for monthly upkeep. This will help maintain the shine and prevent any buildup of dirt or grime.
One simple task is to reapply a vinyl floor polish. This can help to maintain the protective layer and keep the floor looking glossy. Make it a habit to inspect the floor for any signs of damage, such as scratches or dents. Addressing these issues early can prevent them from becoming more significant problems.
Final Thoughts on Vinyl Floor Care
Refinishing your vinyl floors is a rewarding DIY project that can significantly enhance the look and feel of your home. By following the steps outlined in this guide, you can achieve professional-quality results without the hefty price tag.
Benefits of Regular Maintenance
Regular maintenance is vital for keeping your vinyl floors in top condition. It not only preserves the appearance but also extends the lifespan of the flooring. With proper care, your vinyl floors can look as good as new for many years to come.
Cost-Effectiveness of DIY Refinishing
One of the most significant advantages of DIY vinyl floor refinishing is the cost savings. Hiring professionals can be expensive, but by doing it yourself, you can achieve similar results at a fraction of the cost. Plus, it’s a great way to develop new skills and take pride in your home improvement efforts.
Frequently Asked Questions
How often should I refinish my vinyl floor?
The frequency of refinishing depends on the amount of traffic your floor receives. In general, it’s a good idea to refinish every 3-5 years. However, if you notice significant wear and tear, you may need to refinish sooner.
What type of polish is best for vinyl floors?
Choose a polish specifically designed for vinyl floors. Look for products that offer a protective finish and are easy to apply. Brands like Rejuvenate and Bona have excellent options that are well-regarded by homeowners.
Can I use regular household cleaners on vinyl floors?
It’s best to avoid harsh household cleaners, as they can damage the finish on your vinyl floors. Instead, use a mild cleaning solution, such as a mixture of apple cider vinegar and water. This will effectively clean the floor without causing harm.
How do I remove tough stains from vinyl floors?
For tough stains, create a paste using baking soda and water. Apply the paste to the stained area and gently scrub with a soft cloth. Rinse with clean water and dry thoroughly. For particularly stubborn stains, you can use a small amount of rubbing alcohol.
Is sanding necessary for all vinyl refinishing projects?
Sanding is not typically required for vinyl refinishing. Instead, focus on deep cleaning and applying a stripping solution if needed. Sanding can damage the vinyl and is generally reserved for other types of flooring, such as wood.


Leave a Reply