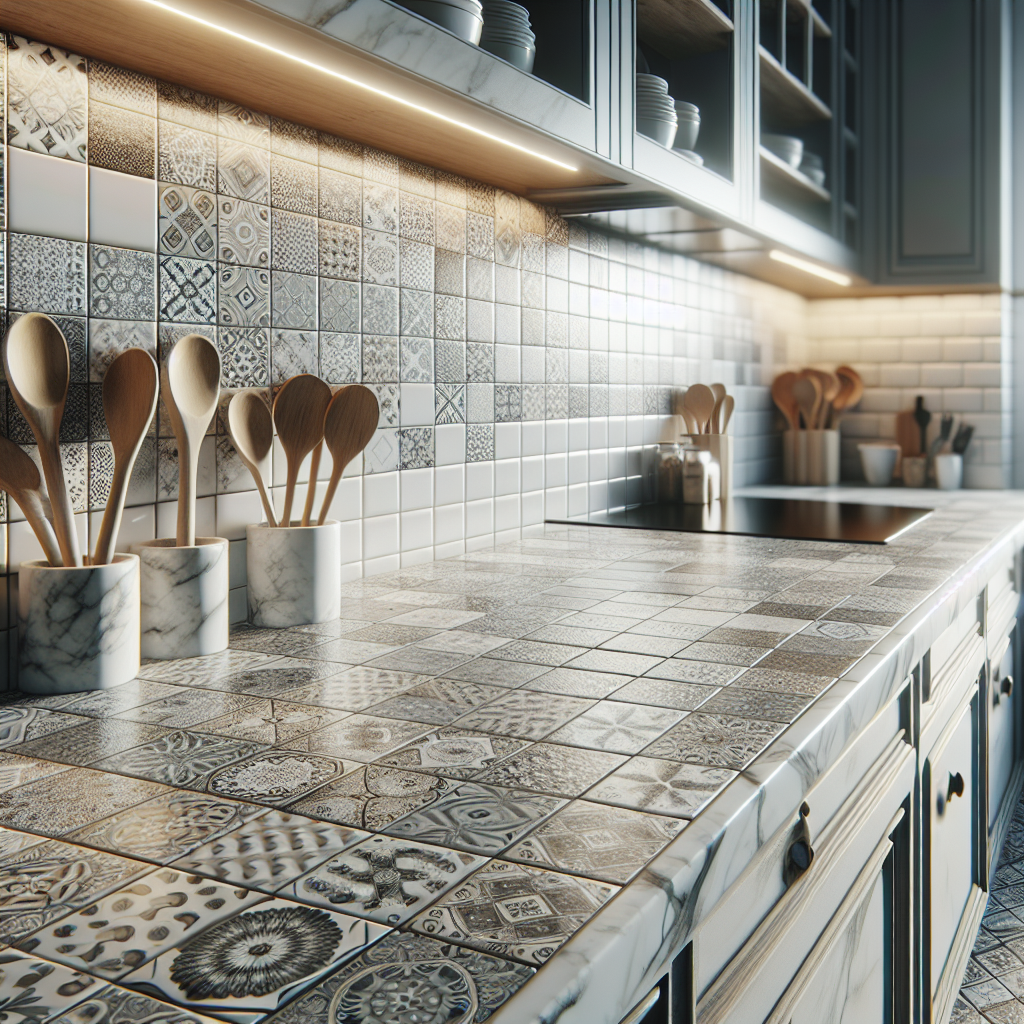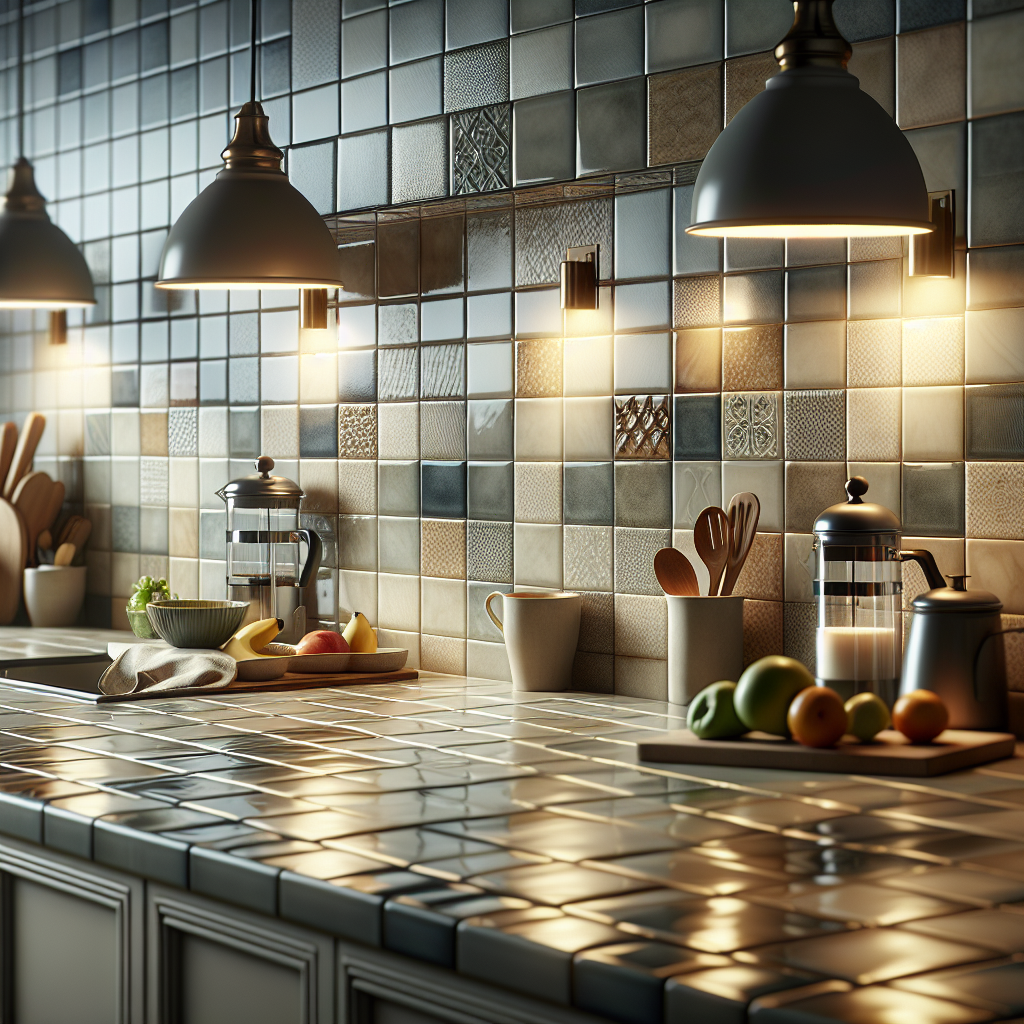
Refinishing your tile kitchen countertops is like giving your kitchen a mini-makeover without the hefty price tag of a full renovation. It’s a project that might seem daunting at first, but with the right guidance, you can transform your space into a place that feels brand new. So, roll up your sleeves, because we’re diving into a step-by-step guide that will take your countertops from drab to fab!
Key Takeaways
Refinishing tile countertops is cost-effective, typically ranging from $5-$20 per square foot, compared to $50-$200 for complete replacement.
Customization is key; choose colors and finishes that suit your taste and kitchen’s theme.
With the right tools and materials, including quality primer and sealant, you can achieve professional-looking results.
Proper prep work, such as cleaning and repairing tiles, is essential for a durable finish.
Maintenance after refinishing is simple, involving routine cleaning and occasional sealant reapplication.
Why Refinish Your Tile Kitchen Countertops?
Let’s face it, kitchen remodels can be expensive. But if the bones of your kitchen are solid, and it’s just the surface that’s looking a little tired, refinishing your countertops can be the perfect solution. Not only is it more budget-friendly, but it’s also a satisfying DIY project that can yield significant changes in your kitchen’s appearance.
Cost-Effective Upgrades
When it comes to kitchen renovations, the costs can quickly spiral. Replacing tile countertops entirely means paying for new materials and labor. Refinishing, on the other hand, uses the materials you already have. This approach can save you a bundle, especially if your tiles are unique or high-end.
Endless Customization Options
Imagine having a countertop color that perfectly matches your kitchen walls, or a unique pattern that becomes the centerpiece of your cooking space. With refinishing, you’re the artist, and your countertop is the canvas. You get to choose from a spectrum of colors and finishes to create a look that’s all your own.
Less Time, Less Mess
Another perk? Refinishing takes less time than replacing. You could have a new countertop in a couple of days, and since you’re not tearing out the old one, there’s less mess to deal with.

Gathering the Right Tools and Materials
Before we get our hands dirty, we need to gather our tools and materials. Think of this as the mise en place of DIY—it’s all about having everything ready before you start.
Essential Refinishing Supplies
Heavy-duty cleaner
Sandpaper or a sanding block
Repair putty or caulk for tiles
Painter’s tape
Drop cloths or plastic sheeting
Primer designed for tile
High-quality paint for tile
Sealant
Paint rollers and brushes
Choosing Quality Primers and Paints
When it comes to primers and paints, not all of them are created equal. You’ll want to opt for products specifically designed for tile, which will adhere better and stand up to the wear and tear of a kitchen environment. The right primer will make sure your paint sticks around for the long haul.
Top Picks for Protective Sealants
Finally, a top-notch sealant will protect your handiwork from spills, stains, and heat—everyday kitchen hazards. Look for a sealant that’s non-yellowing and food safe once cured.
Prep and Repair: The Foundation of Refinishing
Now, let’s get to the foundation of a successful refinishing project: prep and repair. This step is critical; skipping it is like trying to paint over a dirty wall—the results just won’t be as good.
Cleaning and Sanding Your Countertops
Start with a thorough cleaning to remove any grease, grime, or residue. Then, sand the surface to help the primer and paint adhere better. Wipe away the dust, and you’re ready for the next step.
Filling Cracks and Chips in Tiles
If you’ve got cracks or chips, now’s the time to fix them. Use a putty or caulk suitable for tile repair. Once it’s dry, give it a light sanding to ensure the surface is smooth and even.
Tape and Protect Surrounding Areas
Before you start priming and painting, it’s essential to protect your kitchen. Use painter’s tape to cover the edges of your countertops, safeguarding your backsplash, cabinets, and sink from stray paint. Lay down drop cloths or plastic sheeting on the floor and on any surfaces you want to keep paint-free. It’s like setting up a safety net; it’s better to be safe than sorry!
Priming: The Key to Longevity
Primer is your secret weapon for a long-lasting finish. It creates a bond between the tile and the paint, ensuring that your hard work stands the test of time.
The Role of Primer in Tile Adhesion
Think of primer as the glue that holds everything together. It’s designed to stick to surfaces like tile and provide a surface that paint can bond to effectively. Without primer, your paint might peel, chip, or fade much sooner.
Application Techniques for Even Coverage
Applying primer evenly is critical. Start with a clean brush or roller and apply the primer in thin, even coats. Work in sections, overlapping each pass for complete coverage. Let the primer dry completely before moving on to painting; patience here pays off in the quality of your finish.

Painting: Bringing Color to Your Countertops
Now comes the fun part—adding color! Whether you’re going for a bold new look or a subtle refresh, the painting stage is where your vision comes to life.
Choosing Colors That Complement Your Kitchen
When selecting a paint color, consider the overall palette of your kitchen. You want your countertops to harmonize with the cabinets, walls, and flooring. Swatch tests can be a big help; paint a small section and observe how it looks under different lighting conditions before committing to the full job.
Brush vs. Roller: Application Methods Explored
For painting countertops, rollers can provide a smooth, even finish without brush marks. Brushes, however, are great for getting into tight spaces and around edges. Sometimes, a combination of both tools gives you the best results. Always use high-quality brushes and rollers designed for smooth surfaces to get that professional look.
Creating Patterns and Effects with Paint
If you’re feeling creative, why not add a pattern or special effect? Stencils can help you create designs, and sponges or feathers can be used for marbling effects. Remember, the key is to let each layer of paint dry thoroughly before adding the next.
Sealing: The Final Protective Layer
Sealing is the final step in ensuring your newly refinished countertops can withstand daily kitchen activities. It’s the invisible shield that guards against everything from coffee spills to splatters of spaghetti sauce.
The Importance of a Quality Sealant
A quality sealant not only protects your countertops from stains and heat but also enhances the finish, making the colors pop and the surface shine. Choose a sealant that’s designed for kitchen use, ensuring it’s food-safe and durable.
Step-by-Step Application of Sealant
Applying sealant is straightforward. Use a clean brush or roller and apply it in thin, even coats. Work systematically across the countertop, and make sure you have good ventilation as some sealants can be quite pungent. Allow the sealant to dry completely according to the manufacturer’s instructions before using the countertops.
Curing Time and Aftercare
After sealing, give your countertops ample time to cure. This can take anywhere from a few hours to a few days. During this time, be gentle with the surface and avoid placing heavy objects on it. Once cured, your countertops will be much more resistant to the rigors of kitchen life.

Maintenance Tips for Newly Refinished Countertops
After all the hard work you’ve put into refinishing your tile kitchen countertops, you’ll want to keep them looking their best. Proper maintenance is key to preserving their beauty and functionality for years to come. Let’s walk through some essential tips for caring for your newly refinished surfaces.
Daily Cleaning and Care Practices
Keeping your countertops clean doesn’t require harsh chemicals. In fact, a simple solution of warm water and mild dish soap is perfect for everyday cleaning. Use a soft cloth or sponge to wipe down the surfaces gently. For tougher stains, a non-abrasive cleaner is your go-to solution. Remember, abrasive cleaners can scratch and damage the sealant and paint, so use them sparingly, if at all.
Avoid letting spills sit for too long. Wipe them up promptly to prevent any potential staining or damage to the sealant. And most importantly, use cutting boards and trivets to protect the surface from scratches and heat damage.
Dealing with Accidental Spills and Heat
Accidents happen, but there’s no need to panic. If you spill something on your countertops, act quickly. Blot the spill with a paper towel or a clean cloth; rubbing can spread the spill and make it worse. For heat, always use trivets or hot pads under pots, pans, and baking dishes. Direct heat can compromise the sealant and even warp the paint beneath.
When to Reapply Sealant
Even the best sealant isn’t permanent. Over time, it will wear down and require reapplication. How often depends on how much wear and tear your countertops see. A good rule of thumb is to reapply every one to two years, but if you notice areas where the sealant is peeling or wearing thin, it’s time for a touch-up.

FAQ
Now, let’s address some common questions about refinishing tile kitchen countertops. This will help clear up any uncertainties and provide you with the confidence to tackle this project head-on.
How Long Does Tile Countertop Refinishing Last?
With proper care and maintenance, a refinished tile countertop can last 5-10 years or more. The longevity of your refinishing job largely depends on the quality of materials used and how well you maintain the surface.
Can You Refinish Countertops with a High-Gloss Finish?
Yes, you can achieve a high-gloss finish on your refinished countertops. After painting, apply a glossy sealant. Make sure the product is compatible with your paint and primer, and that it’s designed for high traffic areas like kitchens.
What Are the Best Types of Paint for Kitchen Tile Countertops?
For a kitchen tile countertop, you want to use a durable acrylic or epoxy paint that’s formulated for use on tile and other hard surfaces. Look for products that are moisture-resistant and can handle the heat and wear that come with the territory of being in a kitchen.
It’s important to choose a paint that’s not only tough but also safe to come into contact with food once it’s fully cured. Always check the manufacturer’s specifications and recommendations.
How Can You Maintain the Grout After Refinishing?
Grout can be the Achilles’ heel of a tile countertop, but with the right care, you can keep it looking great. After refinishing, seal the grout lines to prevent staining and make cleaning easier. For daily maintenance, use a soft brush and a mild cleaner to remove any debris from the grout lines. If the grout starts to look dingy, a grout pen can be used to touch up the color.
Is it Possible to DIY or Should You Hire a Professional?
Refinishing your tile countertops is a very doable DIY project. With patience and attention to detail, you can achieve professional-looking results. However, if you’re not confident in your DIY skills or if you have a particularly large or complex job, hiring a professional might be worth the investment. They can ensure the job is done right and may even offer a warranty on their work.
And there you have it, a step-by-step guide to refinishing your tile kitchen countertops. With these tips and techniques, you can achieve a stunning new look without breaking the bank. Remember, the key to a successful project is preparation, patience, and a bit of creativity. Now, go forth and transform your kitchen into a space you love!


