Key Takeaways
- Refinishing your porcelain tile flooring can dramatically change the look of a room.
- A thorough cleaning is essential before starting the refinishing process.
- Repair any cracks or chips in your tiles to ensure a smooth finish.
- Deep cleaning is essential to remove any lingering dirt and grime.
- Etching and priming are optional steps in refinishing porcelain tile floors that can help the new finish adhere better.
- Apply a high-quality refinishing product and seal it to protect your handiwork.
Embracing Elegance: The Timeless Beauty of Porcelain Tile Flooring
Picture stepping onto a floor that not only withstands the test of time but also dazzles with its charm and elegance. Porcelain tiles bring warmth and style any space, whether it’s a cozy kitchen or a bustling living room. Porcelain tile flooring stands as a testament to timeless elegance and enduring beauty. Its exquisite craftsmanship, versatility, and durability have made it a cherished choice for homes and spaces around the world.
Reviving Brilliance: Refinishing Porcelain Tiles
Refinishing porcelain tile floors breathes new life into worn surfaces, restoring their durability and timeless charm. With meticulous attention to detail, faded colors are revived, minor damage is repaired, and overall appearance is refreshed. Refinishing your porcelain tile flooring can give it a brand-new look without the expense of a full replacement.
Gearing Up for a Tile Transformation
Embarking on a DIY project like refinishing porcelain tile flooring can be a thrilling adventure. It’s a chance to flex your creative muscles and breathe new life into a room without the hefty price tag of a complete overhaul. With a dash of patience and the right approach, you’re about to transform your space into something you’ll be proud of.
Gathering Your Supplies
Before we roll up our sleeves, let’s talk tools and materials. You’re going to need some specific items to make this project a success. Here’s what should be on your shopping list:
- Tile cleaner to banish dirt and grime.
- Sandpaper in various grits for smoothing out imperfections.
- A high-quality tile refinishing kit, which typically includes a coating and sealant.
- Painters’ tape and plastic sheeting to protect surrounding areas.
- Safety gear like gloves, goggles, and a respirator mask.
Remember, the better the supplies, the better the finish, so don’t skimp on quality here.
Prepping for a Smooth Start
Let’s set the stage for a flawless finish. Start by removing any items from the area, including furniture and rugs. Use painters’ tape and plastic sheeting to shield cabinets, walls, and fixtures from splatters and spills. This is also the time to put on your safety gear—safety goggles, gloves, and a respirator mask are non-negotiable because safety always comes first.
Now, let’s clear the floor. Sweep or vacuum to get rid of loose dirt and debris. You want a clean canvas to work on. Trust me, any grit left behind will haunt you later in the process.

Porcelain Tile Flooring Refinishing Steps
Refinishing your porcelain tile flooring is like giving your room a mini facelift. It’s not just about the end result; it’s about taking pride in the process and the satisfaction of doing it yourself. So let’s break it down into manageable steps.
Step 1: Cleaning Masterclass: Spotless Surface Prep
First things first, we need to get those tiles squeaky clean. Any residue, soap scum, or old sealers can interfere with the refinishing products. So grab your tile cleaner and scrub away. Pay special attention to the grout lines, as these can be havens for grime. Once you’ve scrubbed every inch, rinse thoroughly and let it dry completely. Patience is key here; rushing can lead to a less than stellar finish.
Step 2: Repairing Damages
Inspect your tiles closely. If you spot cracks or chips, now’s the time to fix them. You can use a porcelain repair kit for small imperfections. Just follow the instructions carefully. For larger issues, you might need to replace the affected tiles. Yes, it’s a bit more work, but it will be worth it in the end.
Step 3: Deep Cleaning
After repairing any damages, it’s time to deep clean. This isn’t your everyday sweep; think of it as a spa day for your floor. You’re going to want to use a heavy-duty cleaner designed for porcelain tiles. Apply it liberally and let it sit for a bit to break down the tough stuff. Then, get scrubbing with a brush or a scrub pad. Work in sections and rinse thoroughly with water as you go. You want those tiles to be spotless and free from any cleaning residue.
Step 4: Etching (Optional)
Etching is a process that creates a rougher surface for better adhesion of the refinishing product. If you’ve got glossy tiles, this step is for you. Use an etching cream or solution specifically designed for porcelain tiles. Apply it as directed, usually with a sponge or brush, and allow it to work its magic for the recommended time. After etching, rinse the floor well and wait for it to dry completely. It’s like giving your tiles a little bit of grit, so the new finish has something to cling to.
Remember, etching involves chemicals, so keep that safety gear on and ensure good ventilation in the room. It’s a powerful step that can make a big difference in the longevity of your finish.
Step 5: Priming (Optional)
Priming is another step to consider if you want to give your finish the best chance of sticking around. It’s like an undercoat for your tiles. Not all refinishing kits require it, but if yours does, don’t skip it.
- Make sure the floor is clean and dry.
- Apply the primer with a roller or brush, covering all tiles evenly.
- Let it dry according to the product’s instructions.
Priming creates a seamless base, hiding any minor flaws and ensuring the color of your refinishing product pops.
After priming, take a moment to tidy up your workspace. Sweep or vacuum any dust, and tape off the areas you want to protect from the refinishing product. This prep work might seem tedious, but it’s the secret to a professional-looking finish.

Step 6: Applying Refinishing Product
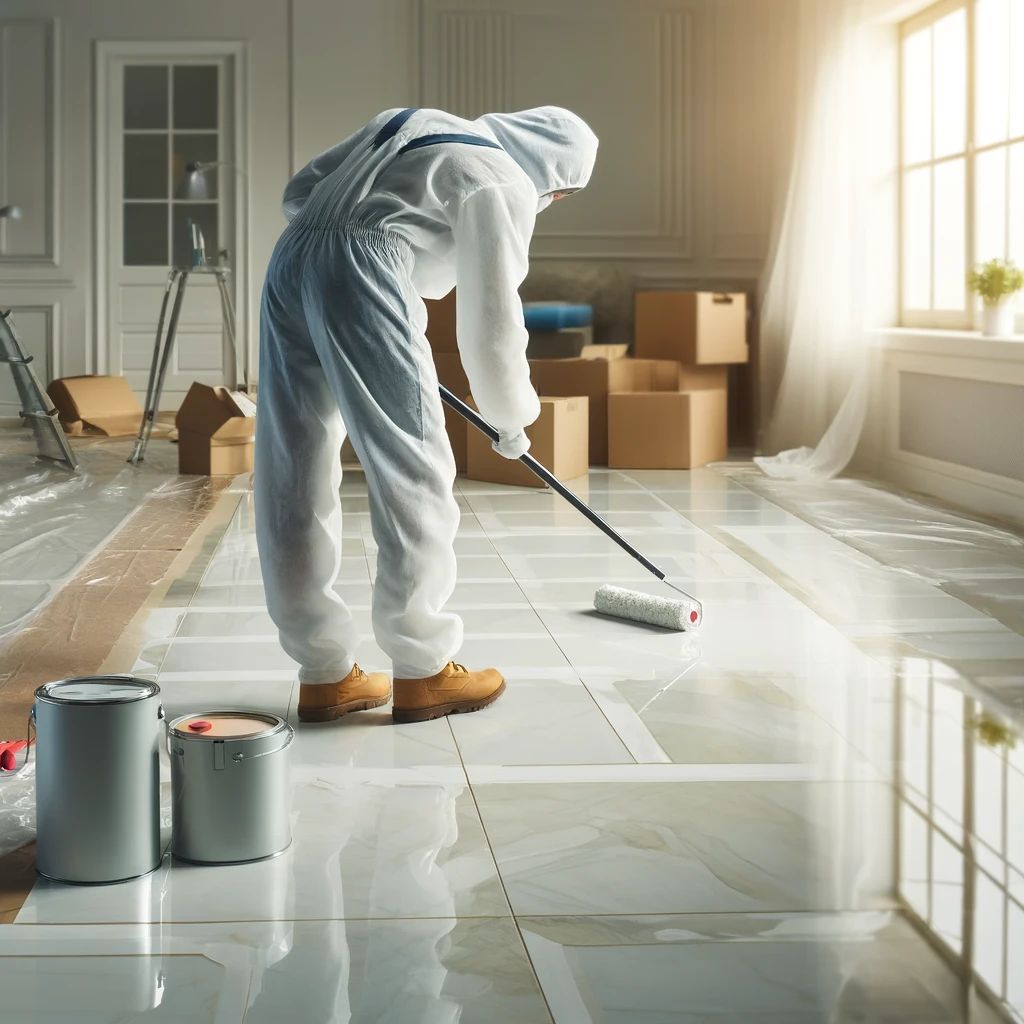
Now comes the transformative part—applying the refinishing product. This is where you’ll see your tiles start to look brand new. Choose a high-quality refinishing product specifically designed for porcelain tiles.
Follow the manufacturer’s instructions for mixing and applying the product. Use a paint roller or brush to apply thin, even coats of refinishing product to the tiles, working in small sections at a time to avoid drips. Allow to dry completely between coats, if multiple coats are required.
Step 7: Sealing in Your Hard Work
After applying the refinishing product, it’s time to seal your hard work. The sealant is what gives your tiles that final, durable finish and lustrous sheen. Wait for the refinishing product to dry completely—rushing now could ruin everything.
Once dry, apply the sealant with a clean foam roller or brush. Cover every inch of your tiles with a thin, even layer. Be meticulous; every bit of tile under sealant is another bit protected from wear and tear.
Finally, let the sealant dry. Check the product instructions for the recommended drying time. This isn’t the moment to be impatient; a full cure is crucial for a hardy finish.
Selecting Your Sealant
Choosing the right sealant is important. It’s the invisible shield for your tiles, so opt for a high-quality product. You’ll find sealants in matte, satin, and glossy finishes. Consider the look you’re going for and the level of maintenance you’re willing to commit to. Glossy finishes may show scratches more easily, but they’re also easier to clean.
- Read the labels and choose a sealant compatible with your refinishing product.
- Consider the finish—matte, satin, or glossy—and choose one that fits your style.
- Opt for a sealant that offers protection against mold and mildew, especially in damp areas like bathrooms.
Remember, the sealant is not just about aesthetics; it’s also about protection. Choose wisely to keep your tiles looking great for years to come.
Tips for a Sturdy Seal
Applying sealant requires a steady hand and attention to detail. Here are some tips to ensure a sturdy seal:
- Work in small sections to maintain control.
- Use a foam roller for a smooth, bubble-free application.
- Avoid heavy application to prevent drips and uneven areas.
- Allow the sealant to dry thoroughly between coats if multiple coats are recommended.
With these tips, you’ll lock in that new-tile look and feel confident that your floors are well-protected.

Step Back and Admire: The Big Reveal
Once the sealant is dry, it’s time for the big reveal. Remove all the tape and drop cloths, clean up your tools, and step back to admire your work on refinishing your porcelain tiles. You’ve just given your porcelain tiles a new lease on life, and it’s something to be proud of.
Transforming your space didn’t require a complete overhaul or a call to the professionals. With some elbow grease and a DIY spirit, you’ve achieved a high-impact change on a low-impact budget. Now, that’s a win in the world of home improvement.
Patience Pays Off: Curing Times and Tips
Even though your tiles look dry and ready to walk on, hold your horses. Curing times can vary, but it’s usually a good idea to wait at least 24 to 48 hours before subjecting your new floor to foot traffic. Check the instructions on your refinishing kit for the exact time.
During this time, keep the room well-ventilated and avoid moisture or spills. Curing is when the magic happens, turning your refinishing product from a liquid to a solid, durable surface. Give it the time it needs, and you’ll be rewarded with a floor that’s ready for all of life’s adventures.
The Magic Moment: Your Tile’s New Lease on Life
When the curing time has passed, you’ll witness the magic moment. Your tiles will not only look refreshed, but they’ll also feel sturdy and resilient underfoot. It’s the kind of satisfaction that only comes from doing it yourself. You’ve saved money, flexed your creative muscles, and now have a beautiful, functional floor to show for it.
Whether you’ve gone for a chic matte finish or a gleaming gloss, your tiles are now a testament to your hard work and vision. So go ahead, throw a little house party to show off your handiwork. After all, a job well done deserves to be celebrated.
Post Refinishing Maintenance
Once your tiles have been refinished, they’ll look stunning, but the journey doesn’t end there. Good maintenance is key to keeping them in top condition. For daily cleaning, use a soft mop or cloth with warm water and a mild detergent. Avoid harsh chemicals or abrasive tools that could damage the sealant. For spills, act fast; blot them up immediately to prevent staining. With the right care, your tiles will stay looking as good as new for years to come.

Frequently Asked Questions
How long does the refinishing process take?
The refinishing process can take a weekend or a few days, depending on the size of the area and the steps you’re taking. Don’t forget to factor in drying and curing times for the products you’re using. These can vary, so check the labels for accurate timing.
Do I need to remove the grout before refinishing?
Not usually. Most of the time, you can refinish right over the existing grout. However, if your grout is in poor condition—cracked, chipping, or missing pieces—you should repair or replace it before refinishing for the best results.
Example: If your grout lines are shallow, you might consider regrouting to ensure the refinished tile looks its best. This can also be an opportunity to change the grout color, which can dramatically alter the appearance of your tiled area.
Can I change the color of my porcelain tiles with refinishing?
Definitely! One of the joys of refinishing is the ability to change the color and look of your tiles. You can choose from a variety of colors and finishes to match your decor. Just make sure you use a product that’s specifically designed for use on porcelain tiles.


Leave a Reply