
Key Takeaways
- Birch wood is a popular choice for DIY projects due to its smooth grain and excellent stain absorption.
- Before starting, gather essential tools such as sandpaper, stain, sealer, and protective gear.
- Proper preparation of the work area and the table itself is essential for a successful refinishing project.
- Stripping the old finish and sanding the wood are the first steps to ensure a clean surface for refinishing.
- Applying stain and sealer correctly will result in a durable and visually appealing finish on your birch table.
Revitalize Your Birch Wood Table with Ease
Nothing breathes new life into a room quite like a beautifully refinished birch wood table. Whether it’s an heirloom piece or a flea market find, the right approach can transform it from tired to terrific. Birch wood, with its smooth grain and forgiving nature, is an excellent canvas for your refinishing masterpiece. So, roll up your sleeves, and let’s dive into the satisfying world of DIY table refinishing.
The Appeal of Birch for Your DIY Project
Birch is a go-to for furniture makers and DIY enthusiasts alike. Why? Well, it’s not just because of its widely admired pale complexion and subtle grain patterns. Birch is also known for its even texture and its ability to take on stains and finishes quite evenly, which is perfect for those of us who want a gorgeous result without too much fuss. And let’s not forget, it’s sturdy. This means your handiwork will stand the test of time, making birch an all-around winner for table refinishing projects.
Gathering Your Refinishing Toolkit
Before we get our hands dirty, we need to talk tools. To make your table refinishing project a breeze, you’ll need to stock up on some essentials:
- Sandpaper in various grits to smooth out the surface and remove old finishes.
- Quality wood stain to give your table the color and richness it deserves.
- A sealer, like polyurethane, to protect your table from wear and tear.
- Protective gear, including gloves and a mask, to keep you safe from dust and fumes.
With these items at the ready, you’re set to tackle the task at hand with confidence.
Preparation: The Foundation of a Flawless Finish
Every great project starts with preparation. Begin by assessing the condition of your birch table. Look for scratches, dents, or areas where the old finish is wearing away. These will need special attention during the refinishing process.
Assessing Your Table’s Condition
Take a good look at your table. If it’s seen better days, don’t worry—that’s what refinishing is for. Note any damage or irregularities; these spots may require more sanding or wood filler to even out. The goal is to start with as smooth a surface as possible, which will make the rest of the process much smoother, too.
Preparing the Work Area
Next up, let’s set the stage for success. Choose a well-ventilated space to work in, as some materials we’ll use can be a bit smelly and dusty. Lay down drop cloths or old sheets to catch any mess, and make sure your table is stable and ready for action. A clean, organized workspace not only makes the process more enjoyable but also safer.
DIY Birch Wood Table Refinishing Steps
Step 1: Stripping Old Finish
First things first, we need to remove that old finish. Apply a chemical stripper following the manufacturer’s instructions—this will help lift the old varnish or paint. After it’s done its job, use a scraper to gently remove the bubbled finish. Remember, patience is key here; let the stripper work its magic, so you don’t have to use too much elbow grease.
Step 2: Sanding
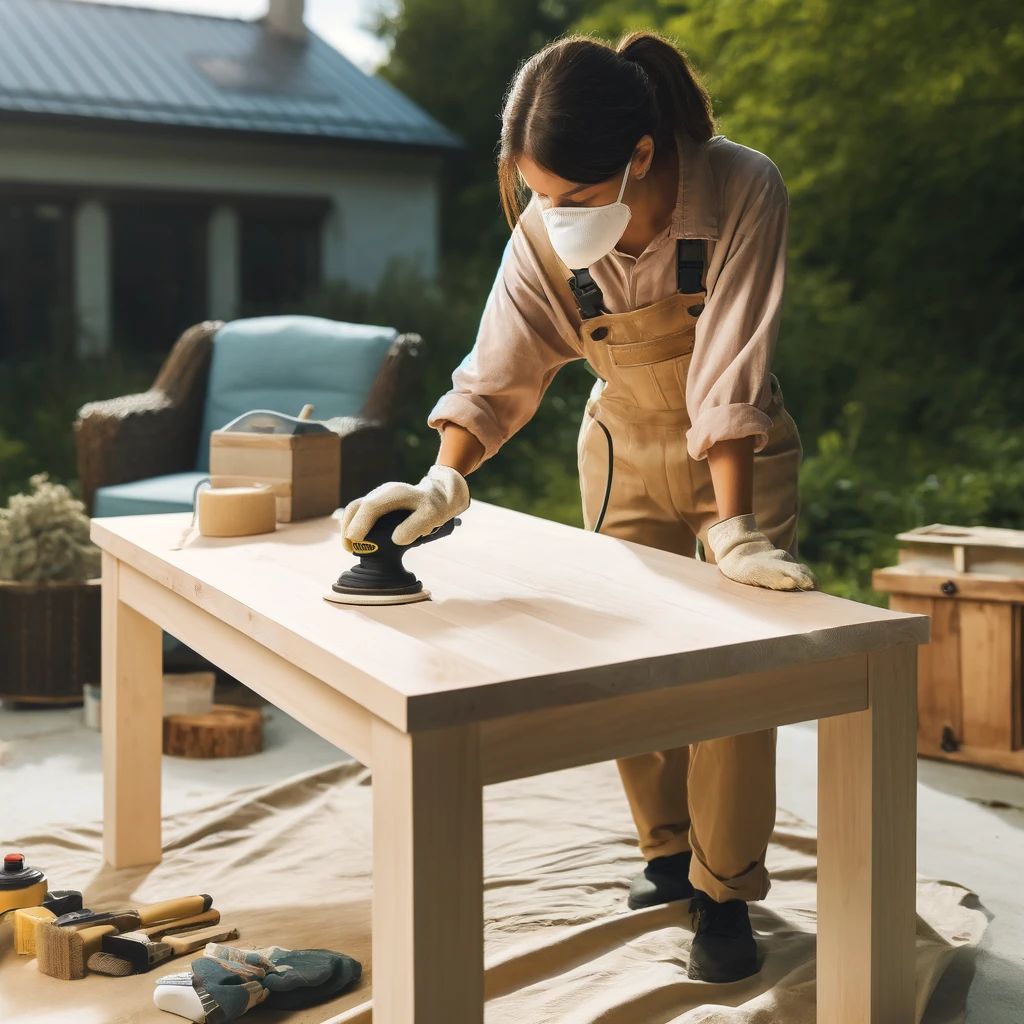
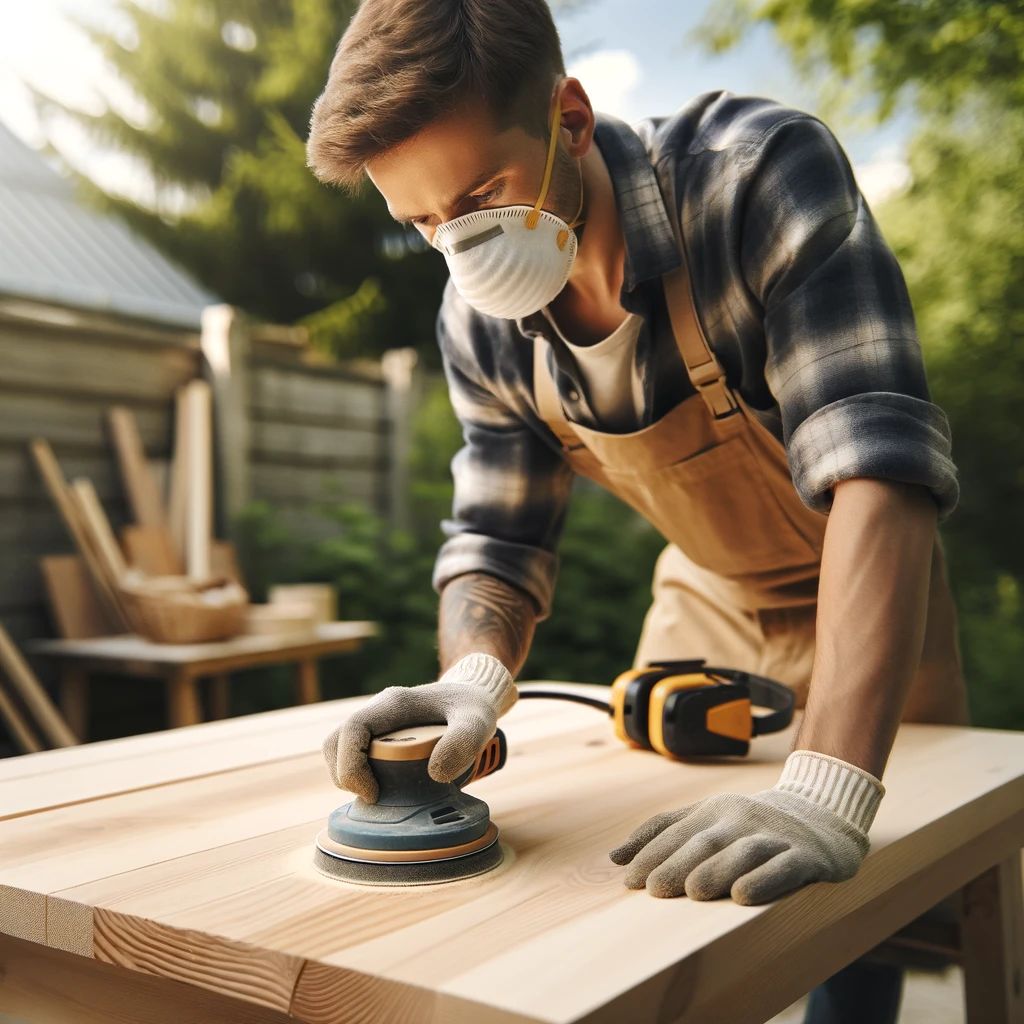
Once the old finish has been stripped away, it’s time to focus on sanding. Sanding birch is quite straightforward because it’s such a cooperative wood. Sanding is a critical step that ensures your stain and sealer adhere properly and look flawless.
Start with a medium-grit sandpaper, such as 120-grit, to remove any remaining finish and smooth out rough spots. Then, gradually work your way up to a finer grit, like 220, to create a super-smooth surface. Remember to always sand in the direction of the wood grain to avoid scratches that could show up after staining. Once you’re done, wipe down the table with a damp cloth to remove all the dust—you want a spotless surface before moving on to staining. Allow the table to dry completely before proceeding.
With the table stripped and sanded, you’ve set the stage for a stunning transformation.
Step 3: Staining: Breathe New Life Into the Wood
Staining is where the magic happens. It’s where you get to choose the color that best fits your style and bring out the natural beauty of the birch wood. Before you begin, double check to make sure your table is free of dust and debris. You might even want to use a tack cloth to pick up any lingering particles. This will help you achieve that even, professional-looking finish we’re after.
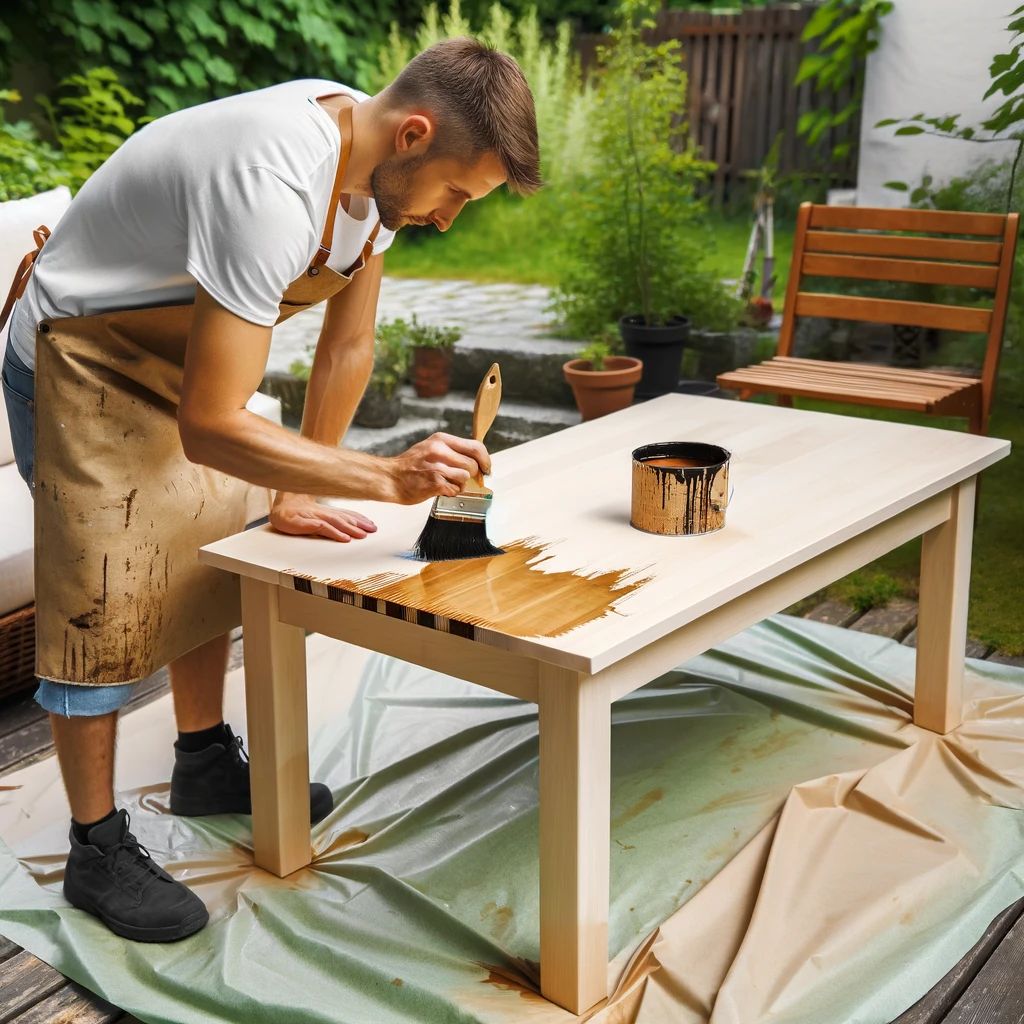
Before fully committing to the stain, test it on a hidden section of the table or a scrap piece of the same wood. This ensures that the color meets your expectations and looks right with the birch. Once you’re satisfied with the color, apply the stain using a clean rag or brush, working in manageable sections. As you apply the stain, be sure to wipe off any excess with a clean rag, moving along the grain of the wood to maintain a smooth, streak-free finish.
After staining, give your table plenty of time to dry. Rushing this part could result in a sticky finish or even worse, a finish that doesn’t properly protect the wood.
Selecting the Right Stain for Birch Wood
Choosing the right stain for birch wood is important because it can dramatically affect the appearance of your table. Birch is known for its ability to absorb stain evenly, but it can also become blotchy if not treated properly. Gel stains are a great option for birch because they’re thicker and less likely to cause splotches. Oil-based stains are another solid choice because they penetrate deeply, bringing out the wood’s natural character.
Application Techniques for Even Color
For an even color, the application technique is just as important as the stain you choose. Use a brush or rag to apply the stain, and work it into the wood grain. If you’re looking for a darker color, you can apply multiple coats, allowing each to dry before adding the next. Just be sure to wipe away any excess after each application to avoid a sticky, uneven finish.
Step 4: Sealing: The Protector of Your Handy Work
Once the stain has dried, it’s time to seal your table. Sealer, such as polyurethane, provides a protective layer that defends against scratches, water damage, and everyday wear and tear. When applying sealer, use a high-quality brush or foam applicator to achieve a smooth, bubble-free finish. Apply in thin, even coats, allowing each coat to dry completely before applying the next. This step is essential for ensuring your table’s longevity.
Choosing the Best Sealer for Durability
There are several types of sealers you can use, but for birch wood tables, water-based polyurethane is a top choice. It’s durable, dries quickly, and doesn’t have the strong odor associated with oil-based polyurethanes. Plus, it won’t yellow over time, which means the color you’ve chosen for your table will stay true for years to come.
Applying Polyurethane for a Durable Shine
Applying polyurethane can be tricky, but with a little practice, you can achieve a professional finish. Use a clean brush or foam applicator to apply the polyurethane in thin, even layers. Between coats, you might need to lightly sand with a fine-grit sandpaper to remove any bubbles or imperfections. Always wipe away the dust before adding another coat. Most importantly, let the sealer cure fully—this could take a couple of days—before using the table.
Finishing Touches: The Art of Refining Details
After all your hard work, it’s time for the finishing touches. These are the little things that make a big difference in the overall look and feel of your refinished table. Inspect your table for any small imperfections that may need attention. A little bit of touch-up stain or another quick sanding might be necessary. Once you’re satisfied with the finish, you can reattach any hardware or legs that were removed during the process.
Buffing and Polishing for a Sleek Surface
For that extra shine and smoothness, consider buffing and polishing your birch wood table. You can use a soft cloth and a bit of furniture wax to buff the surface to a gleaming shine. This not only adds to the aesthetic but also provides an additional layer of protection. A well-buffed table is a sign of a job well done and will invite admiring looks for years to come.
Hardware and Leg Maintenance
Now, don’t forget about the hardware and legs of your table. If they’re metal, they might need a good polish to match your newly refinished tabletop. Sometimes, all they need is a little rub with a metal cleaner to bring back their shine. If they’re wooden, you might want to give them the same sanding, staining, and sealing treatment as the top. This attention to detail ensures that every part of your table looks fresh and new.
Maintenance Tips
Maintaining a birch wood table requires regular care to keep it looking its best and to preserve its natural beauty. Here are some maintenance tips:
Cleaning
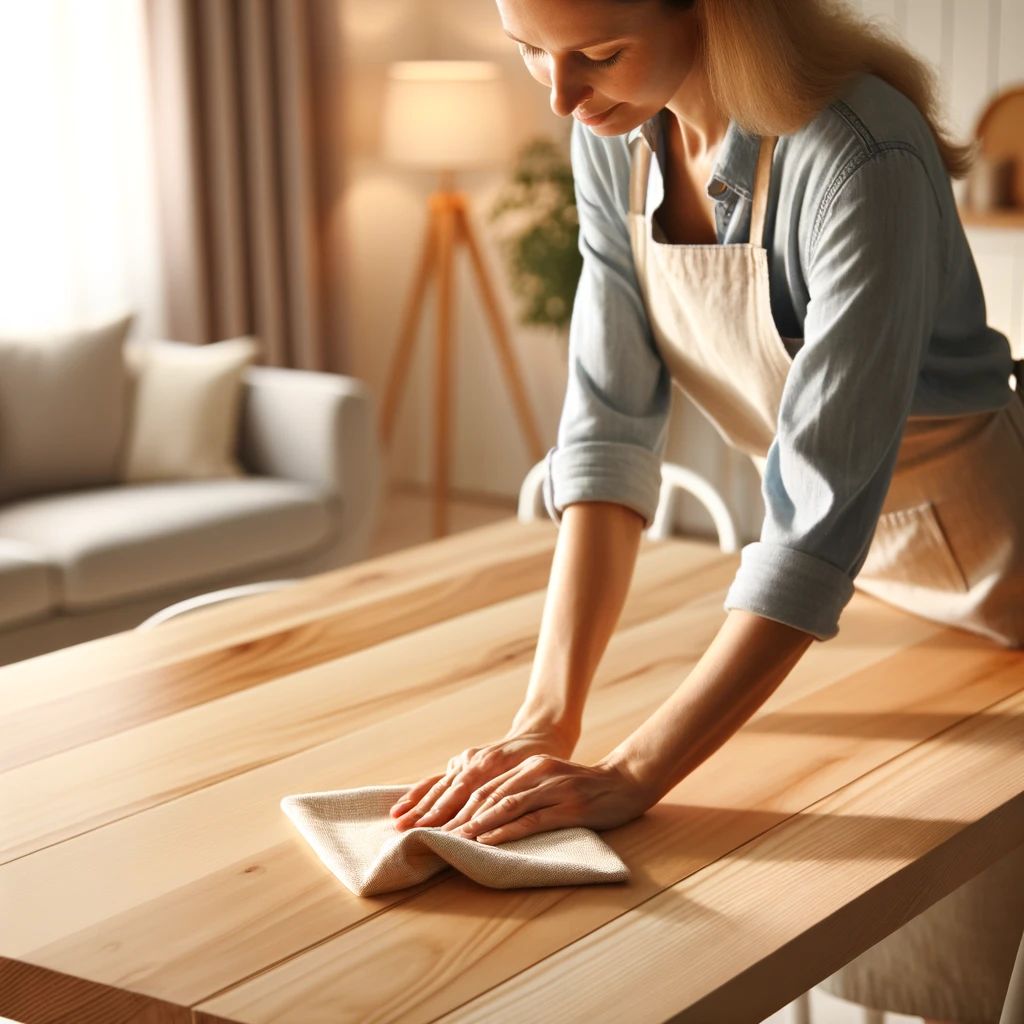
Dust the table regularly with a soft, lint-free cloth to remove surface dust and debris. For deeper cleaning, use a slightly damp cloth with a mild wood cleaner or a solution of water and mild dish soap. Avoid using harsh chemicals or abrasive cleaners, as they can damage the wood finish.
Avoiding Moisture
Birch wood is susceptible to damage from moisture, so it’s essential to wipe up spills immediately to prevent them from soaking into the wood. Use coasters or placemats under glasses and hot pads or trivets under hot dishes to protect the table surface from heat and moisture.
Protecting from Sunlight
Direct sunlight can fade and damage the finish of birch wood over time. Position the table away from windows or use curtains, blinds, or UV-filtering window film to protect it from prolonged exposure to sunlight.
Using Tablecloths or Mats
Consider using a tablecloth or placemats to provide an extra layer of protection for the table surface, especially during meals or when working on projects. This can help prevent scratches, stains, and other damage.
Regular Maintenance
Inspect the table periodically for any signs of wear or damage, such as scratches, dents, or worn areas in the finish. Address any issues promptly to prevent them from worsening over time.
Applying Furniture Wax or Polish
Every few months, apply a thin coat of furniture wax or polish to the table surface to nourish the wood and restore its luster. Follow the manufacturer’s instructions for application, and be sure to buff the surface gently with a soft cloth to remove any excess wax or polish.
Avoiding Sharp Objects
To prevent scratches and gouges, avoid placing sharp or abrasive objects directly on the table surface. Use felt pads or coasters under items like vases, lamps, and decorative objects to protect the wood from damage.
Maintaining Humidity Levels
Birch wood performs best in environments with stable humidity levels. Use a humidifier in dry climates or during the winter months to prevent the wood from drying out and shrinking, which can lead to cracks and warping.
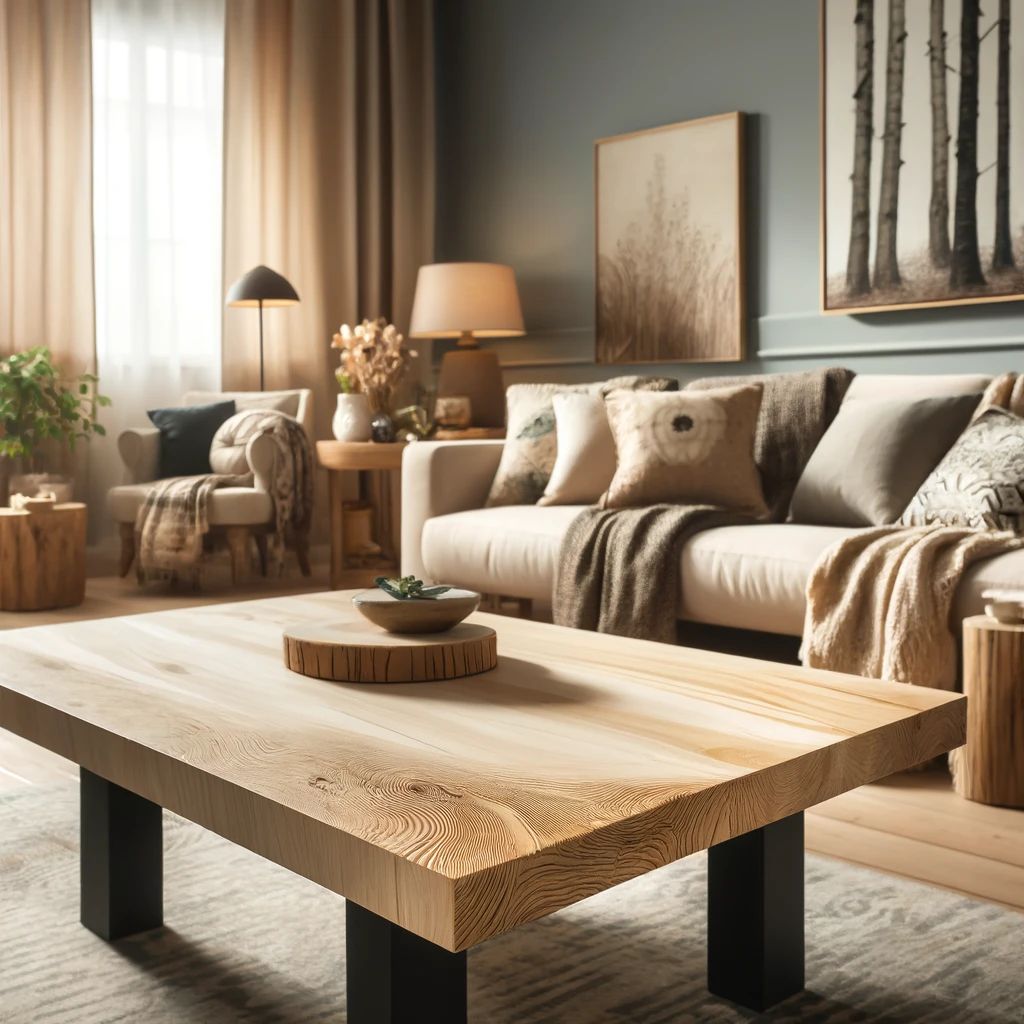
Frequently Asked Questions
What Makes Birch Wood Unique for Refinishing?
Birch wood stands out due to its fine grain and even texture, which makes it particularly receptive to refinishing. It’s a hardwood that’s durable yet easy to work with. The wood’s natural light color provides a great base for a variety of stains, from light to dark, allowing you to customize the look to your liking.
Can I Refinish a Birch Wood Table Without Stripping?
While it’s possible to refinish without stripping, for the best results, it’s recommended to strip away the old finish. This allows you to start with a clean slate and ensures that the new finish adheres properly and looks even. Skipping this step might save time, but it could lead to a less than satisfactory finish in the end.
How Do I Avoid Brush Strokes When Applying Polyurethane?
To avoid brush strokes, use a high-quality brush or foam applicator and apply the polyurethane in thin, even layers. Work with the grain, and don’t overload your brush. If you do notice brush strokes, sanding lightly between coats can help smooth them out.
How Many Coats of Stain Should I Apply to Birch Wood?
The number of stain coats depends on the desired color depth. Typically, one to two coats are sufficient, but if you want a darker finish, additional coats may be necessary. Just make sure to allow each coat to dry completely before applying the next.
Is it Necessary to Sand Between Coats of Sealer?
While it’s not absolutely necessary, it is a very good idea to lightly sand between coats of sealer. This helps to remove any dust or bubbles and ensures a smooth, even finish. Use a fine-grit sandpaper and wipe away the dust before applying the next coat.
In conclusion, refinishing a birch wood table is a rewarding project that can be accomplished with some patience and attention to detail. By following these steps, you’ll end up with a beautiful piece of furniture that looks brand new. Remember to take your time, follow the instructions carefully, and most importantly, have fun with it!


Leave a Reply