Key Takeaways
- Refinishing an oak dining table can transform it into a beautiful centerpiece for your home.
- Essential materials include sandpaper, wood stripper, stain, and a protective finish.
- Preparation is key: assess the table’s condition and gather all necessary tools before starting.
- Stripping the old finish and sanding down to bare wood are essential steps for a smooth, even surface.
- Applying stain and sealant not only enhances the beauty of the wood but also protects it for years to come.
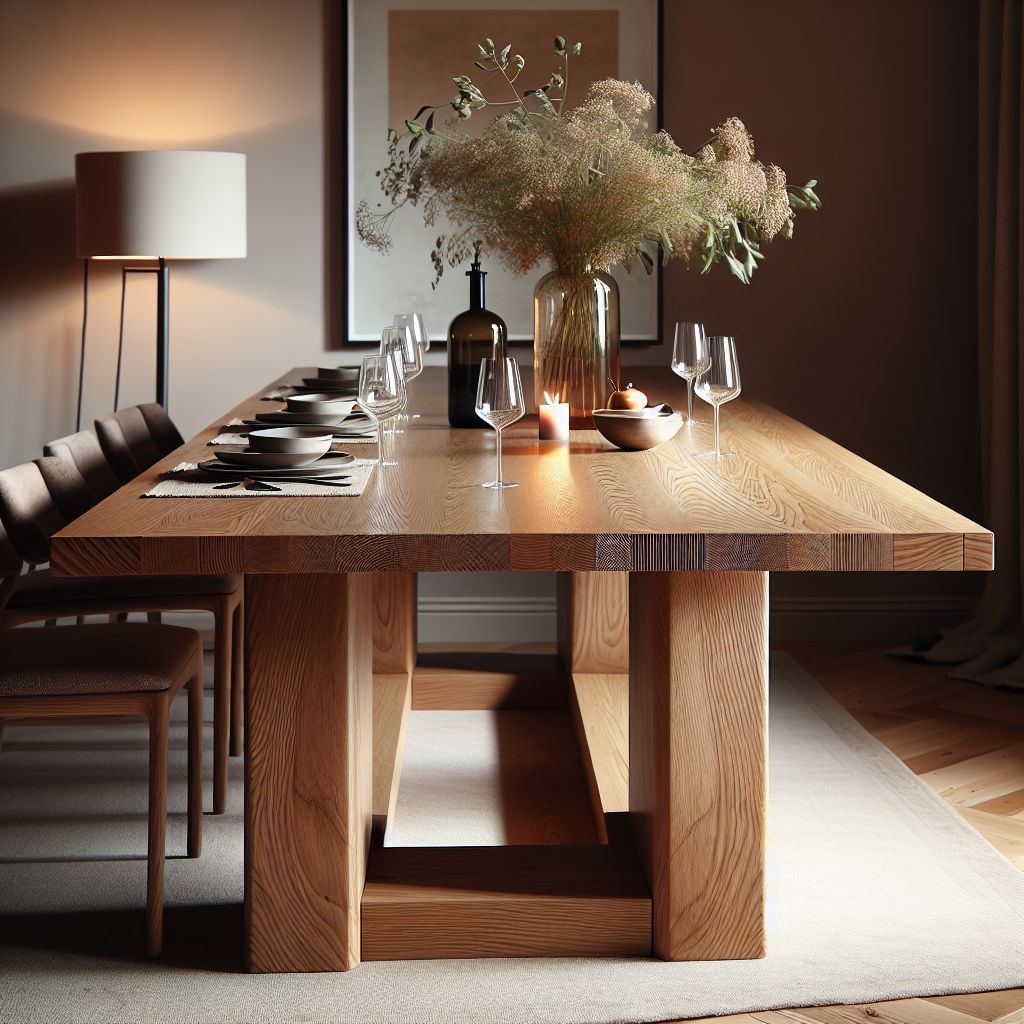
Restoring Elegance: Refinishing Your Oak Dining Table
Imagine sitting around a dining table that gleams with the warmth of fresh stain and the pride of a job well done. That’s the joy of refinishing your oak dining table—it’s not just about saving money, it’s about creating a piece of furniture that tells a story.
Materials You’ll Need to Begin
Before diving into the world of refinishing, let’s talk about what you’ll need. The right materials are like a painter’s palette—they can turn an old, worn-out table into a masterpiece. Here’s what you should have at your fingertips:
- Coarse-grit sandpaper (around 60-80 grit) for stripping away the old finish
- Medium-grit sandpaper (around 100-150 grit) for initial smoothing
- Fine-grit sandpaper (around 220 grit) for final smoothing
- Chemical stripper for efficiently removing old varnish or paint
- Quality wood stain to give your table the desired color
- Protective finish, such as polyurethane, to seal and protect the wood
- Paintbrushes or foam brushes for applying stain and finish
- Clean rags for wiping away excess stain
- Protective gloves and safety glasses for your safety
Keep in mind, the better the quality of your materials, the better the finish on your table will be. So, invest a little in these supplies, and they’ll pay dividends in the long run.

Transforming Your Oak Dining Table: Step-by-Step Refinishing Process
Discover the secrets to revitalizing your oak dining table with this step-by-step refinishing process. From preparation to final touches, learn how to breathe new life into your cherished piece of furniture.
Step 1: Stripping Away the Old Finish
Stripping the old finish is like peeling back the layers of time to reveal the raw beauty of your oak table. You’ll want to put on your gloves and safety glasses for this part—safety first! Apply a generous layer of chemical stripper according to the manufacturer’s instructions. Give it time to work its magic, and you’ll see the old varnish or paint start to bubble and lift. This is where the transformation begins.
Step 2: Sanding Down to the Bare Wood
Once the chemical stripper has done its job, it’s time for elbow grease. Start with the coarse-grit sandpaper to remove the remnants of the finish. You’ll notice the wood start to show its natural color and grain. It’s a bit of a workout, but as the old saying goes, ‘no pain, no grain.’
After the coarse grit, move on to the medium-grit sandpaper. This step is about smoothing out the roughness left by the coarse grit and preparing the surface for fine sanding. The goal here is to create a smooth, even surface without dips or divets that could show up after staining.
Remember, always sand in the direction of the wood grain. Sanding against the grain can create scratches that are nearly impossible to remove and will show up like a sore thumb once you apply the stain.
Now, grab your fine-grit sandpaper for the final sanding. This step is like the polish on a gemstone—it’s what gives your table that smooth-to-the-touch finish that’s so satisfying. Wipe the table down with a damp cloth to remove all the dust, and you’re ready for the next exciting step.
Step 3: Smoothing Out the Surface
Smoothing the surface is essential for a professional-looking finish. Inspect the table carefully for any remaining rough spots. If you find any, go over them again with fine-grit sandpaper. Once you’re confident the surface is as smooth as a piece of glass, you’re ready to move on.
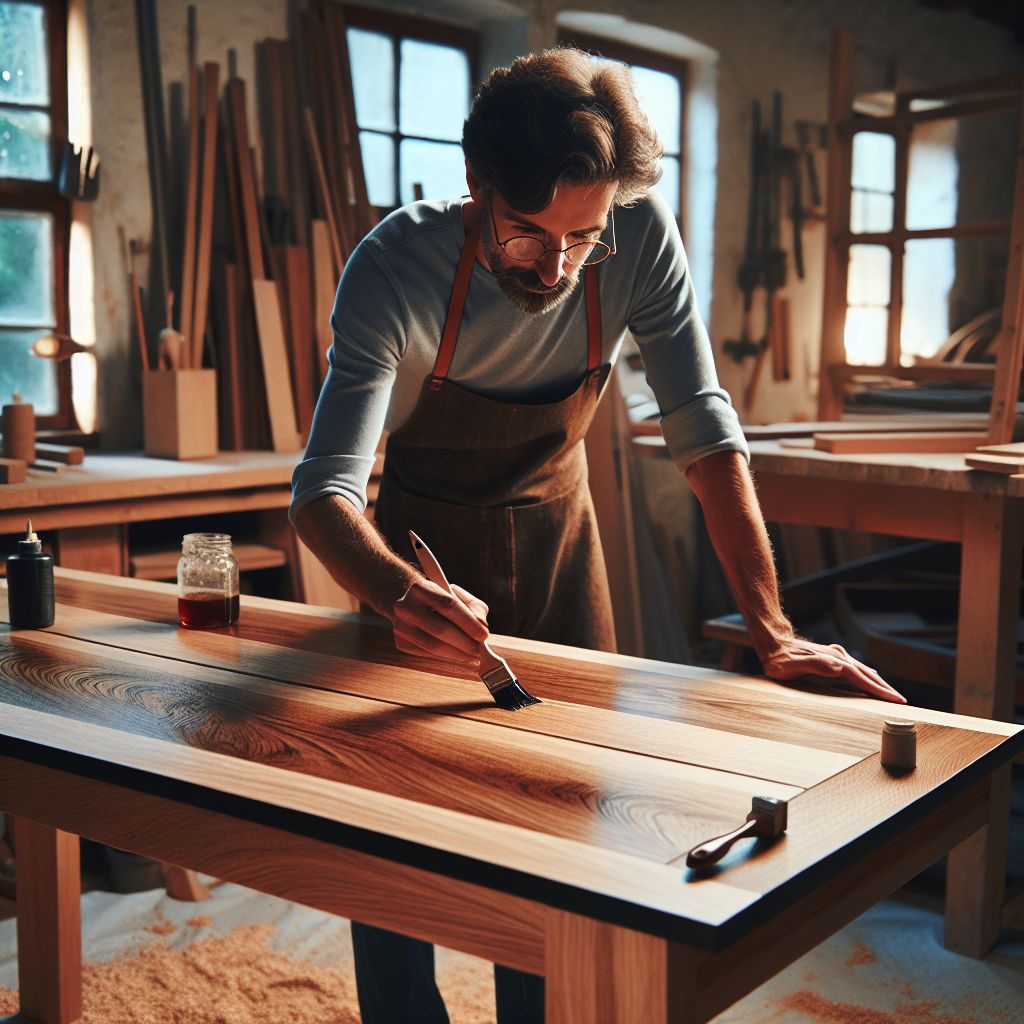
Step 4: Applying the Stain
Staining is where the magic happens. Choose a stain that complements the natural beauty of the oak and your personal style. Apply the stain with a brush or rag, working in sections, and always go with the grain. Don’t rush this part—take your time to ensure even coverage.
After you’ve applied the stain, wait for a few minutes (check the stain’s instructions for specific timing), then wipe away the excess with a clean rag. This step is important because it prevents the stain from pooling and creating dark spots. Let the stain dry completely, often overnight, before applying a second coat if desired for a richer color.
Step 5: Sealing with a Protective Finish
Sealing your table is like putting on a raincoat before a storm—it’s all about protection. Apply your chosen finish, such as polyurethane, with a clean brush. Be sure to cover every inch of the table, including the edges and underside. Polyurethane comes in different sheens, from matte to glossy, so pick the one that suits your style best.

Adding the Finishing Touches
Now that your table has been stained and sealed, it’s time for the finishing touches. Examine the table once more for any missed spots or imperfections. If you find any, lightly sand the area and reapply the stain or finish. These final checks will ensure that your table looks flawless.
Applying the Final Coat for Durability
The final coat is what seals the deal. It’s your table’s armor against scratches, spills, and the wear and tear of daily life. Apply it evenly, and take care not to leave any drips or streaks. Once it’s dry, your table will be ready to face the world, looking better than ever.
Refinishing Pitfalls to Avoid
Refinishing is a rewarding process, but there are pitfalls to avoid. Let’s go over a few to ensure your project is a success:
The Do’s and Don’ts of Sanding
Sanding is an art, and like any art, there are do’s and don’ts. Do sand with the grain, and don’t skip grits—you’ll want to progress from coarse to fine for the best results. Do check your work often, and don’t rush. Good sanding is the foundation of a great finish.
Stain Application Best Practices
Staining can be tricky, but follow these best practices for success. Do test the stain on a scrap piece of wood first to make sure you like the color. Don’t forget to stir the stain thoroughly before use to ensure consistent color. Do apply the stain with a brush or rag in a well-ventilated area, and don’t forget to wipe away the excess.
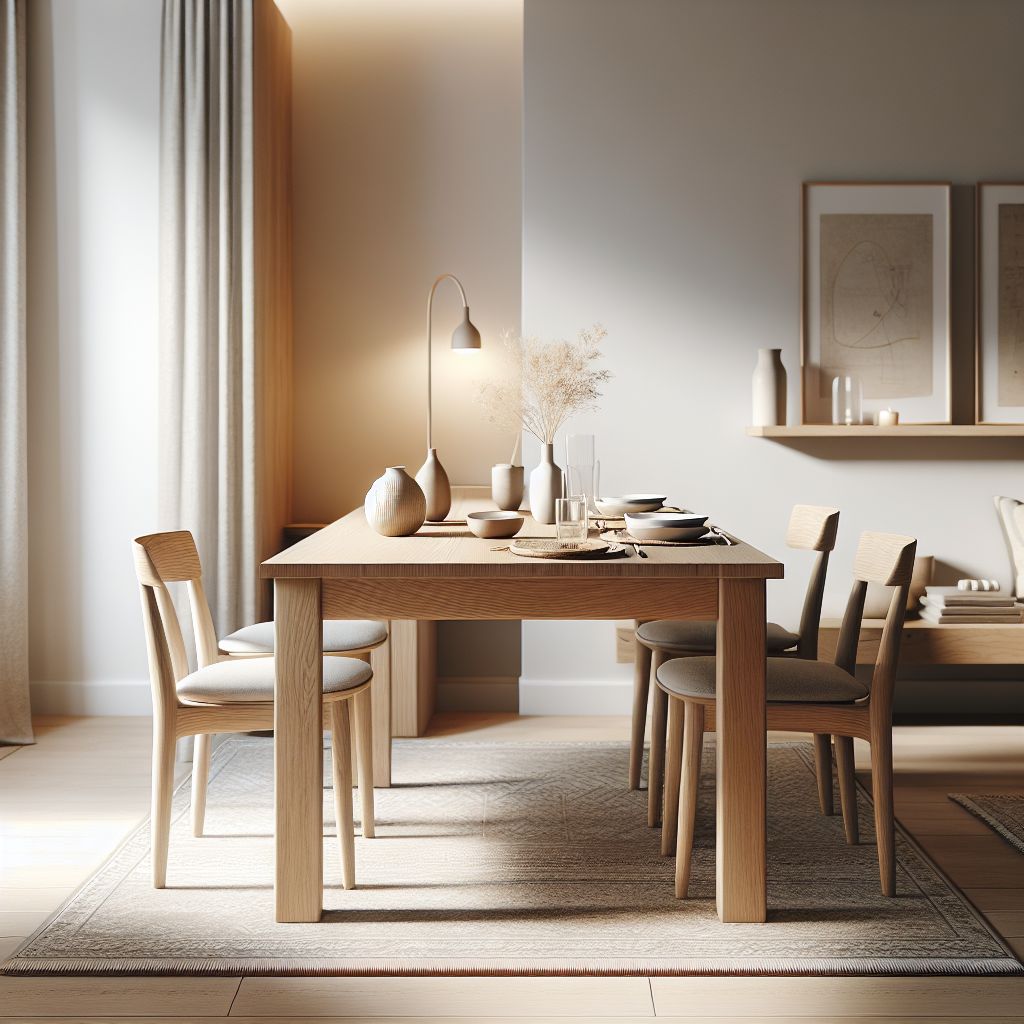
By following these steps and avoiding common mistakes, you’ll be well on your way to a beautifully refinished oak dining table that will serve as the centerpiece of your home for years to come. So roll up your sleeves, and let’s make your dining table shine!
Maintenance Tips for Your Newly Refinished Table
After all the hard work you’ve put into refinishing your oak dining table, you’ll want to keep it looking stunning. The key to maintaining its beauty is regular care and knowing how to handle any damage that might occur.
Regular Cleaning and Care
For everyday cleaning, a soft, damp cloth is best. Avoid harsh chemicals or abrasive cleaners, as they can damage the finish. If you need to use a cleaner, opt for one that’s specifically designed for wood furniture. It’s also a good idea to use placemats or coasters to prevent water rings and heat damage. And most importantly, keep your table out of direct sunlight, as this can cause the stain to fade and the wood to warp over time.
Repairing Minor Scratches
Even with the best care, scratches and dents can happen. For minor scratches, a matching wood marker or crayon can often camouflage the damage effectively. For deeper scratches or dents, you may need to do a bit of touch-up refinishing. Sand the affected area lightly, apply a matching stain, and seal it with a thin layer of protective finish.
Frequently Asked Questions
How Long Does the Refinishing Process Take?
The duration of the refinishing process can vary greatly depending on the size of your table and the extent of the work needed. Generally, you can expect to spend a couple of weekends to complete the project. Stripping and sanding are the most time-consuming parts, while staining and sealing require patience as you wait for them to dry. So, give yourself plenty of time, and don’t rush—the results are worth the wait.
- Stripping: 1-2 days (including drying time)
- Sanding: 1-2 days
- Staining: 1 day per coat (multiple coats may be needed)
- Sealing: 1 day per coat (at least two coats recommended)
Remember, these are just estimates. Take your time and let the stain and finish dry thoroughly between coats for the best results.
Can I Change the Color of My Oak Table?
Absolutely! Refinishing your table is the perfect opportunity to change its color. Oak takes stain well, so you can go from light to dark or vice versa. Just make sure you remove all the old finish and get down to the bare wood so the new stain absorbs evenly. Testing the stain on a hidden part of the table or a scrap piece of oak is always a good idea before committing to the whole table.
What’s the Best Finish for an Oak Dining Table?
The best finish for your oak dining table depends on your aesthetic preference and the table’s use. Polyurethane is a popular choice because it’s durable and comes in various sheens. For a more natural look, you might opt for a penetrating oil finish, which enhances the wood’s grain but offers less protection. Consider how much wear your table will get and choose a finish that balances beauty with practicality.
Is It Possible to Refinish a Table with Lots of Detail?
Refinishing a detailed table takes more time and patience, but it’s definitely doable. Use smaller tools, like sanding sponges or steel wool, to get into the nooks and crannies. You might also consider a gel stain, which is thicker and less likely to drip, making it easier to work with on intricate designs.
How Often Should I Refinish My Dining Table?
There’s no hard and fast rule for how often you should refinish your dining table. It depends on how much wear and tear it gets and how well it’s cared for. If you notice the finish is wearing thin or the table is looking a bit tired, it might be time for a refresh. A well-maintained table can go years without needing a full refinish.


Leave a Reply