Key Takeaways
- Acacia wood tables can be beautifully restored with the right refinishing steps.
- Preparation is key: gather your tools, safety gear, and set up a workspace.
- Stripping, sanding, and cleaning are essential stages before applying a new finish.
- Choose the right stain to enhance the natural beauty of acacia wood.
- A protective finish will ensure your table remains stunning for years to come.
Why Your Acacia Wood Table Deserves a Second Chance
Every acacia wood table has a story, and if yours could talk, it might plead for a second chance to shine. Maybe it’s a family heirloom, a flea market find, or simply showing its age – whatever the case, refinishing can breathe new life into it. Acacia is known for its durability and striking grain patterns, which makes it a perfect candidate for a makeover. Whether you choose to restore its original natural beauty or give it a rustic farmhouse table look with a distressed finish, refinishing your acacia wood table can bring out its true potential. With a little sanding, staining, and sealing, you can transform your table into a stunning focal point for your dining room or kitchen. Whether you prefer a modern or traditional aesthetic, a refinished acacia wood table is sure to add warmth and character to your home.
The Charm of Acacia: More Than Just a Table
Acacia wood isn’t just strong; it’s full of character. Its rich colors and varied grain patterns mean that with a little elbow grease, you can reveal a piece of furniture that’s as unique as a fingerprint. A refinished acacia wood table isn’t just furniture; it’s a conversation starter, a centerpiece, and a work of art.
A Cost-Effective Alternative to a New Purchase
Before you think about buying new, consider the benefits of refinishing. Not only is it more affordable, but it’s also an eco-friendly choice that reduces waste. Plus, the satisfaction of transforming a worn piece into something beautiful is priceless.
Gathering Your Refinishing Arsenal
Tools of the Trade
Let’s start by assembling the tools you’ll need. You’ll want to have:
- Chemical stripper
- Sanding paper (various grits)
- Wood stain
- Sealant (oil-based or polyurethane)
- Paintbrushes or a foam applicator
- Protective gloves and eyewear
- Dust mask or respirator
These items are your allies in the battle to restore your acacia table’s former glory.
Safety First: Protective Gear You’ll Need
Don’t skimp on safety. Refinishing involves chemicals and dust, so gear up with gloves, goggles, and a dust mask. Remember, your health is as important as the project itself.

DIY Acacia Wood Table Refinishing Steps
Now that you’ve got your tools and safety gear, let’s dive into the refinishing steps. Roll up your sleeves – it’s time to get to work!
Step 1: Prep Work: Laying the Foundation
Preparation is the bedrock of a successful refinishing project. Start by removing any objects or decorations from the table. Then, clean the table surface thoroughly to remove any dirt, dust, or residue. You can use a damp cloth or a wood cleaner for this purpose.
Step 2: Clearing the Old Finish
With the table cleaned and the workspace set, it’s time to clear away the old finish. If there are any existing finishes like varnish or paint, you’ll need to remove them. You can use sandpaper, a chemical paint stripper, or a heat gun for this step. Follow the manufacturer’s instructions carefully.
Generously apply the chemical stripper across the surface of the wood. It’s like giving your table a chance to start over, removing years of wear and tear. Be patient; let the stripper do its work, and soon you’ll see the old varnish lift away like a burden being lifted off. Scrape off the old finish with a putty knife – gently, so as not to gouge the wood.
Step 3: Surface Cleaning: A Spotless Start
After the stripper has done its magic, you’ll need to clean the surface thoroughly. This isn’t just about wiping away the old finish, but also about preparing the wood for its new coat. Use a clean cloth and mineral spirits to wipe down the surface, ensuring that no residue remains. This is the clean slate your table needs.
Step 4: Sanding: Smoothing Your Way to Success
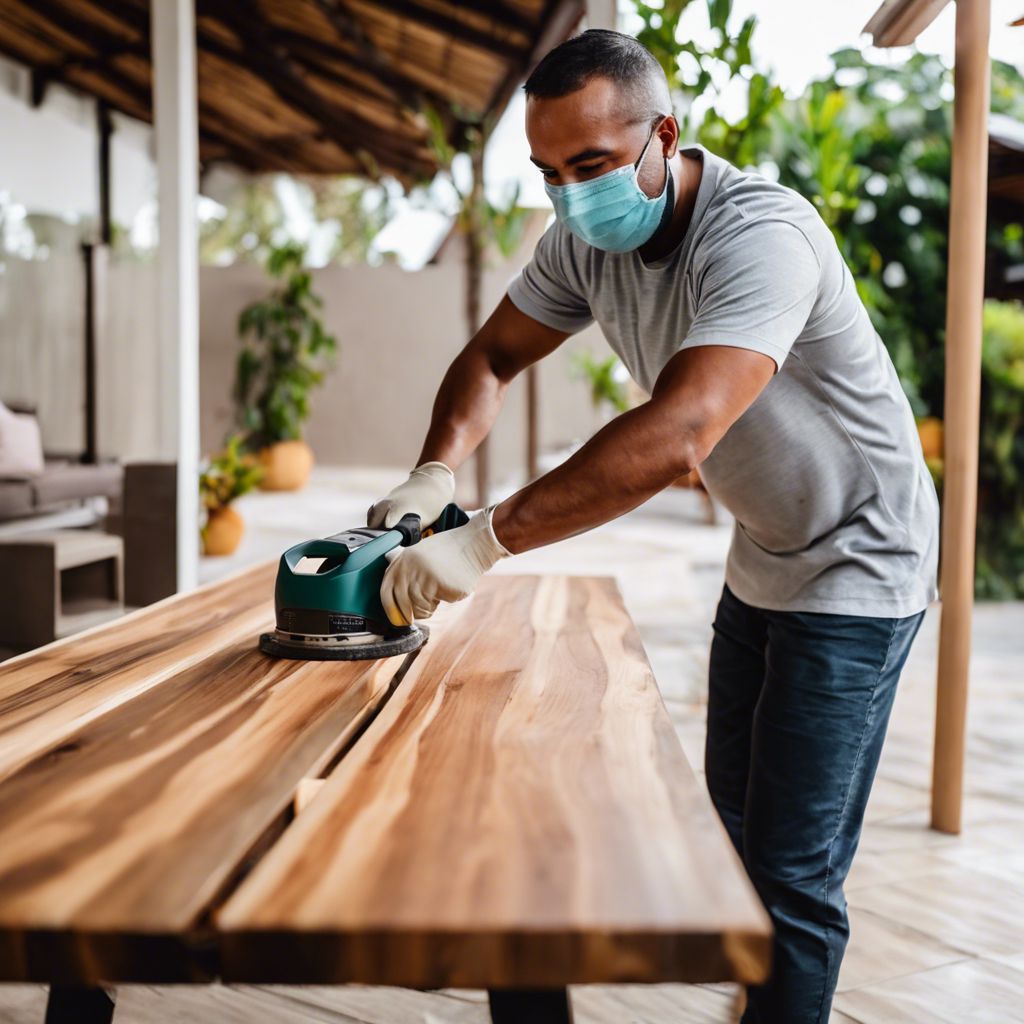
Next, sanding smooths out any imperfections and preps the wood for staining. Start with a medium-grit sandpaper to remove any lingering old finish and smooth out rough spots. Then, switch to a fine-grit paper for a silky finish. The goal is to create a surface that’s as smooth as glass, ready to soak up the new stain evenly.
After sanding, clean the surface again to remove any dust or debris. You can use a tack cloth or a vacuum with a brush attachment for this purpose.
Choosing the Right Grit
When selecting sandpaper, start with a coarser grit like 120 to strip away any stubborn finish. Then, move to a finer grit such as 220 to polish the surface. It’s a bit like crafting a masterpiece, each stroke bringing you closer to the final, flawless result.
Manual vs. Electric Sanders: Pros and Cons
Manual sanding gives you control and a chance to feel the wood’s texture, but it can be labor-intensive. Electric sanders make the job quicker and less tiring, but they require a steady hand to avoid gouging the wood. It’s a choice between the artisanal touch and modern efficiency.
Remember, sanding isn’t just about effort; it’s about finesse. It’s the difference between a good finish and a great one.
Step 5: Staining: Bringing Out the Beauty
Staining isn’t just a protective layer; it’s where your table’s personality shines through. Apply the stain with a brush or rag, working with the grain, not against it. This isn’t just about color – it’s about enhancing the natural beauty of the wood, letting those unique grain patterns tell their story.
- Test the stain on a small, inconspicuous area first.
- Apply the stain evenly, using a brush or cloth.
- Wipe away excess stain to prevent blotching.
Selecting Your Stain Shade
Choosing the right shade of stain is like choosing the right outfit for an occasion – it sets the mood. Consider the room where the table will reside. Do you want a warm, cozy feel, or something more formal? The stain you choose will set the stage for your table’s new life.
Application Techniques for an Even Coat
For an even coat, apply the stain with long, smooth strokes, working along the grain. If you’re using a cloth, think of it as massaging the wood – you’re working the stain into every pore, every groove. It’s this attention to detail that will make your table stand out.
Step 6: Sealing the Deal: Protective Finishes
Once the stain has dried, it’s time to protect your work. A sealant locks in the color and protects the wood from the wear and tear of everyday life. It’s the armor your table wears into battle against spills, scratches, and the passage of time.
Oil or Polyurethane: What’s Best for Acacia?
Oil finishes penetrate deep, enhancing the wood’s grain and natural beauty. Polyurethane, on the other hand, creates a hard topcoat that’s durable and water-resistant. For acacia wood, which is known for its rich tones and patterns, an oil-based finish might be the way to go, allowing its character to shine.
Application Tips for a Lasting Finish
Apply the sealant with a clean brush or cloth, working in thin, even layers. It’s not just about coverage; it’s about building protection. Allow ample drying time between coats, and don’t rush – the best things in life, including a beautifully refinished table, take time.
After the final coat of sealant, let your table cure. This isn’t just waiting; it’s allowing the finish to harden to a resilient, protective layer. Patience here pays off with years of enjoyment down the road.
Step 7: Perfecting the Refinishing Touches
As you near the end of your refinishing journey, it’s time for the final touches. Examine your table closely, looking for any missed spots or potential improvements. A light additional sanding, a touch-up with stain, or an extra layer of sealant might be needed. It’s these little details that make all the difference.
Fine-Tuning Small Imperfections
Even the most thorough refinishing job can encounter small imperfections. Maybe it’s a tiny spot that didn’t take the stain well or a small scratch that appeared during sanding. These aren’t failures; they’re opportunities to perfect your craft. A bit of touch-up stain applied with a fine brush can blend away those blemishes. Sand lightly if needed, always following the grain of the wood. This is the stage where your attention to detail really pays off, elevating your table from ‘refinished’ to ‘professionally done.’
Reassembling and Enjoying Your Refreshed Table
Once the finish is cured, it’s time to put everything back together. Reattach any hardware you removed during prep. Stand back and admire your work. Your table is no longer just a piece of furniture; it’s a reflection of your dedication and creativity. It’s ready to be the centerpiece of your space once again, and this time, it tells a new story – one of renewal and handcrafted care.

Maintenance Tips
Maintaining an acacia wood table properly can help preserve its beauty and extend its lifespan. Here are some tips you can follow:
Regular Cleaning
To keep your table looking its best, dust it regularly with a soft, dry cloth or a microfiber cloth to remove surface dust and debris. For a more thorough cleaning, lightly dampen a cloth or sponge with mild soap and water, gently wipe the surface, and then dry it immediately to prevent water damage. It’s important to use mild cleaning solutions and non-abrasive tools to maintain the table’s beauty without causing any harm.
Preventive Measures
Avoid Moisture and Heat
Acacia wood is sensitive to changes in humidity and temperature, so avoid placing the table near sources of heat or moisture such as radiators, air conditioners, or windows.
Use coasters, placemats, or trivets to protect the table from hot dishes, pots, or cups to prevent heat damage or moisture rings.
Protect from Sunlight
Direct sunlight can cause the wood to fade or warp over time, so try to place the table away from direct sunlight or use window treatments like curtains or blinds to filter the sunlight.
Use Furniture Polish or Oil
Periodically, you can apply a small amount of furniture polish or wood oil specifically designed for acacia wood to nourish and protect the surface. Follow the manufacturer’s instructions for application and use a soft cloth to apply and buff the polish or oil onto the table surface.
Inspect for Damage
Regularly inspect the table for any signs of damage such as scratches, dents, or cracks. Address any issues promptly to prevent further damage. Minor scratches can often be repaired using wood filler or touch-up markers specifically designed for wood furniture.
Reapply Finish as Needed
Over time, the finish on the table may wear off due to regular use. If you notice the finish becoming dull or worn, you can reapply a fresh coat of finish to protect the wood and restore its appearance. Follow the same steps for refinishing the table as mentioned earlier, starting with cleaning and sanding the surface before applying a new finish.

Frequently Asked Questions (FAQ)
How Do I Maintain My Refinished Acacia Table?
Maintaining your refinished acacia table is straightforward. Regular dusting with a soft cloth and cleaning spills immediately will go a long way. For deeper cleaning, use a mild soap and water solution, then dry thoroughly. Avoid harsh chemicals and heat sources to prevent damage to the finish. Every few months, you might want to polish the table with furniture wax or oil, depending on the type of finish you’ve chosen. This will help maintain its luster and protect the wood.
Can I Refinish an Acacia Wood Table Outdoors?
Yes, you can refinish an acacia wood table outdoors, and it’s actually preferable to do so because of the ventilation. Make sure to choose a day that’s dry and not too windy to prevent debris from sticking to the finish. Also, be mindful of the temperature; extreme heat or cold can affect the drying process of the stain and sealant.
How Often Should I Refinish My Acacia Wood Furniture?
The frequency of refinishing your acacia wood furniture depends on its use and exposure to elements. For indoor furniture that sees moderate use, you might only need to refinish every 5 to 10 years. Outdoor pieces or heavily used items may require more frequent attention, possibly every 2 to 3 years. Keep an eye on the finish; when it starts to look worn or dull, it’s time for a refresh.
What If I Notice Cracks in the Wood After Refinishing?
If you notice cracks in the wood after refinishing, don’t panic. Small cracks can be filled with wood filler that matches the color of your stain. Larger cracks may require more attention and possibly the use of wood epoxy. Once the filler or epoxy is dry, sand it down to level with the rest of the surface, and touch up with stain and sealant as needed.
Is It Possible to Lighten the Color of My Acacia Wood Table?
Lightening the color of your acacia wood table is possible, but it requires stripping the old finish and possibly bleaching the wood. Be cautious with bleaching, as it can damage the wood if not done correctly. It’s often easier and safer to choose a lighter stain during the refinishing process to achieve the desired color while preserving the integrity of the wood.


Leave a Reply