Key Takeaways
- Refinishing your teak wood table can restore its beauty and extend its life.
- You’ll need specific tools and materials, like sandpaper, a garden hose, and a teak sealer.
- Preparation is key: clean and sand your table before applying any sealant.
- Avoid common mistakes by following detailed steps and expert tips.
- Regular maintenance will keep your teak table looking great for years to come.
Why Refinish Your Teak Table?
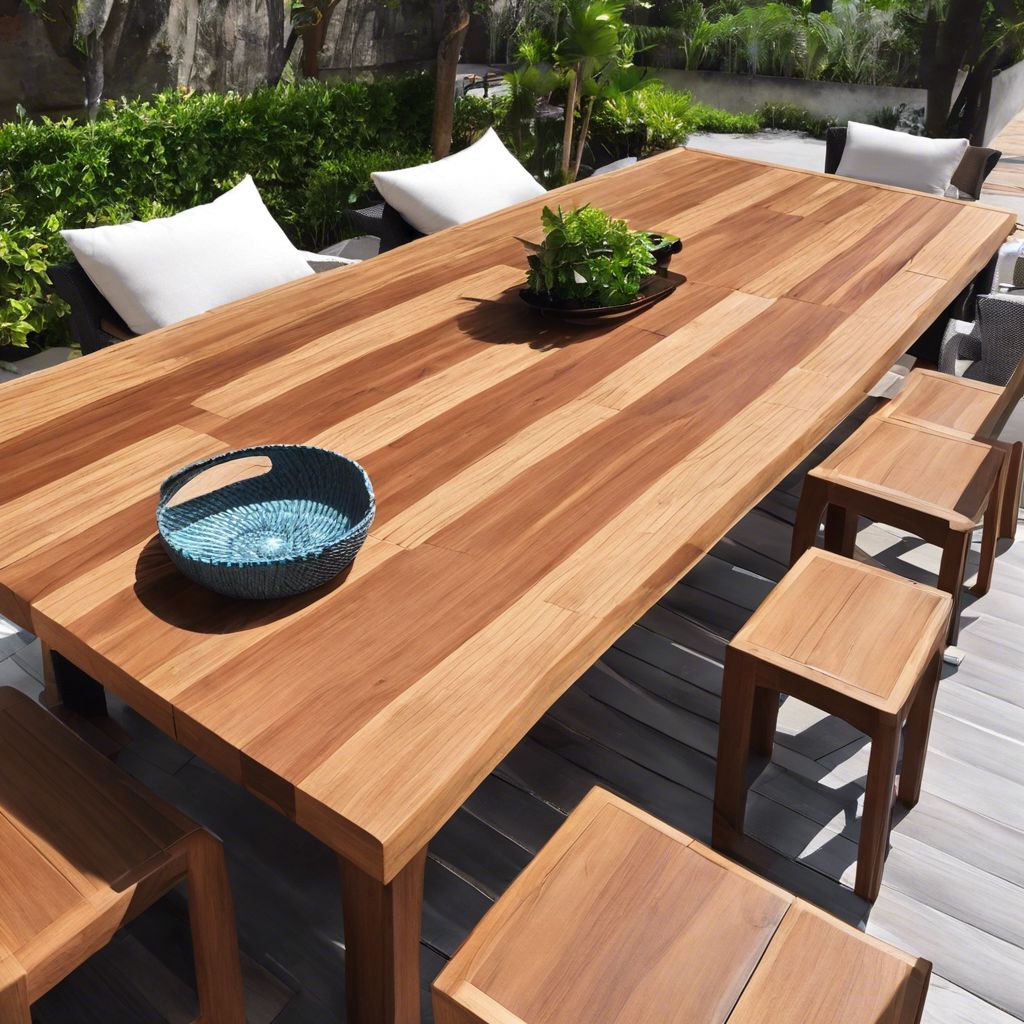
Imagine your teak wood table, once a lustrous centerpiece of your patio, now weathered and gray. It’s not just about aesthetics—refinishing your table is about protection and preservation. Exposure to the elements can take a toll, but with a little elbow grease, you can bring back that rich, warm glow.
The Enduring Beauty of Teak
Teak is renowned for its durability and natural resistance to rot and decay, making it an ideal choice for outdoor furniture. But over time, the elements can dull its natural sheen. Refinishing your teak table not only revives its appearance but also reinforces its resistance to the harsh outdoor environment.
Increasing Longevity and Durability
By refinishing your teak table, you’re also adding years to its life. The process helps to protect the wood from UV rays and moisture, two of the biggest culprits in outdoor furniture wear and tear. Regular maintenance ensures that your table remains sturdy and reliable for gatherings for years to come.
- Teak’s natural oils provide protection, but refinishing adds an extra layer of defense.
- UV protection is essential to prevent fading and maintain the wood’s integrity.
- Moisture resistance helps prevent warping, cracking, and other water-related damage.
Enhancing the Natural Grain
Teak’s grain is like a fingerprint—unique and full of character. Refinishing not only preserves this natural beauty but can also enhance it, making the grain more prominent and the color more vibrant. The result is a piece of furniture that truly stands out.
Gathering Your Refinishing Tools
Before we dive into the nitty-gritty, let’s talk tools. You’ll need a few essentials to get the job done right. Gather your supplies so when it’s time to get to work, you’re fully prepared.
Essential Materials
For a successful DIY refinishing project of your teak table, you’ll need:
- A garden hose or bucket of water for cleaning
- Mild soap and a soft brush for scrubbing
- Fine-grit sandpaper or a sanding block for smoothing the wood
- A clean rag for wiping away dust
- Teak sealer or oil for protection
- A natural bristle brush for applying the sealer
Sanding Equipment
For sanding, you can use manual sandpaper or a sanding block, but for larger tables, an orbital sander might save you time and effort. Just remember, the goal is to gently sand the surface, not to strip away layers of wood.
Choosing the Right Teak Sealant
There’s a bit of a debate when it comes to sealing teak. Some prefer teak oil for its ease of application, while others swear by sealants for their longer-lasting protection. Consider your climate and the amount of exposure your table will have to the elements when making your choice.
Now that we’ve laid the groundwork, let’s roll up our sleeves and get started.

The Step-by-Step Refinishing Process
Now, let’s walk through the refinishing process. It’s a straightforward series of steps that will transform your teak wood table from worn to wonderful. Just remember, taking your time and doing each step thoroughly will yield the best results.
Step 1: Prepping Your Workspace
First things first, you need to set up a space where you can work comfortably. You’re going to be making a bit of a mess with water, sanding, and sealing, so outdoors is best. Choose a spot that’s well-ventilated and away from direct sunlight, which can affect the drying process.
Creating a Suitable Outdoor Area
Clear an area on your driveway, deck, or patio. Make sure it’s flat to prevent any pooling of water or sealant. Lay down a tarp or plastic sheeting to catch any debris, which will make cleanup a breeze. This protects your surfaces from any accidental spills or drips.
Protective Measures for Safe Refinishing
Safety is paramount. Gear up with gloves to protect your hands from cleaners and sealants, goggles to keep dust out of your eyes, and a mask to avoid inhaling any fine particles. Now, you’re ready to get started.
Step 2: Thorough Cleaning
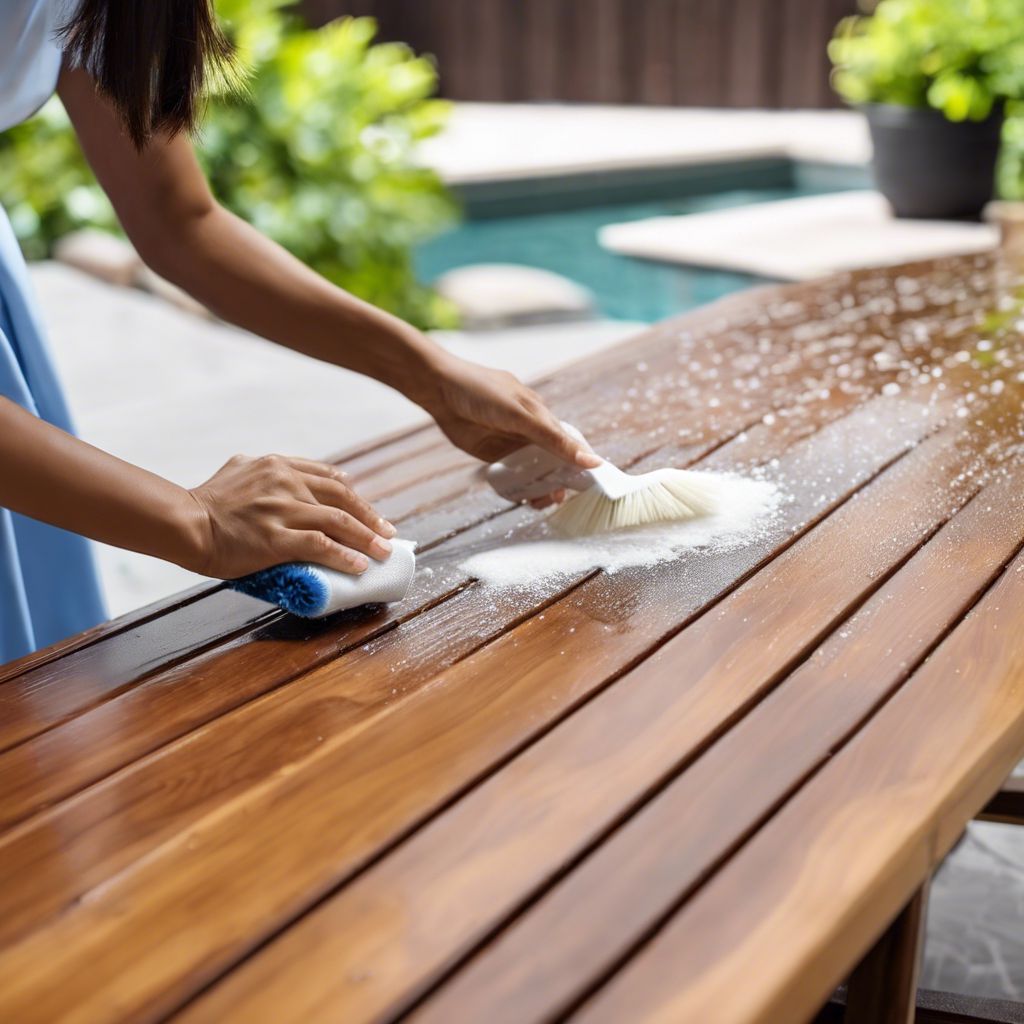
Before you can start the actual refinishing, you need a clean slate. Use a garden hose to wet the table thoroughly. Mix a mild soap with water and scrub the table using a soft brush. This will remove any dirt, grime, and old sealant. Rinse well and allow the table to dry completely.
Step 3: The Sanding Sequence
Once the table is dry, it’s time to sand. Start with a medium-grit sandpaper to remove the grayed surface layer, then move to a fine-grit paper for a smooth finish. Sand in the direction of the grain to avoid scratches. After sanding, wipe the table down with a damp cloth to remove all the dust.
Step 4: Staining
Staining is optional, but if you want to enhance the color of your teak, now’s the time. Choose a stain that’s specifically made for teak and apply it with a rag or brush, again following the grain. Wipe off any excess and allow it to dry according to the manufacturer’s instructions.
Step 5: Applying the Sealant
Finally, apply your chosen teak sealer. A natural bristle brush works best for this. Work in sections, applying the sealer evenly and wiping away excess. Once the entire table is coated, let it dry. Depending on the product, you might need a second coat, so be sure to read those instructions.
Drying and Curing
Make sure to give the table plenty of time to dry and cure before you start using it or setting anything on top. Usually, this takes around 24-48 hours, but it’s always a good idea to check the instructions that came with the products you used, just to be sure.

Expert Tips for a Flawless Finish
Here are a few tips to ensure your refinishing project is a success:
- Always sand with the grain, not against it, to avoid damaging the wood.
- Don’t rush the drying time between cleaning, staining, and sealing.
- Apply sealant in thin, even coats to prevent tackiness.
Avoiding Common Mistakes
Common pitfalls can turn a simple project into a headache. For instance, don’t skip the cleaning step. Any dirt left on the table will get sealed in, and that’s not the look you’re going for. Also, be patient with sanding. It might be tempting to use a power sander, but too much pressure can gouge the wood. Take it slow and steady for the best results.
Maintaining Your Teak Wood Table
Maintaining your newly refinished teak table is simpler than you might think. The key is consistency. Regularly clean the table with mild soapy water and a soft brush to remove any debris. Every few months, give it a quick sanding with fine-grit paper to keep the surface smooth and ready for additional sealant if necessary.
Here’s a quick maintenance checklist:
- Regular cleaning with a mild soap and water solution
- Periodic light sanding with fine-grit sandpaper
- Reapply sealer annually, or as the product recommends
By staying on top of these simple tasks, you’ll keep your teak table looking like new for many seasons to come.

Frequently Asked Questions
How often should I refinish my teak table?
Typically, teak furniture should be refinished every 2 to 3 years, depending on its exposure to the elements and the specific product used for sealing. If your table is under a covered patio and doesn’t get a lot of direct sunlight or rain, you might be able to go longer between refinishing.
However, if you notice the finish starting to wear off, or if the wood begins to gray, it’s time to refinish. This will ensure that your table remains protected and continues to look its best.
Can I refinish teak without sanding?
While sanding is a critical step in refinishing teak to ensure the sealer adheres properly, there are products available that claim to restore teak without the need to sand. However, for best results, sanding is recommended to remove the old finish and reveal the fresh wood beneath.
For minor touch-ups, cleaning and applying a teak brightener might be enough. If the wood is in good condition, you might get away with a light sanding rather than a full strip-down.
Remember, though, that these methods might not be as long-lasting as a full sand and refinish.
What’s the difference between teak oil and sealer?
Teak oil and sealer serve similar purposes but have different applications and results. Teak oil penetrates the wood, providing a deep nourishing treatment that enhances the natural color and grain. It’s easy to apply but may require more frequent reapplication. A teak wood sealer protects against moisture, UV rays, and stains, preserving the wood’s natural color and preventing weathering and deterioration. It keeps the wood looking fresh and extends its lifespan.
- Teak oil: Absorbs into the wood, may darken it, and requires more frequent application.
- Teak sealer: Forms a protective layer on the surface, lasts longer, and often contains UV inhibitors.
Choose based on the level of maintenance you’re willing to commit to and the look you’re going for.
How do I maintain the color of my refinished teak table?
To maintain the color of your refinished teak table, regular application of a teak sealer is important. Look for a sealer with UV protection to prevent the wood from turning gray. Keep your table covered when not in use, or store it during harsh weather to prevent fading.
Is it worth refinishing old teak furniture?
Refinishing old teak furniture is definitely worth the effort. Teak is a highly durable wood that can last generations if cared for properly. By refinishing your old teak table, you’re not just restoring its beauty; you’re preserving a piece of your family’s history. Plus, it’s a sustainable choice; instead of buying new, you’re giving new life to existing furniture.
With the steps and tips outlined in this guide, you’re well-equipped to tackle refinishing your teak table and to enjoy the results for years to come. Remember, your teak table is more than just a piece of furniture; it’s a testament to the care you put into your home. So, roll up those sleeves and get to refinishing; your patio will thank you!


Leave a Reply