Key Takeaways
- Preparing your fiberglass door for refinishing is a straightforward process that requires removing hardware and cleaning.
- Sanding the door with the right grit sandpaper is essential for a smooth finish.
- Applying primer sets the stage for either paint or stain to adhere properly.
- Choosing between paint and stain will affect the final look of your door.
- A protective seal is vital for the longevity of your door’s new finish.
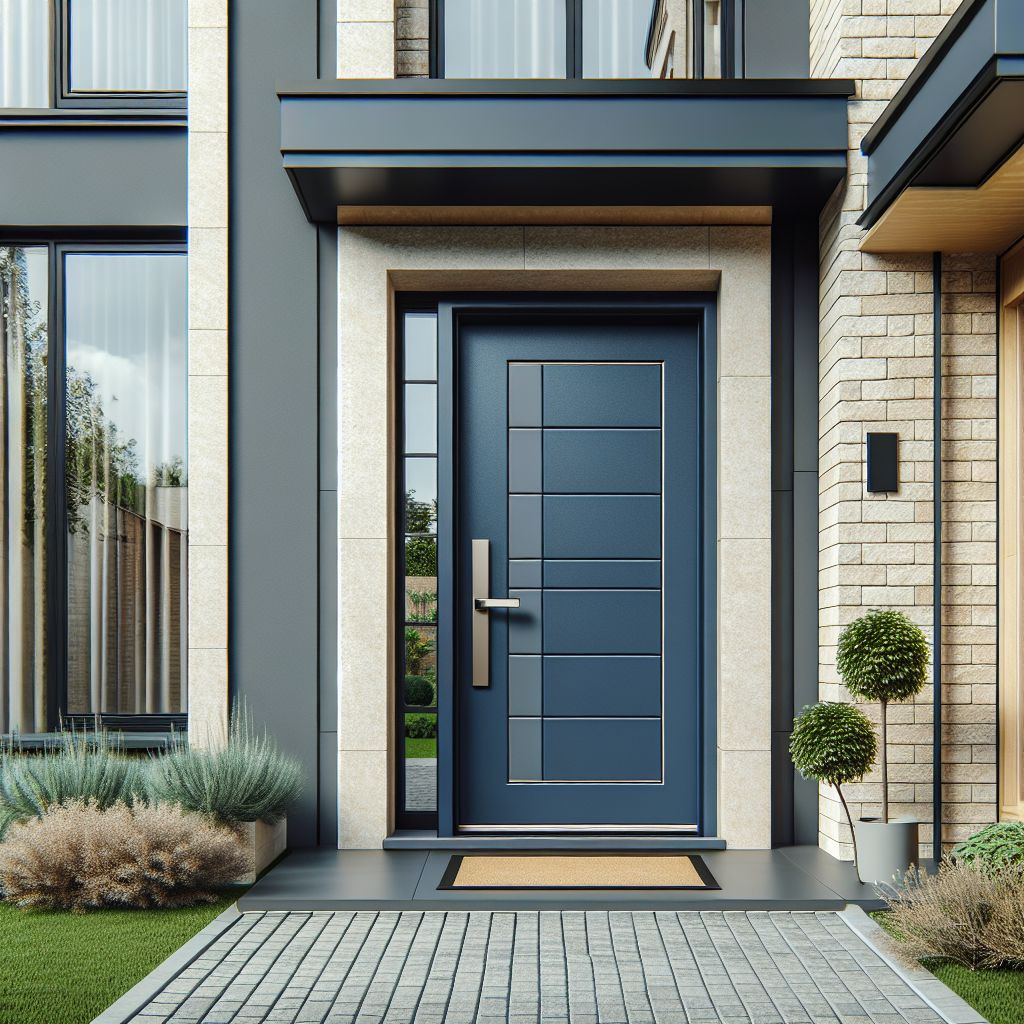
Your Fiberglass Door Makeover Begins Now
Imagine walking up to your home and being greeted by a door that looks as good as new. That’s the joy of DIY refinishing. It’s not just about the looks; it’s about taking pride in doing it yourself. And guess what? You can do this. Let’s dive into transforming your fiberglass door with a step-by-step guide that will leave you feeling like a home improvement hero.
The Path to a Pristine Door
Before we get our hands dirty, let’s lay down the groundwork. Refinishing your door is not just about slapping on a coat of paint. It’s about giving your door a complete makeover that will stand the test of time. And the secret to a professional-looking finish? It’s all in the preparation.
Tools of the Trade
First things first, let’s talk about the tools you’ll need. You don’t need a workshop full of expensive gadgets, but the right tools will make all the difference. Here’s what you should gather:
- Screwdriver for hardware removal
- Quality sandpaper in 60, 100, and 220 grit
- TSP (Trisodium Phosphate) cleaner or a similar cleaning solution
- Paintbrushes in various sizes
- Primer, paint or gel stain, and a clear sealer or varnish
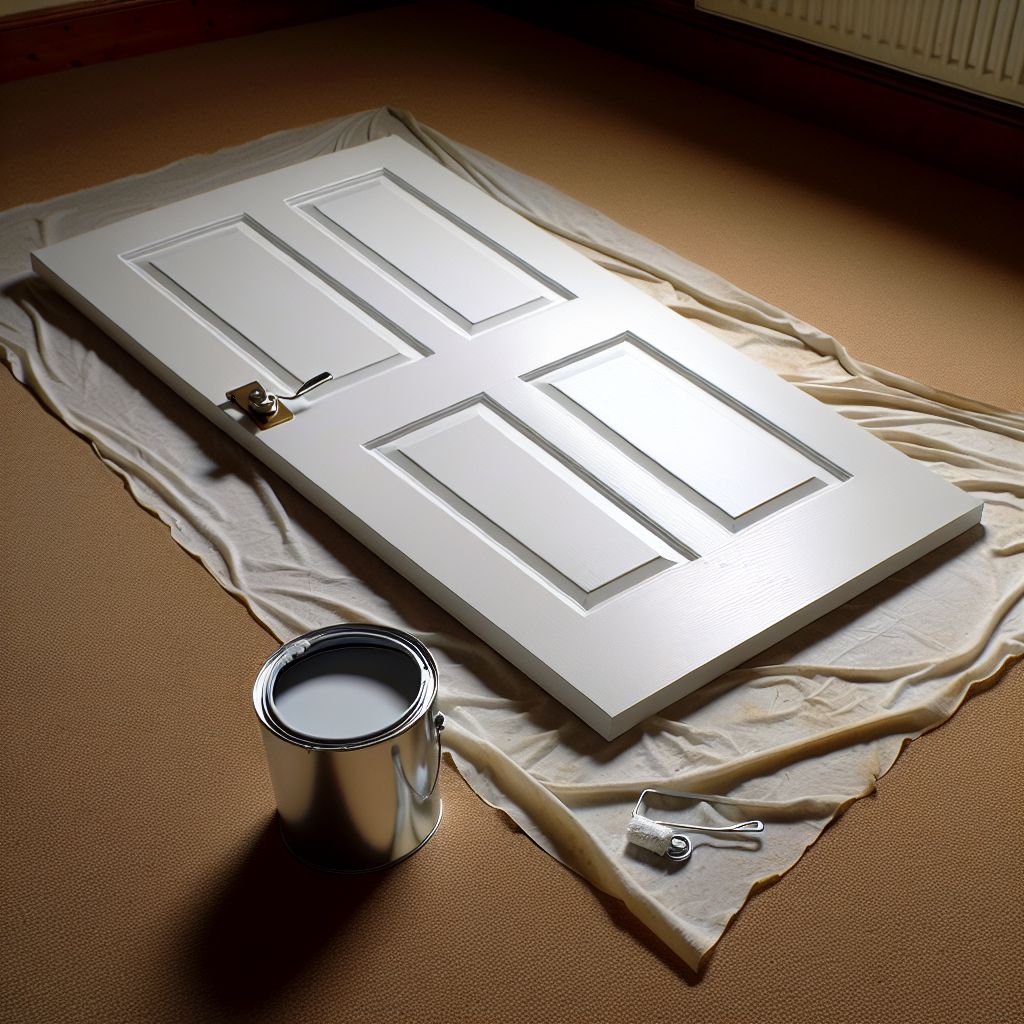
Cleaning and Prepping the Work Space
Now, let’s start with cleaning, the unsung hero of any refinishing project. A clean surface ensures that everything you apply afterward sticks the way it should. Begin by removing all the hardware from your door—a simple but important step. Then, give your door a thorough wash with a sponge or cloth and a TSP solution. This will remove any grime, oil, and remnants of old finishes, setting the stage for a flawless refinishing job.
Prepping Your Space
Set yourself up for success by prepping your space. Protect your floors with a drop cloth and make sure you’re working in a well-ventilated area, especially when it comes to applying chemicals. If you can, remove the door and place it on sawhorses. If not, ensure it’s securely open so it doesn’t move while you’re working on it.
Step-by-Step Guide to Refinishing Fiberglass Doors
Refinishing fiberglass doors can enhance the curb appeal and durability of your home’s entrance. With this guide, you can confidently tackle this rewarding project and elevate the appearance and functionality of your home’s entryway.
Step 1: Stripping Away the Old
Let’s talk about stripping. If your door has a previous finish or paint that’s seen better days, it’s time to strip it down to the bare bones. Use a quality paint stripper designed for fiberglass, apply it according to the instructions, and then scrape away the old finish. Be patient and gentle; rushing this step can damage the door’s surface. And always remember to wear gloves and safety glasses to protect yourself from harsh chemicals.
Step 2: Sanding: Smoothing Your Canvas
After stripping, your door might look a bit rough, but don’t worry, sanding will smooth everything out. Sanding is like an art form; every stroke gets you closer to perfection. Start with a coarser grit like 60 to remove any stubborn remnants of the old finish, then work your way up to a finer 220 grit to achieve that smooth-to-the-touch feel. Remember to sand in the direction of the grain to avoid scratching the surface.
Step 3: Selecting a Primer
Primer is your door’s best friend. It’s the layer that sticks to the door and gives your topcoat something to hold onto. But not all primers are created equal. You’ll want to use a high-quality acrylic latex primer that’s compatible with fiberglass. It’ll help cover any imperfections and provide a uniform surface for painting or staining.
Applying primer is straightforward, but it pays to be meticulous.
- Use a wide brush or roller for an even coat, and don’t overload your brush to avoid drips.
- Start with the details and recesses, then move to the larger flat areas.
- Let the primer dry completely before moving on to painting or staining. This drying time is essential—it’s the difference between a finish that lasts and one that peels.
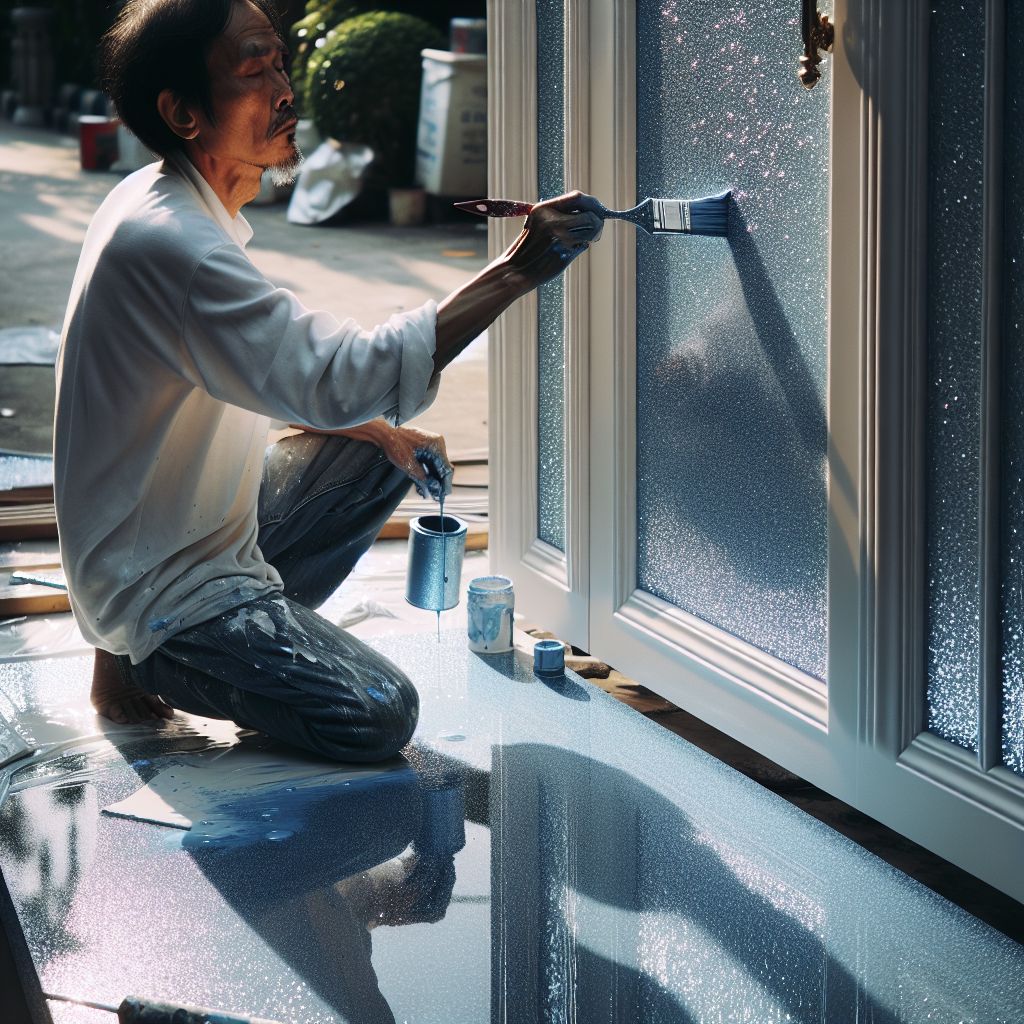
Step 4: Applying Your Color with Confidence
Now that your door is primed and ready, it’s time to bring on the color. Whether you choose paint or stain, the key is to use products formulated for fiberglass doors. These products will adhere better and stand up to the elements, keeping your door looking great for years to come.
Applying paint or stain is an exciting step—it’s when your door starts to come alive with color.
- For painting, a foam roller will give you a smooth finish, while brushes are great for getting into those nooks and crannies.
- If you’re staining, use a high-quality brush and work with the grain, not against it. And always apply a second coat if necessary for even coverage and depth of color.
Step 5: The Art of the Seal
Once your paint or stain is dry, it’s time to seal the deal. A clear sealer or varnish will protect your door from UV rays, weather, and the wear and tear of daily use. It’s like sunscreen for your door—it keeps it looking younger for longer.
Applying the sealer is the final step in the refinishing process. Use a clean brush and apply the sealer in thin, even coats. Follow the manufacturer’s instructions for drying times between coats. Typically, two coats will do the trick, but if your door gets a lot of sun, consider a third for good measure.
Step 6: Hardware Reinstallation: The Finishing Touch
With your door beautifully refinished, it’s time to put the hardware back on. This is more than just a functional step—it’s your chance to give your door some jewelry. Consider upgrading to new hardware if your old pieces look dated or worn. It’s a small change that can have a big impact on your door’s overall look.
A Guide to Reassembling Your Door’s Accessories
- Start by aligning the hinges and screwing them back into place.
- If you’ve got a door knocker or mail slot, attach those next.
- Finally, install the doorknob and lockset. Take a moment to ensure everything is tight and secure. A loose doorknob or wobbly mail slot can undermine the beauty of your newly refinished door.
Reattaching your door’s hardware is like putting the final piece of a puzzle in place. It’s satisfying to see everything come together. Make sure you clean the hardware before reattaching it. If it’s seen better days, now might be a good time to upgrade. New hardware can make a big difference in the overall look of your door.
Step 7: Final Adjustments for Flawless Function
After everything is back in place, it’s time for a test run. Open and close the fiberglass door a few times to ensure the swing is smooth and the latch catches properly. If you notice any sticking or squeaking, a bit of lubricant or a slight adjustment should do the trick. This is also the perfect time to make any final tweaks to ensure your door functions as beautifully as it looks.
Bonus Tips for a Smooth Refinishing Process
For a truly smooth refinishing process of your fiberglass door, consider these bonus tips:
Picking the Perfect Grit for Sanding
Choosing the right sandpaper grit is key. Too coarse, and you might scratch your door; too fine, and you’ll be sanding all day. Here’s a quick guide:
- 60 grit for the heavy-duty stripping
- 100 grit for smoothing out the rough edges
- 220 grit for the final pass to achieve a silky finish
The Right Technique for Fiberglass
When sanding fiberglass, the technique matters. Use even pressure and long, smooth strokes. This ensures an even surface without dips or gouges. Always sand in the direction of the grain, and take your time. Rushing through this step can lead to a less-than-ideal finish and more work later on.
Choosing Between Paint or Stain
When deciding between paint and stain, think about the look you want and the level of maintenance you’re willing to commit to. Paint provides a thicker layer of protection and is generally more forgiving of surface imperfections. Stain, while beautiful, may require more frequent reapplication to maintain its look. It’s also a bit trickier to apply evenly, but the effort is worth it if you’re after that classic wood-grain charm.
Key points to remember when deciding between painting or staining:
| Paint | Stain |
|---|---|
| Offers a solid, consistent color and can hide more imperfections | Allows the natural texture of the fiberglass to show through for a more wood-like appearance |
| Comes in a variety of colors and finishes for customization | Comes in a variety of colors and finishes for customization |
| Lasts longer than stain before requiring any touch-ups or a fresh coat | Not as long-lasting as paint |
Is Varnish or Sealer The Best Choice?
So, should you choose varnish or sealer? Varnish tends to give a glossy finish and is excellent for doors that face harsh sunlight, while a sealer is more about protection without changing the appearance too much. Whatever you choose, make sure it’s exterior-grade and suitable for use on fiberglass.

Frequently Asked Questions
Can I Refinish a Fiberglass Door That’s Been Previously Painted?
Absolutely! Just make sure you remove the old paint completely before starting the refinishing process. A good sanding and a thorough cleaning will prepare the surface for a new coat of paint or stain.
How Long Should I Wait Between Coats?
Patience is key. Always follow the manufacturer’s recommendations, but as a general rule, allow at least four hours for primer to dry and 24 hours for paint or stain. If it’s humid or cool, you may need to wait longer.
What Safety Precautions Should I Take During This Project?
Safety first! Always wear gloves and a mask when handling chemicals, and work in a well-ventilated area. Keep all products away from children and pets, and properly dispose of any rags used to apply or clean up stain or paint—they can be a fire hazard.
How Often Should I Refinish My Fiberglass Door?
That depends on exposure to the elements and the quality of the original finish, but generally, a door should be refinished every 3-5 years to keep it looking its best.
Can I Change the Color of My Fiberglass Door?
Yes, you can! Whether you’re staining or painting, you can choose any color that suits your fancy. Just make sure the new color is compatible with the products you’re using and that you’ve properly prepared the surface.


Leave a Reply