
Key Takeaways
- Granite vanity refinishing is a cost-effective way to upgrade your bathroom.
- Proper preparation, including cleaning and priming, is essential for a successful refinishing project.
- Refinishing a granite vanity requires a few essential tools and materials, such as a refinishing kit, sandpaper, and sealant.
- Step-by-step guidance ensures a smooth application and professional-looking results.
- Maintenance is simple and ensures the longevity of your refinished granite vanity.
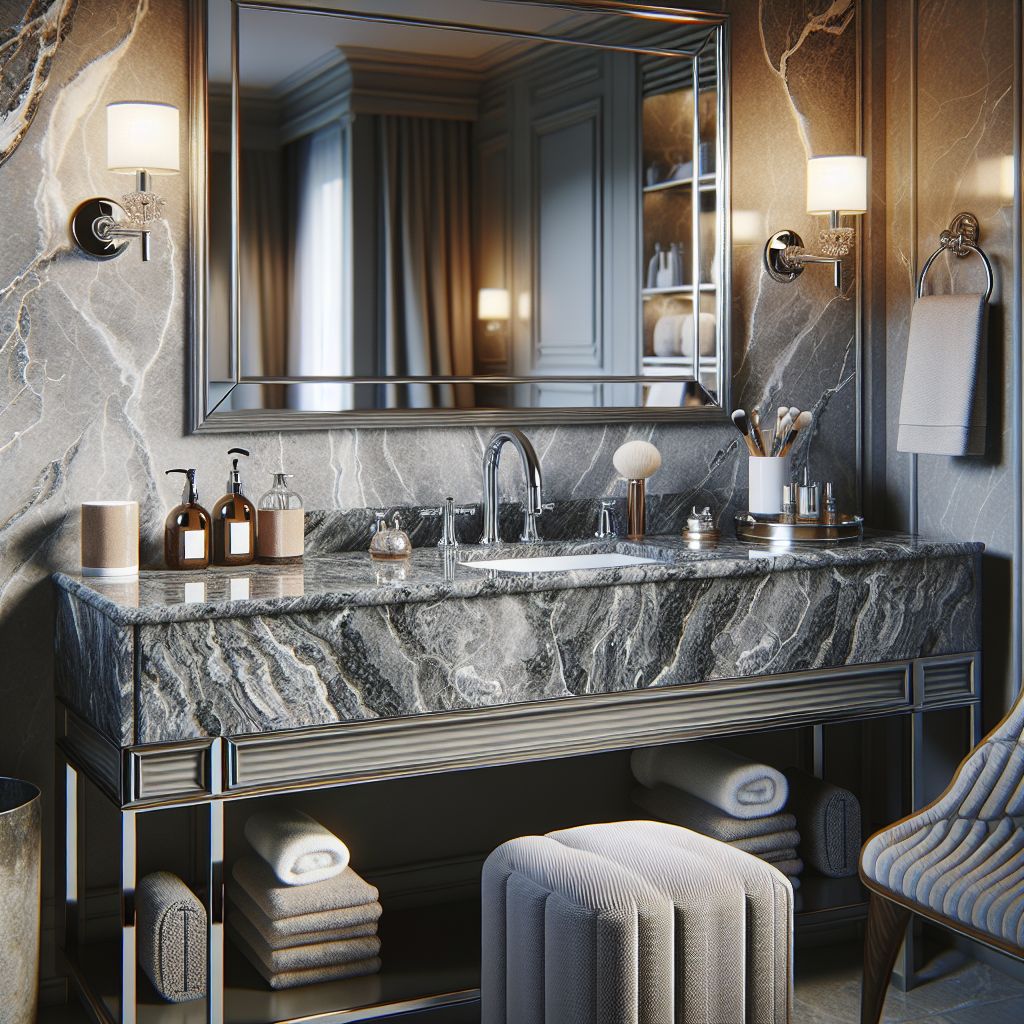
Revitalize Your Vanity: DIY Granite Refinishing Made Simple
Let’s be real—bathroom renovations can be pricey. But, what if I told you that you could give your granite vanity a fresh, new look all by yourself? It’s true! With a little bit of elbow grease and some basic supplies, you can transform your tired vanity into a stunning centerpiece. Trust me, it’s easier than you think and I’m here to guide you through each step.
Why Choose DIY for Your Vanity Makeover?
Opting for a DIY approach to refinishing your granite vanity isn’t just about saving money—it’s also about the satisfaction of completing a project with your own two hands. DIY refinishing costs just $80 to $110 and gives you complete control of the process. But remember, a successful DIY project is all about the prep work and following directions to the letter.
Gathering Essential Tools and Supplies
DIY gives you the freedom to pick your finishes and personalize your bathroom exactly the way you want it. Ready to get started with your DIY refinishing? Roll up your sleeves and let’s dive in!
Here are the materials you’ll need for the project:
- Granite countertop refinishing kit
- Various grits of sandpaper
- Painter’s tape
- Electric sander (optional but helpful)
- Clean cloths and microfiber rags
- Protective gear (gloves, mask, eyewear)
- Primer (if required by your refinishing kit)
- Sealant for the final coat
Initial Assessment and Pre-Refinishing Prep
Before you start refinishing your vanity, take a good look at it. What’s the current state of your granite? Are there any cracks, chips, or stains? These imperfections will guide your prep work and the materials you’ll need.
Cleaning Your Surface
First things first, clear the vanity top of any items, including toiletries, soap dishes, and decorations. Use a gentle cleaner to remove any soap scum, grime, or oils. Then, grab a microfiber cloth and dry the surface completely.
Use painter’s tape to mask off any areas adjacent to the vanity top that you want to protect from the refinishing materials, such as the sink, faucets, walls, and cabinets.
Remember, the key to a successful DIY project is all in the preparation. So take your time with this step—it’ll pay off in the end!
Inspecting Your Granite Vanity for Damage
Examine your vanity top closely. If you spot minor damage, such as small cracks or chips, don’t fret—these can often be filled in during the process. However, if your vanity has significant damage, you might need to consider more extensive repairs or even a replacement.

The Refinishing Process: A Step-by-Step Breakdown
With your workspace prepped and your materials at the ready, it’s time to get down to the nitty-gritty of refinishing. Follow these steps, and you’ll be on your way to a vanity that looks like it’s straight out of a home decor magazine.
Step 1: Preparation
- Clear the Area: Remove all items from the vanity top.
- Clean the Surface: Thoroughly clean the granite using a granite cleaner or a mild detergent with warm water. Avoid acidic cleaners as they can etch the surface. Dry the granite completely with a soft cloth.
Step 2: Repairing
- Fill Cracks and Chips: If there are any chips or cracks, fill them with epoxy resin or a granite repair kit that matches the color of your granite. Apply according to the product instructions, smooth it out, and allow it to cure.
Step 3: Sanding
- Wet Sanding: Using a low grit sandpaper (around 200-300 grit), wet sand the surface to remove any superficial scratches or stains. Keep the surface wet to minimize dust. Proceed with higher grit sandpaper (up to 600 grit) to smooth the granite further.
Step 4: Polishing
- Apply Polishing Compound: Use a granite polishing compound and a buffing pad. Apply the compound in small sections, using a circular motion with a low-speed buffer or by hand with a soft cloth. Continue until you achieve a uniform shine across the entire surface.
Step 5: Sealing
- Seal the Granite: Once the surface is dry and clean, apply a high-quality granite sealer. Follow the instructions on the sealer, typically involving applying the sealer, allowing it to penetrate for 10-15 minutes, then wiping off any excess with a clean, dry cloth. Allow the sealer to cure as directed, usually 24-48 hours.
Step 6: Maintenance
- Regular Care: Maintain the newly refinished vanity top by cleaning it regularly with a suitable granite cleaner and resealing it annually or as recommended by the sealer manufacturer.
These steps will help you successfully refinish your granite vanity top, restoring its beauty and ensuring its durability for years to come. Remember, regular maintenance and careful handling are key to preserving the finish and extending the life of your granite bathroom vanity.
Creative Touches: Personalizing Your Granite Vanity
Now that your vanity is looking like new, why not add some personal touches? This is where you can get creative and really make the space your own. Consider the overall design of your bathroom and how your vanity can complement it.
Choosing Your Finishing Style for a Custom Look
When it comes to finishing styles, the sky’s the limit. You can go for a high-gloss finish for a sleek, modern look, or opt for a matte finish for a more understated elegance. If you’re feeling adventurous, you can even mix finishes for a truly unique look.
Think about the color scheme of your bathroom. If you have cool tones, consider a finish with blue or gray undertones. For warmer color palettes, look for finishes with beige or brown undertones. The right finish can tie the room together and elevate the overall aesthetic.
Stenciling and Accents: Adding Unique Elements
If you want to add a bit of flair to your vanity, consider using stencils or painter’s tape to create patterns or designs. This can be as simple as a border around the edge or as intricate as a tiled mosaic look. Whatever you choose, make sure it reflects your personal style and adds to the beauty of your bathroom.

Maintenance Tips: Keeping Your Vanity Looking New
After all your hard work, you’ll want to ensure that your refinished granite vanity continues to shine for years to come. The secret? A little bit of consistent care and the right approach to cleaning.
Regular maintenance not only keeps your vanity looking pristine but also helps protect your investment.
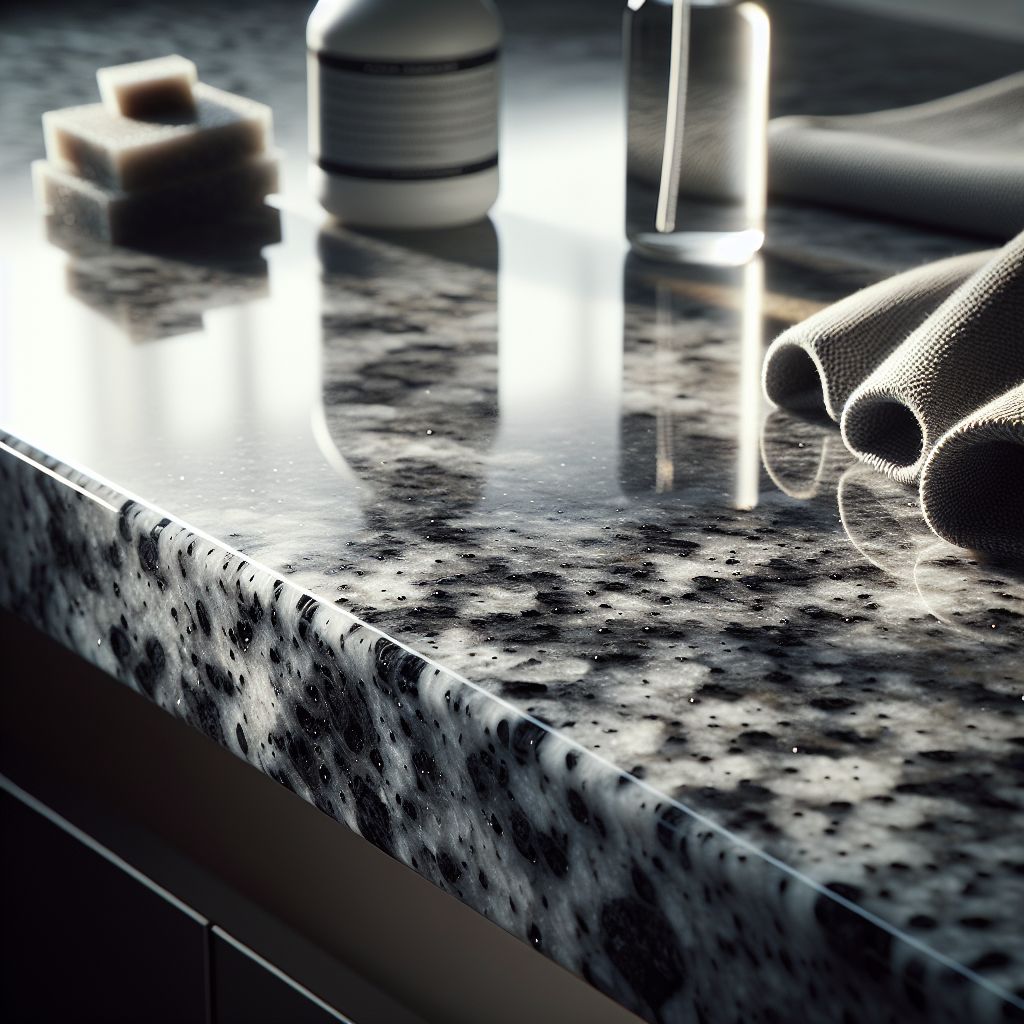
Daily Cleaning Recommendations
For daily upkeep, keep things gentle. A soft cloth or a sponge paired with warm water is usually enough for routine cleaning. If you’re dealing with something a bit more stubborn, a mild, non-abrasive cleaner specifically designed for granite can be used. Remember to avoid acidic or harsh chemicals that can wear away the sealant and damage the finish over time.
After cleaning, take an extra moment to dry the surface with a clean, soft towel. This prevents water spots and keeps the granite looking spotless and new. It’s a simple step, but it makes a world of difference.
Long-Term Care and Touch-Up Techniques
Even with the best care, life happens, and your vanity might pick up a scratch or lose a bit of its luster. For small scratches, you can use a color-matched granite repair kit to fill them in. For the sealant, it’s generally recommended to reapply every one to two years to maintain the protective barrier.
If you notice the finish starting to dull, you can give it a boost with a polish formulated for granite surfaces. Just follow the product’s instructions for the best results. These little touch-ups can go a long way in keeping your vanity looking as good as new.
Frequently Asked Questions
Can DIY refinishing deliver professional-level results?
Absolutely! With the right materials, a bit of patience, and attention to detail, you can achieve results that rival those of a professional. The key is to follow the instructions carefully and not rush through the steps. Take your time, and you’ll be amazed at what you can accomplish.
How long does the refinished surface typically last?
When done correctly, a refinished granite surface can last for many years. The longevity of your refinishing job will depend on the quality of the materials you use, how well you apply them, and how you maintain the surface afterward. Typically, you can expect your new finish to look great for at least 5 to 10 years, if not longer, with proper care.
What should I do if I notice chips or scratches after refinishing?
If you find chips or scratches post-refinishing, don’t panic. Small imperfections can often be fixed with a granite repair kit. Just clean the area, apply the repair material, and once it’s dry, sand it down to blend seamlessly with the rest of the surface. For best results, reapply sealant over the repaired area to protect it from further damage.
Is it safe to use regular household cleaners on a refinished granite vanity?
It’s best to avoid regular household cleaners, as many contain chemicals that can damage the sealant and the finish of your vanity. Instead, opt for cleaners that are specifically formulated for use on granite. These are pH-balanced to safely clean without harming the stone.
Can I refinish my granite vanity to look like a different type of stone?
Yes, you can! Many refinishing kits come with different color options and techniques that can mimic the look of various types of stone. So, if you’re dreaming of a marble or quartz look, search for a kit that offers those finishes. It’s a fantastic way to get the stone style you want without the hefty price tag.


Leave a Reply