Key Takeaways
- Refinishing porcelain tiles is cost-effective, with significant savings over tile replacement.
- Proper preparation is essential for a successful refinishing project.
- Ensuring paint adhesion to porcelain is all about the prep work.
- A clear tile sealer will protect your tiles from moisture and wear, and it will make cleaning a breeze.
- Regular maintenance is key to preserving the life of your newly refinished porcelain tiles.
Beauty in Every Tile: Porcelain Walls for Your Home
With the timeless allure of porcelain tile, your home becomes a sanctuary of elegance and durability. From its exquisite aesthetic appeal to its resilience against wear and tear, porcelain tile walls serve as both a canvas for design expression and a shield against the rigors of daily life, transforming your living space into a haven of enduring beauty and functionality.
Why Refinish Your Porcelain Tile Walls
Let’s face it, replacing tiles can be expensive and time-consuming. That’s where refinishing comes in. It’s the secret to breathing new life into dull or dated tiles without emptying your wallet. Plus, it’s a green choice because you’re not adding to the landfill!
Cost-Effective Upgrades to Your Home
When we talk numbers, refinishing wins hands down. Replacing porcelain tiles can set you back a pretty penny, but refinishing? You’re looking at saving up to 75% of those costs. Now that’s a budget-friendly home improvement!
Extend Tile Life and Enhance Room Aesthetics
Besides saving money, refinishing can make your tiles last longer and look better. You’ll be amazed at how a fresh coat can transform the entire feel of a room.
Prep Work: Laying the Foundation for Success
Like any great masterpiece, it’s all about the prep work. Don’t skimp on this part – it’s essential for a finish that looks great and lasts.
Gathering Your Materials and Tools
Before you start, make sure you have everything you need. Here’s a quick list:
- Tile cleaner
- Fine-grit sandpaper
- High-quality tile primer
- Porcelain tile paint
- Paint brushes and rollers
- Clear tile sealer
Important Safety Measures
Don’t forget about safety. Ventilation is key when you’re working with paint and primer, so open those windows or set up a fan. And always wear gloves and a mask to protect yourself from fumes and dust.

Refinishing Porcelain Tiles: A Step-by-Step Guide
Now, for the main event. Follow this step-by-step guide, and you’ll be on your way to a tile wall that looks like it’s straight out of a home design magazine.
Step 1: Cleaning and Surface Preparation
Think of this phase as the warm-up before a workout or the pre-game pep talk before a big match. It’s all about getting our surfaces squeaky clean and prepped for a makeover that’ll make your space shine.
- First, clear the area. Remove any items from the area you’ll be working on.
- Clean the tiles. Start by giving those tiles a good scrub. You want to remove all the grime and soap scum.
- Use a mild detergent or a tile cleaner to remove any stubborn dirt, grime, or residues. Rinse thoroughly and let dry completely.
Step 2: Crack and Chip Repairs
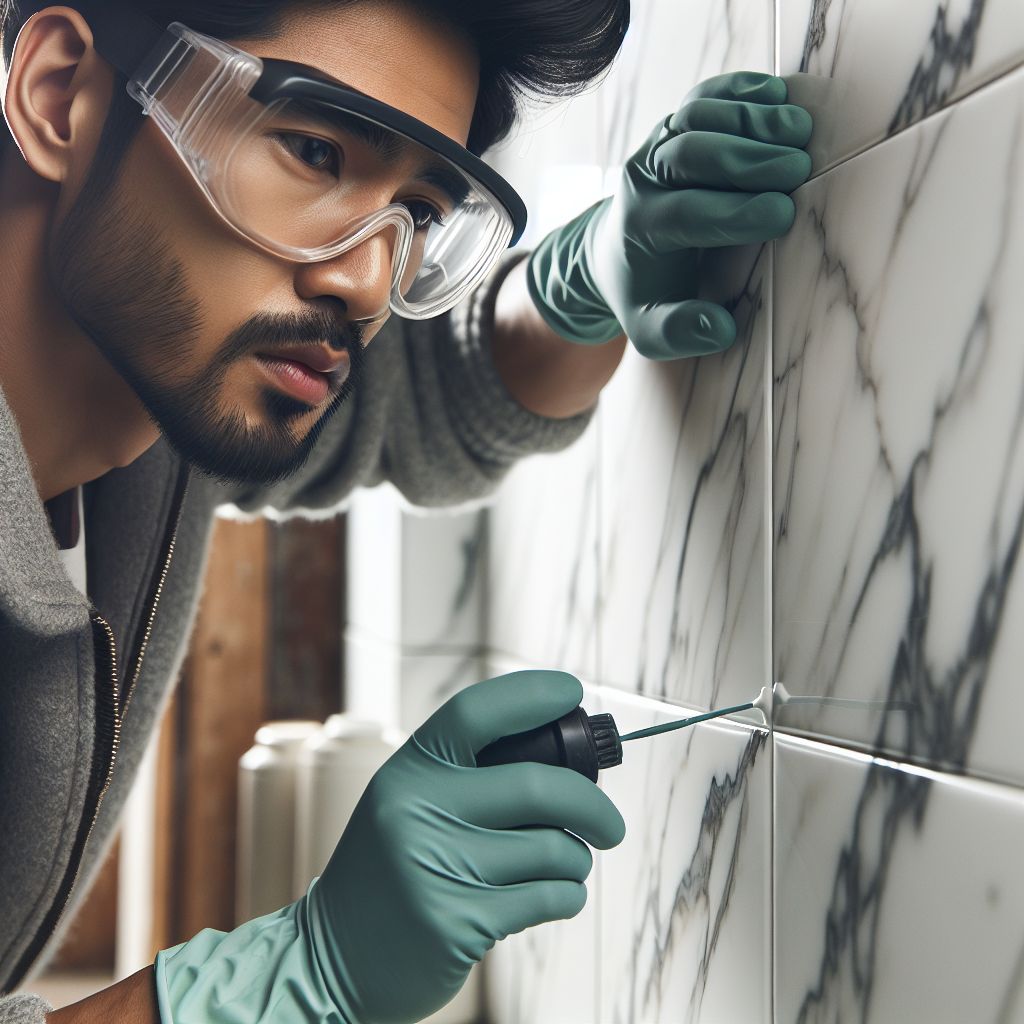
First things first, inspect your tiles for any cracks or chips. Fill them in with a suitable filler and let it dry completely. Smooth it out so that it’s level with the tile surface. This step is vital for a seamless finish.
- Inspect for damage: Check for any cracks, chips, or loose tiles. Repair or replace them as needed.
- Fill cracks and holes: Use a porcelain filler or epoxy filler to fill in any cracks or holes. Follow the manufacturer’s instructions for application and drying time.
Step 3: Sanding
Lightly sand the surface of the tiles with fine-grit sandpaper. This will roughen up the surface slightly, providing better adhesion for the new finish.
Step 4: Priming the Tiles for Paint
Once your tiles are clean and smooth, it’s time to prime. A high-adhesion primer is key—it’s like the glue that holds your paint in place. Apply it evenly with a roller or brush designed for smooth surfaces. And remember, patience is your friend; let the primer dry thoroughly before moving on.
- Choose a primer specifically for tile or glossy surfaces.
- Apply a thin, even coat to avoid drips or texture.
- Allow the primer to dry completely, according to the manufacturer’s instructions.
Most importantly, don’t rush this step. The better the primer application, the smoother your paint will go on.

Step 5: Painting or Coating
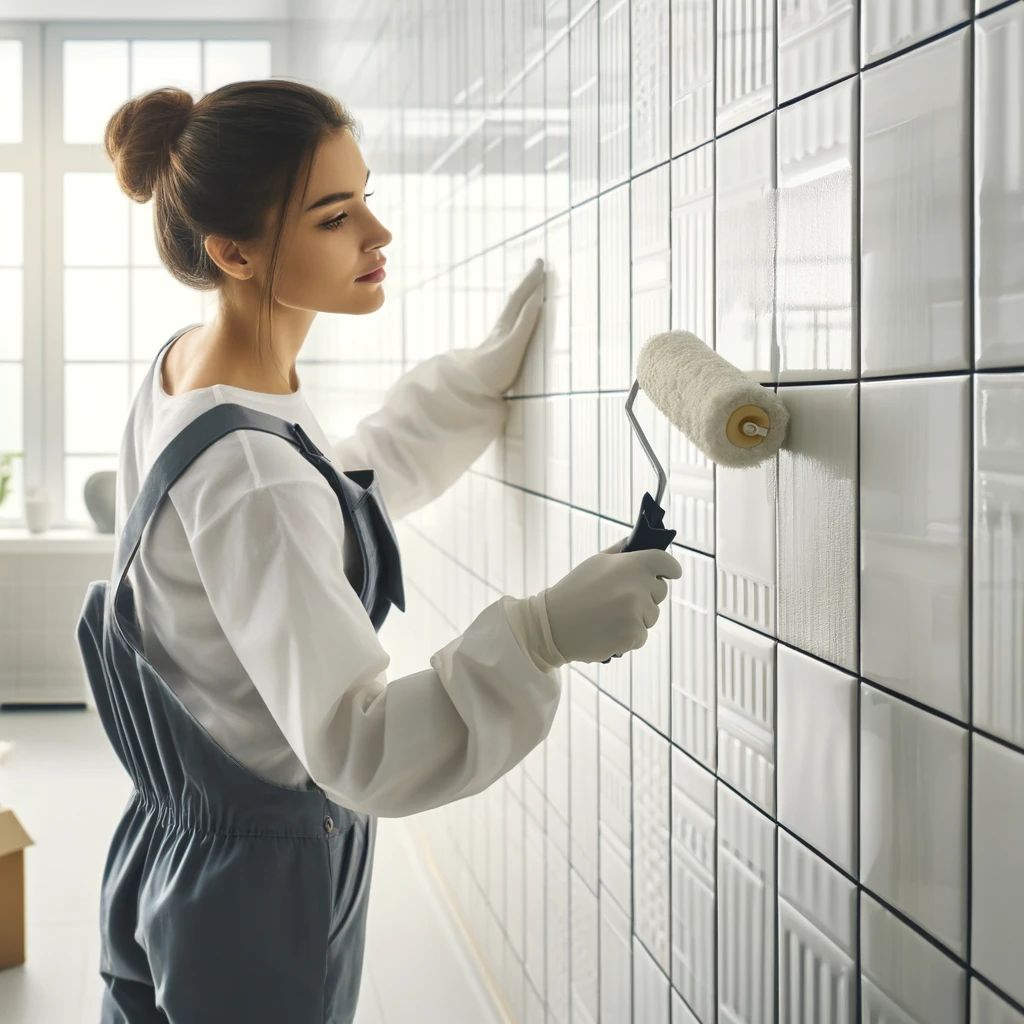
Now for the transformation! Apply your chosen paint for porcelain tiles. Latex paint is a great option due to its durability and ease of use. Use a brush for edges and corners, and a roller for the rest. Apply with care to avoid streaks or bubbles.
Keep the layers thin. It’s tempting to slap on a thick coat to get it done faster, but trust me, several thin coats will give you a much more professional finish. Plus, they dry faster and reduce the risk of peeling later on.
- Choose a paint or coating suitable for porcelain surfaces. This could be a specialty tile paint or a high-quality enamel paint.
- Apply the paint or coating evenly to the tiles using a brush or roller. Multiple thin coats are usually better than one thick coat.
- Allow each coat to dry completely before applying the next one. Follow the manufacturer’s instructions for drying times and number of coats needed.
Step 6: Sealing for Lasting Protection
After the paint or coating has dried, it’s time to seal your hard work. A clear tile sealer will protect your tiles from moisture and wear, and it will make cleaning a breeze. Make sure the sealant is compatible with the paint or coating you used. Apply it just like you did the primer and paint, with a careful, even hand.
Remember, the sealer not only protects the paint but also gives it that finished shine. So, don’t skip this step, as it’s important for the durability of your refinishing job.
Step 7: Finishing Touches
Take a step back and admire your work. Check for any touch-ups that may be needed. If you spot any, now’s the time to fix them. Use a small brush for precision and blend it into the surrounding area.
Allow the newly refinished tiles to cure fully before subjecting them to use or cleaning. This typically takes a few days to a week, depending on the products used.
And there you have it—a beautifully refinished porcelain tile wall. It’s amazing what a little paint can do, isn’t it?

Expert Tips to Achieve a Flawless Finish
Even with a great guide, there’s an art to refinishing. Here are some tips to elevate your project:
Brushes vs. Rollers: What Works Best
Brushes are perfect for edges and tight spots, while rollers are your go-to for large, flat areas. Foam rollers can give you a smooth finish without the texture that traditional rollers might leave behind.
Avoiding Common Refinishing Blunders
Keep an eye out for these pitfalls:
- Rushing the drying time between coats.
- Applying paint too thickly.
- Not using proper ventilation.
Take your time, follow the steps, and use the right tools for the job. That’s the secret to a finish that looks like a pro did it.
Cleaning and Care Post-Refinishing
After all your hard work, you’ll want to keep those tiles looking as good as new. Cleaning is a snap—just use a gentle, non-abrasive cleaner and a soft cloth. Stay away from harsh chemicals and scouring pads that can scratch or damage the finish. And here’s a tip: wiping down the walls after each use can prevent water spots and keep your tiles sparkling.
When to Touch-Up Your Refinish Work
Over time, you may notice small areas where the paint has chipped or worn away. No need to panic! A quick touch-up is all it takes to keep your walls looking great. Just lightly sand the affected area, apply a small amount of paint, and seal it once it’s dry. It’s like giving your walls a little spa treatment to keep them in tip-top shape.

Frequently Asked Questions
How Long Will a Refinished Porcelain Tile Wall Last?
With proper preparation, application, and care, your refinished tile wall can look great for 5-10 years. It’s all about the quality of the materials you use and how well you maintain the surface. Regular cleaning and avoiding harsh chemicals will go a long way in preserving your handiwork.
Can You Refinish Porcelain Tiles in a Shower?
Yes, you can! But keep in mind that high-moisture areas like showers may require a bit more maintenance. Make sure you use a waterproof sealer and give the walls ample time to dry after each use. This will help protect against water damage and keep your shower looking fresh.
Is it Necessary to Hire Professionals for Refinishing?
While you can certainly tackle this project yourself, hiring professionals can save you time and guarantee a certain level of quality. If you’re not comfortable with DIY, or if you’re dealing with a particularly large or complex area, it might be worth the investment to call in the pros.
But if you’re up for the challenge, refinishing your porcelain tile walls can be a rewarding DIY project. Just follow the steps, take your time, and don’t be afraid to ask for help if you need it.
How Can You Ensure Paint Adhesion to Porcelain?
Ensuring paint adhesion to porcelain is all about the prep work. Make sure your tiles are clean and free of any residue. Sanding them lightly will create a texture for the primer to grip onto. And speaking of primer, choose a high-adhesion primer designed for glossy surfaces. These steps will give your paint the best chance to stick around for the long haul.
And here’s another tip: after applying the primer, but before painting, gently run your hand over the tiles. They should feel slightly rough to the touch. If they’re still smooth, you may need to sand them a bit more.
For the best adhesion, let each coat of primer and paint dry completely before adding the next layer. This might test your patience, but it’s essential for a long-lasting finish.


Leave a Reply