Key Takeaways
- Refinishing slate shower tiles is a cost-effective alternative to a full renovation, potentially lasting 10-15 years.
- Preparation is key—start with a thorough cleaning to remove soap scum, mildew, and grime.
- Use a high-quality sealer appropriate for slate to protect and enhance the natural beauty of the tiles.
- Regular maintenance, including gentle cleaning with non-abrasive cleaners, will extend the life of your refinished tiles.
- DIY refinishing is achievable with the right tools and the detailed step-by-step guide below.
Revamping Your Slate Shower Tiles
Ever looked at your slate shower tiles and wished for a magic wand to make them look brand spanking new? Well, put the wand down because all you need are some tools, a bit of elbow grease, and this guide. Refinishing your slate shower tiles can transform your bathroom from blah to beautiful without the hefty price tag of a complete renovation. So, let’s get started and turn that shower into a masterpiece you’re proud to show off.
Why Choose to Refinish?
Before diving into the nitty-gritty, let’s talk about why refinishing is such a smart move. First off, it’s a fraction of the cost of replacing the tiles altogether. Secondly, it’s a sustainable choice; instead of tossing out the old for new, you’re giving your tiles a second chance. And let’s not forget the bragging rights that come with a successful DIY project.
But remember, this isn’t a small weekend project. It requires patience, precision, and a bit of creativity. The outcome? A shower that looks like it’s straight out of a home decor magazine.
Tools and Materials List
Before we roll up our sleeves, let’s ensure we have everything we need. Here’s a quick rundown of the tools and materials that will make your slate tile shower refinishing project a breeze:
- Protective eyewear and gloves
- Heavy-duty cleaner
- Grout cleaner
- Sandpaper or a hand sander
- Tile repair kit
- High-quality slate sealer
- Sealer applicator
- Clean, lint-free cloths
- Non-abrasive sponge
Got everything? Great! Let’s move on to the first critical step that will set the stage for your entire project.

The Refinishing Process: Breathing New Life Into Old Tiles
Refinishing your slate shower tiles can give your bathroom a fresh and updated look. It’s a cost-effective alternative to a complete renovation and, with the right tools and techniques, can be a rewarding DIY project. Before you begin, make sure you have all the necessary equipment and safety gear. Now, roll your sleeves and get ready to refinish those tiles!
Step 1: Cleaning the Canvas: Scrubbing Your Slate
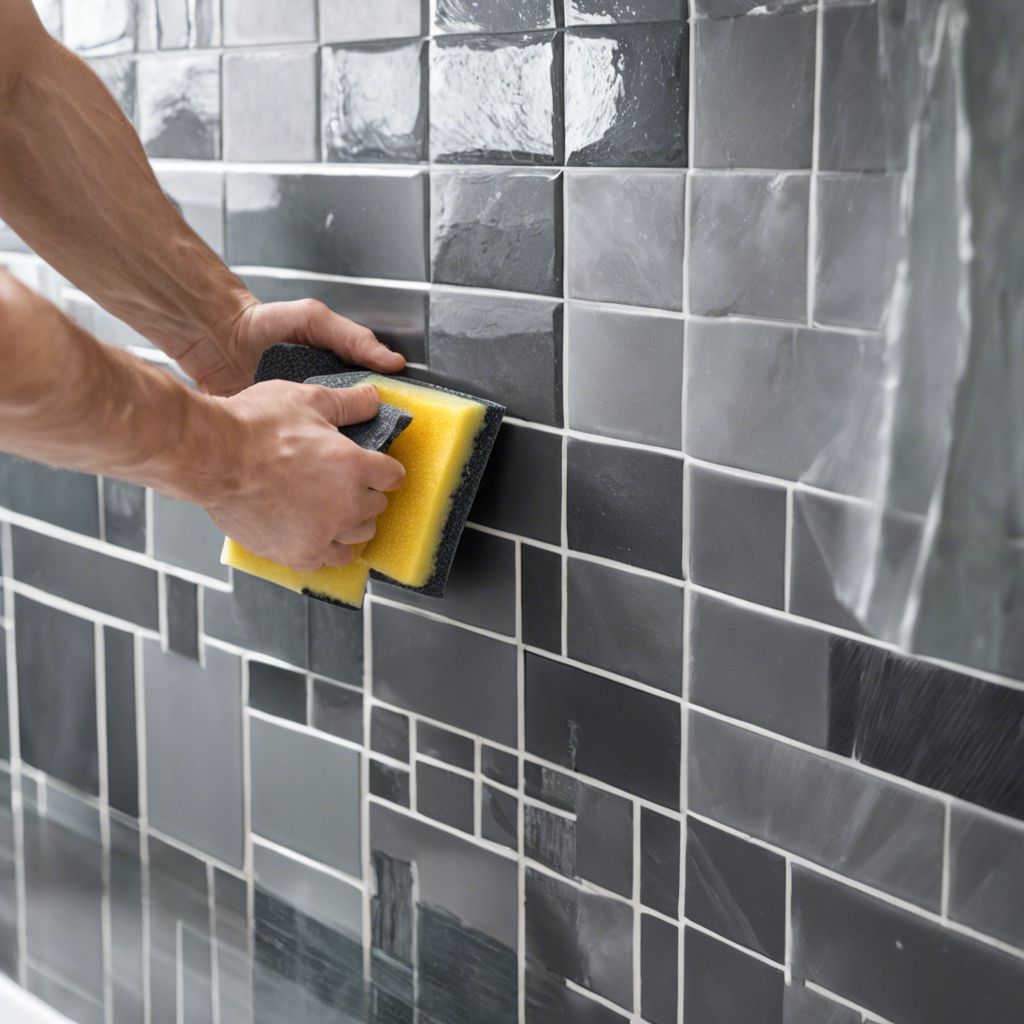
Begin by clearing out all items from the shower area. Then, give those tiles a good clean. Use a gentle detergent or stone cleaner mixed with warm water and scrub away any dirt, grime, or soap buildup with a soft brush or sponge. Once they’re squeaky clean, rinse them off with fresh water and let them air dry.
Step 2: Repairing the Damage
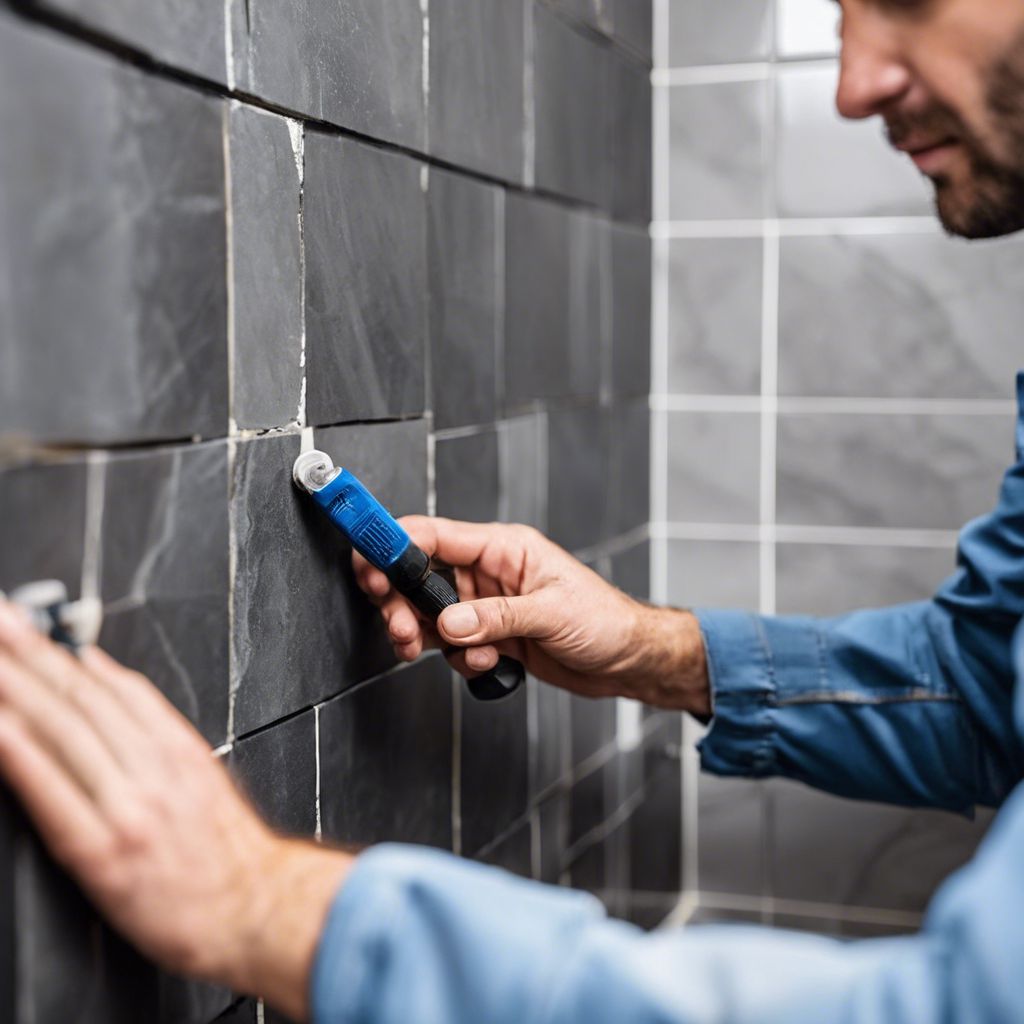
Inspect your shower tiles for any cracks, chips, or loose bits. If you spot any, no worries. Just grab some slate repair compound or epoxy filler, and patch things up. Follow the instructions on the product for how to apply and let it dry, making sure the fixes blend right in with the rest of the tile.
Step 3: Sanding the Tiles
If the tiles are feeling a bit rough around the edges, don’t stress. You can smooth things out by giving them a gentle sanding. Grab some fine-grit sandpaper or a sanding block, and take your time to work out any imperfections. Just remember, go easy on it to avoid scratching up the surface of those tiles.
After sanding, make sure to get rid of any leftover dust or debris. Grab your favorite mild detergent or a stone cleaner. Give the tiles another good scrub, rinse thoroughly, and then let them air dry until they’re completely clean and shiny.
Step 4: Sealing Your Masterpiece
It’s time to seal the deal. Sealing your slate shower tiles is the crowning step in the refinishing process. This is what locks in all your hard work and protects your tiles from moisture, soap scum, and mildew. It’s also what gives your tiles that gorgeous, like-new sheen.
Sealing the Deal: Why It’s Critical
Sealing is non-negotiable because it extends the life of your shower by creating a barrier against water and grime. It also enhances the natural color of the slate, bringing out the beauty of the stone. But the type of sealer you choose is just as important as the sealing process itself.
Opt for a sealer that’s specifically designed for slate. These sealers penetrate the stone, providing protection without compromising the slate’s breathability. Remember, slate is a natural stone, and it needs to “breathe” to prevent moisture from getting trapped underneath the surface.
Application Advice: Ensuring Lasting Protection
Applying the sealer is straightforward, but it requires precision. Here’s how to do it:
- Start with a clean, dry surface. Any moisture on the tiles can prevent the sealer from adhering properly.
- Using a sealer applicator, brush, or roller, apply the sealer evenly across the tiles. Work in small sections to ensure thorough coverage.
- Allow the first coat to dry according to the manufacturer’s instructions before applying a second coat, if necessary.
- Once the final coat is dry, buff the tiles with a clean, lint-free cloth to bring out the shine.
After sealing, wait for the recommended curing time before using the shower. This patience pays off by ensuring the sealer has set, providing a long-lasting finish that keeps your tiles looking fabulous.
Step 5: Applying the Enhancer (Optional)
If you’re keen on boosting the color and bringing out the natural beauty of your slate tiles, think about giving them a little extra love with a stone enhancer after sealing. Just follow the instructions from the manufacturer for how to apply it and let it dry properly. Your tiles will be showing off their true colors in no time!

Maintenance: Keeping Your Slate Tiles in Peak Condition
After all your hard work, you’ll want to keep your shower looking its best. Regular maintenance is the secret sauce to a long-lasting finish. Here’s how to care for your newly refinished slate shower tiles:
Cleaning Post-Refinish: Dos and Don’ts
When it comes to cleaning your refinished tiles, gentle is the name of the game. Harsh chemicals and abrasive tools are out of the question—they can damage the sealer and the slate beneath it. Instead, use a mild cleaner and a soft cloth or sponge to wipe down your shower after use. And here’s a pro tip: a daily shower spray can work wonders in preventing water spots and soap scum build-up.
Long-term Care: Tips to Extend Your Tiles’ Life
Aside from gentle cleaning, here are a few more tips to keep your shower in top-notch condition:
- Fix leaks promptly to prevent water damage.
- Reapply sealer every one to two years, or as recommended by the sealer manufacturer.
- Keep the bathroom well-ventilated to reduce moisture and prevent mildew.
By following these simple steps, you can ensure your slate shower tiles remain a stunning feature in your bathroom for years to come.
Admiring Your Work
And now, for the moment you’ve been waiting for—admiring your work. Step back, take a good look, and give yourself a pat on the back. Your shower isn’t just refreshed; it’s a testament to your effort and creativity.
Final Inspection: What to Look for
Once your tiles have had a chance to air dry completely, it’s time for the grand reveal! Take a close look and give them a friendly once-over to make sure they’re looking just the way you want them to. If you spot any areas that could use a little extra attention, no sweat! You can easily touch them up to perfection such as applying additional sealer or enhancer.
Enjoying Your New Space: Time to Relax
After the dust has settled and the sealer has dried, there’s nothing quite like the first shower in your newly finished space. It’s not just about the clean tiles or the shiny surfaces; it’s about the sense of accomplishment that comes from doing it yourself. You’ve not only saved money but also personalized your space, and that’s something to take pride in.

Frequently Asked Questions (FAQ)
Can you refinish slate shower tiles yourself?
Absolutely! With the right tools, materials, and a bit of patience, you can tackle this project over a weekend. Just follow the steps outlined in this guide, and you’ll be on your way to a beautifully refinished shower.
How often should you seal refinished slate tiles?
Generally, it’s a good idea to reseal your slate shower tiles every one to two years, depending on the amount of use and exposure to water. Keep an eye on the finish—if it starts to look dull or water doesn’t bead up on the surface, it’s time for a touch-up.
What types of sealants work best for slate shower tiles?
Look for a sealant that’s specifically designed for natural stone and is safe for use in wet areas. These sealants will penetrate the slate and provide a barrier without compromising the stone’s natural properties. Always check the manufacturer’s recommendations to ensure compatibility with your specific type of slate.
How can you tell when it’s time to refinish your slate shower tiles?
Signs that it’s time for a refinish include dullness, staining, and water no longer beading on the surface. If the tiles look worn out or the grout is starting to crumble, those are clear indicators that a refresh is due.
What are some common pitfalls when refinishing shower tiles?
Common pitfalls include:
- Underestimating the importance of thorough cleaning and preparation.
- Skimping on the sanding step
- Using the wrong type of sealer for slate tiles.
- Applying sealer unevenly, leading to blotchy or ineffective coverage.
- Not allowing the sealer to dry completely between coats or before using the shower.
- Ignoring the need for regular maintenance after refinishing.
Avoid these mistakes by following each step carefully and giving yourself plenty of time to complete the project without rushing.
In conclusion, refinishing your slate shower tiles can be a rewarding DIY project that breathes new life into your bathroom. By following this step-by-step guide, you’ll be well on your way to creating a space that not only looks great but also reflects your personal touch. Remember, the key to a successful refinishing project lies in the preparation, the right materials, and a little bit of patience. Happy refinishing!


Leave a Reply