
Key Takeaways
- Refinishing involves removing the old finish and applying a new one, while refurbishing often includes minor repairs and aesthetic updates.
- Refinishing is ideal for tables with significant surface damage or outdated finishes.
- Refurbishing is suitable for tables needing minor touch-ups or a new look without stripping the old finish.
- Refinishing requires more tools and time compared to refurbishing but can yield a more dramatic transformation.
- Both methods can extend the life of your veneer dining table and enhance its appearance.
Dining Table Makeover: Refinish or Refurbish?
When it comes to breathing new life into your veneer dining table, you might find yourself torn between refinishing and refurbishing. Both methods can significantly enhance the appearance and longevity of your table, but they serve different purposes and require varying levels of effort. Understanding the difference between these two approaches will help you make an informed decision.
The Difference Between Refinishing and Refurbishing
Refinishing a table involves stripping away the old finish, sanding down the surface, and applying a new finish. This process is ideal for tables with significant damage, such as deep scratches, watermarks, or a worn-out finish. Refinishing can restore the table to its former glory or even give it a completely new look.
On the other hand, refurbishing typically includes minor repairs, cleaning, and aesthetic updates. This might involve touching up scratches, repainting, or adding new hardware. Refurbishing is less labor-intensive than refinishing and is best suited for tables that are in relatively good condition but need a bit of sprucing up.
Refinishing vs Refurbishing: A Quick Comparison
| Refinishing | Refurbishing | |
| Cost | $100 to $250 for tools and materials | $40 to $100 for tools and materials |
| Timeline | 2-3 days | 1 day |
| Pros | Restores beauty, extends the table’s lifespan, customization, more cost-effective than buying a new table, yields dramatic results | Quicker process, less labor-intensive, beginner-friendly, cheaper than refinishing |
| Cons | Time-consuming, labor-intensive, requires a moderate level of skill | Limited repairs, less dramatic change, potential for mismatched repairs, less transformative |
Why Your Veneer Table Needs Some Love
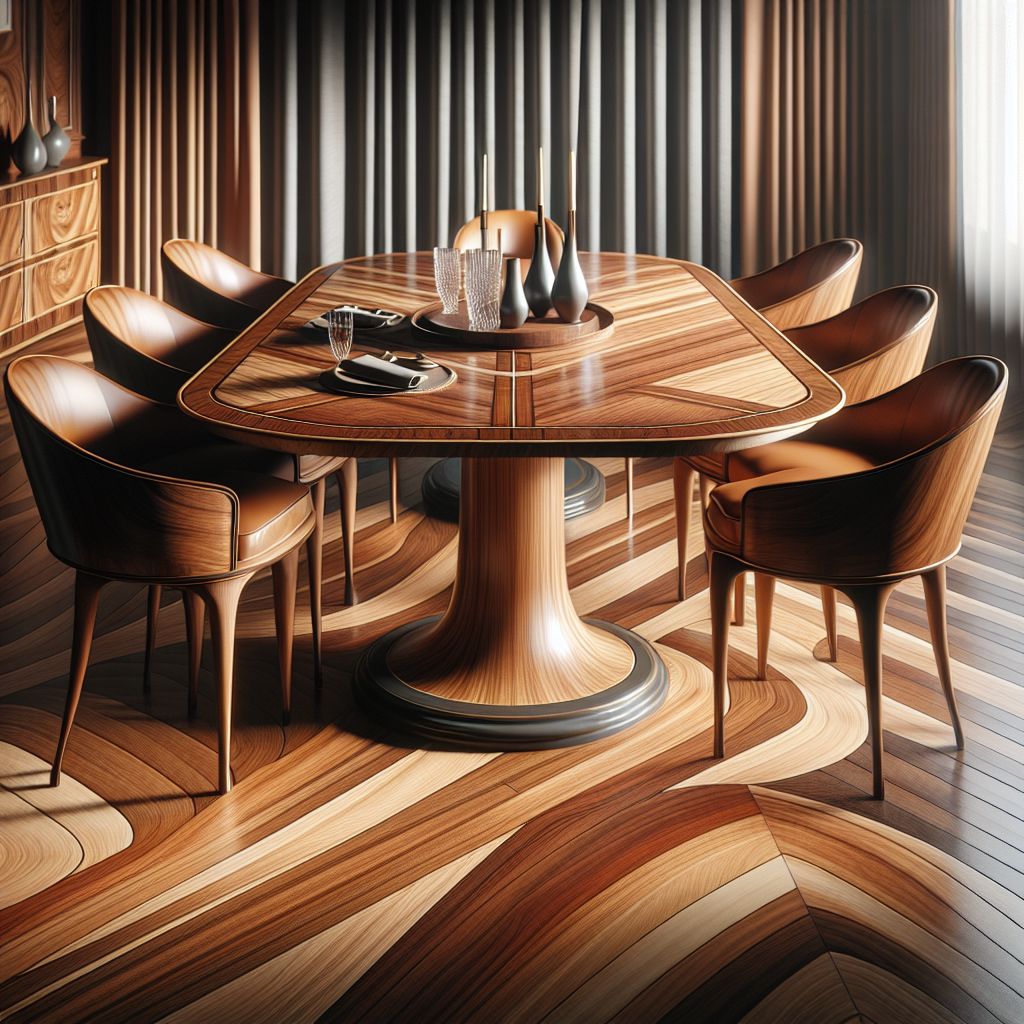
Your dining table is more than just a piece of furniture; it’s the centerpiece of your dining space where family and friends gather. Over time, however, it can start to show signs of wear and tear. Whether it’s from daily use, accidental spills, or simply age, your veneer dining table might need some attention to keep it looking its best.
Common Problems with Veneer Dining Tables
Veneer dining tables are prone to several common issues:
- Scratches and dents: These can be caused by utensils, dishes, or even moving the table.
- Water damage: Spills and condensation from drinks can lead to watermarks and swelling.
- Fading: Sunlight can cause the veneer to fade over time, making the table look dull.
- Peeling or bubbling: Moisture or heat can cause the veneer to lift or bubble, creating an uneven surface.
How Damage Affects Your Dining Table’s Look
Damage to your veneer dining table doesn’t just affect its functionality; it also impacts its appearance. Scratches and dents can make the table look old and worn out, while water damage and fading can give it a neglected look. Peeling or bubbling veneer is not only unsightly but can also make the table difficult to clean and maintain.
Addressing these issues promptly is essential to maintaining the table’s aesthetic appeal and ensuring it remains a beautiful focal point in your dining space.
The Magic of Refinishing Your Veneer Dining Table
Refinishing your veneer dining table can work wonders in transforming its look. By removing the old finish and applying a new one, you can completely change the table’s appearance, making it look brand new or giving it a different style altogether.
When to Consider Refinishing
Refinishing is a good option if your table has significant surface damage that can’t be fixed with minor repairs. It’s also a great choice if you’re looking to change the table’s appearance drastically. However, refinishing requires more time, effort, and tools than refurbishing, so be prepared for a more involved project.
Gathering Tools and Materials for the Project
Before you start refinishing your veneer dining table, gather all the necessary tools and materials:
- Sandpaper: You’ll need different grits, from coarse to fine, for sanding the table.
- Paint stripper: This will help remove the old finish.
- Putty knife: Useful for applying and removing the stripper.
- Stain or paint: Choose a color that matches your desired finish.
- Polyurethane: This will protect the new finish and add a layer of durability.
- Brushes and rags: For applying the stain and polyurethane.
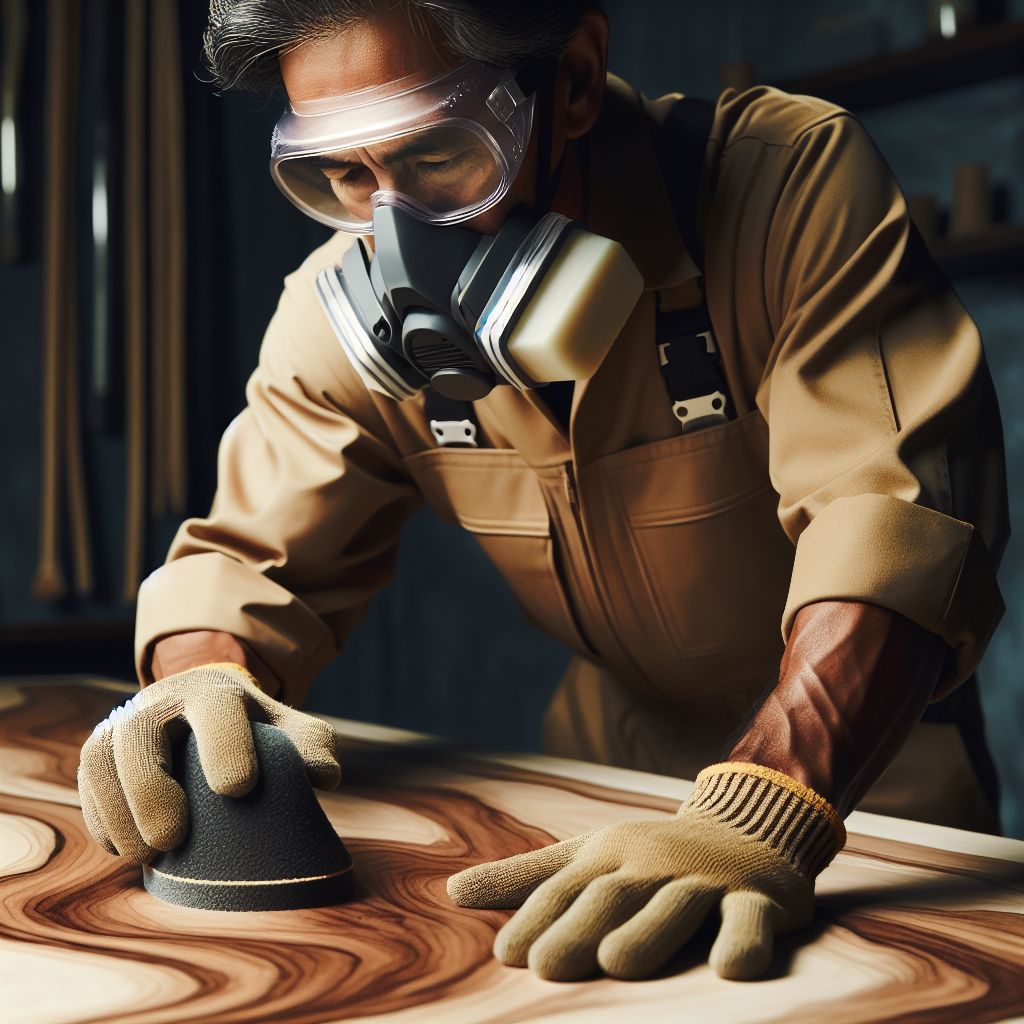
- Protective gear: Gloves, goggles, and a mask to protect yourself from fumes and dust.
Step-by-Step Guide to Refinishing a Veneer Dining Table
Refinishing a veneer dining table can seem daunting, but with the right steps, it becomes a manageable and rewarding project.
Step 1: Examine the table for damage and veneer thickness. Clear your workspace, gather tools, remove detachable parts, clean the table, and lay down a drop cloth.
Step 2: Apply paint stripper with a brush and let it sit as instructed. Carefully scrape off the old finish with a putty knife, being gentle to avoid damaging the veneer.
Step 3: Begin with coarse-grit sandpaper (80 grit) to remove any remaining finish and smooth imperfections. Gradually use finer grits (up to 220 grit) for a smooth surface, sanding with the wood grain.
Step 4: Choose a wood stain that matches your decor and apply it evenly with a brush or rag, following the wood grain. Let it penetrate for a few minutes, wipe off excess, and let it dry completely.
Step 5: Once the stain is dry, apply a coat of polyurethane with a high-quality brush. Let it dry, sand lightly with fine-grit sandpaper, and apply a second coat. Repeat for a third coat if necessary.
Advantages of Refinishing
Refinishing your veneer dining table offers several benefits:
- Restores Beauty: Refinishing can make your table look brand new, enhancing its natural beauty.
- Customization: You can choose any stain or finish to match your decor.
- Longevity: A new finish protects the wood, extending the table’s lifespan.
- Cost-Effective: Refinishing is often cheaper than buying a new table.
Disadvantages of Refinishing
While refinishing has many advantages, it also comes with some drawbacks:
- Time-Consuming: The process can take several days, from stripping to applying the final coat.
- Labor-Intensive: Refinishing requires significant effort, especially the sanding and stripping stages.

Updating Your Furniture: Refurbishing a Veneer Dining Table
If your table only needs minor touch-ups or a new look, refurbishing might be the better option. This approach focuses on repairing and updating the table without removing the existing finish.
Signs You Need to Refurbish Your Veneer Dining Table
Consider refurbishing your table if it has significant damage or wear, such as deep scratches or dents that affect the veneer. For minor issues like superficial scratches or fading that can be addressed with touch-up markers or polish, or if the hardware is loose or missing and needs replacement, refurbishing might be a good option. If the finish is intact but appears outdated or dull, refurbishing can also help restore its appearance and enhance its overall look.
Visualizing a New Look for Your Table
Before you begin refurbishing your table, envision the new look you desire. Consider whether you want to change the color, update the hardware, or add decorative accents. A fresh coat of paint can transform the table’s appearance, while new handles or knobs can give it a modern touch. Decorative elements like stencils or decals can also add a personalized flair.
The Refurbishing Steps
Here’s a step-by-step guide to refurbishing your veneer dining table:
Step 1: Inspect the table, clear your workspace, and gather tools. Clean the table and remove detachable parts.
Step 2: Fix loose veneer with glue and clamp it. Use wood filler for scratches or dents.
Step 3: Strip the old finish if necessary. Apply paint stripper, let it sit, and gently scrape off the old finish.
Step 4: Sand with coarse-grit paper (80 grit) to remove imperfections, then use finer grits (up to 220 grit) for a smooth finish.
Step 5: Choose and apply paint or stain evenly, following the grain. Allow it to dry. You can modernize the table with new paint or decorative accents like stencils or decals.
Step 6: Apply a coat of polyurethane, let it dry, lightly sand, and apply additional coats as needed.
Step 7: After the finish has fully cured, install new handles or other new hardware.
Step 8: Reattach any removed parts and polish the table if desired.
The Pros of Refurbishing
Refurbishing offers several advantages:
- Less Labor-Intensive: Refurbishing requires less effort than refinishing.
- Quick Updates: You can achieve a fresh look in a shorter time frame.
- Cost-Effective: Refurbishing is usually cheaper than refinishing or buying new furniture.
The Cons of Choosing to Refurbish
However, refurbishing also has its downsides:
- Limited Repair Capability: Refurbishing can’t fix deep scratches or significant damage.
- Less Dramatic Change: The transformation may not be as noticeable as refinishing.
- Potential for Mismatched Repairs: Touch-ups might not perfectly match the original finish.

Refinishing vs Refurbishing: A Detailed Comparison
Now that we’ve explored both methods, let’s compare refinishing and refurbishing in detail.
Cost Analysis
Both refinishing and refurbishing can be more cost-effective than purchasing a new table, but they have different associated expenses. Refinishing typically costs between $50 and $100 for materials and $50 to $150 for tools. In contrast, refurbishing generally involves lower costs, with materials ranging from $20 to $50 and tools costing $20 to $50.
Required Skill Level
Refinishing a veneer dining table requires a moderate level of skill. You need to be comfortable using tools like sanders and paint strippers and have an eye for detail to ensure a smooth finish. If you’re a beginner, you might want to practice on a smaller piece of furniture first. Refurbishing, on the other hand, is more beginner-friendly. It involves simpler tasks like cleaning, light sanding, and painting, making it accessible for those new to DIY projects.
Time Investment
The time investment for refinishing a veneer dining table is significant. The entire process, from stripping the old finish to applying the final coat of polyurethane, can take 2-3 days, including drying times between coats. Refurbishing is quicker, often completed within a day. This makes refurbishing a more convenient option if you’re short on time but still want to improve the appearance of your table.
End Results
Refinishing can yield dramatic results, completely transforming the look of your table. It allows for a wide range of customization options, from changing the stain color to altering the sheen. The table will look almost brand new, with a smooth, durable finish that can last for years. Refurbishing, while less transformative, can still significantly enhance the table’s appearance. It’s ideal for refreshing the look without a complete overhaul.
Both methods have their merits, and the best choice depends on your specific needs and the condition of your table. If you’re looking for a major change and are willing to invest the time and effort, refinishing is the way to go. If you need a quick update with less hassle, refurbishing is an excellent option.
Final Thoughts on Refinishing vs Refurbishing Your Veneer Dining Table
Choosing between refinishing and refurbishing your veneer dining table ultimately comes down to your goals, the table’s condition, and the resources you have available. Refinishing offers a complete transformation, making it ideal for tables with significant damage or outdated finishes. It requires more time, effort, and skill but can yield stunning results that make your table look brand new.
Refurbishing, on the other hand, is perfect for tables that need minor repairs or a fresh look. It’s less labor-intensive and can be completed in a shorter time frame, making it a convenient option for quick updates. While the changes might not be as dramatic as refinishing, refurbishing can still significantly enhance the table’s appearance and extend its life.
Both methods can breathe new life into your veneer dining table, turning it into a beautiful and functional centerpiece for your dining space. Whether you choose to refinish or refurbish, the key is to assess your table’s condition, consider your goals, and select the approach that best meets your needs.
Frequently Asked Questions (FAQ)
Can you refinish a veneer table without stripping the original finish?
Yes, you can refinish a veneer table without stripping the original finish, but the results may not be as smooth or durable. Lightly sanding the surface and applying a new coat of finish can refresh the table’s appearance. However, for the best results, especially if the table has significant damage or an outdated finish, it’s recommended to strip the old finish before refinishing.
How do you repair lifted or bubbled veneer?
To repair lifted or bubbled veneer, start by carefully cutting away the bubbled area with a sharp utility knife. Apply wood glue under the lifted veneer, then press it down firmly. Use a clamp or heavy object to hold the veneer in place until the glue dries. If the veneer is badly damaged, you may need to replace the affected section with a new piece of veneer.
Is it possible to stain veneer the same way as solid wood?
Yes, you can stain veneer just like solid wood, but the process requires extra care. Veneer is thinner than solid wood, so it’s essential to sand lightly to avoid sanding through the veneer. Use a wood conditioner before staining to ensure an even application, and follow the manufacturer’s instructions for the best results.
What kind of sandpaper is best for sanding veneer?
When sanding veneer, it’s important to use fine-grit sandpaper to avoid damaging the thin layer of wood. Start with 220-grit sandpaper for light sanding and finishing. For more significant imperfections, you can begin with 150-grit sandpaper and then move to finer grits. Always sand in the direction of the wood grain to prevent scratches and achieve a smooth finish.


Leave a Reply