
Key Takeaways
- Refinishing a wood bookshelf is an affordable way to revitalize your furniture.
- You will need basic tools like sandpaper, paintbrushes, and primer for the project.
- Proper workspace setup is important for a successful and safe DIY project.
- Thorough surface preparation is key to a smooth and lasting finish.
- Choosing the right paint or stain can transform the look of your bookshelf.
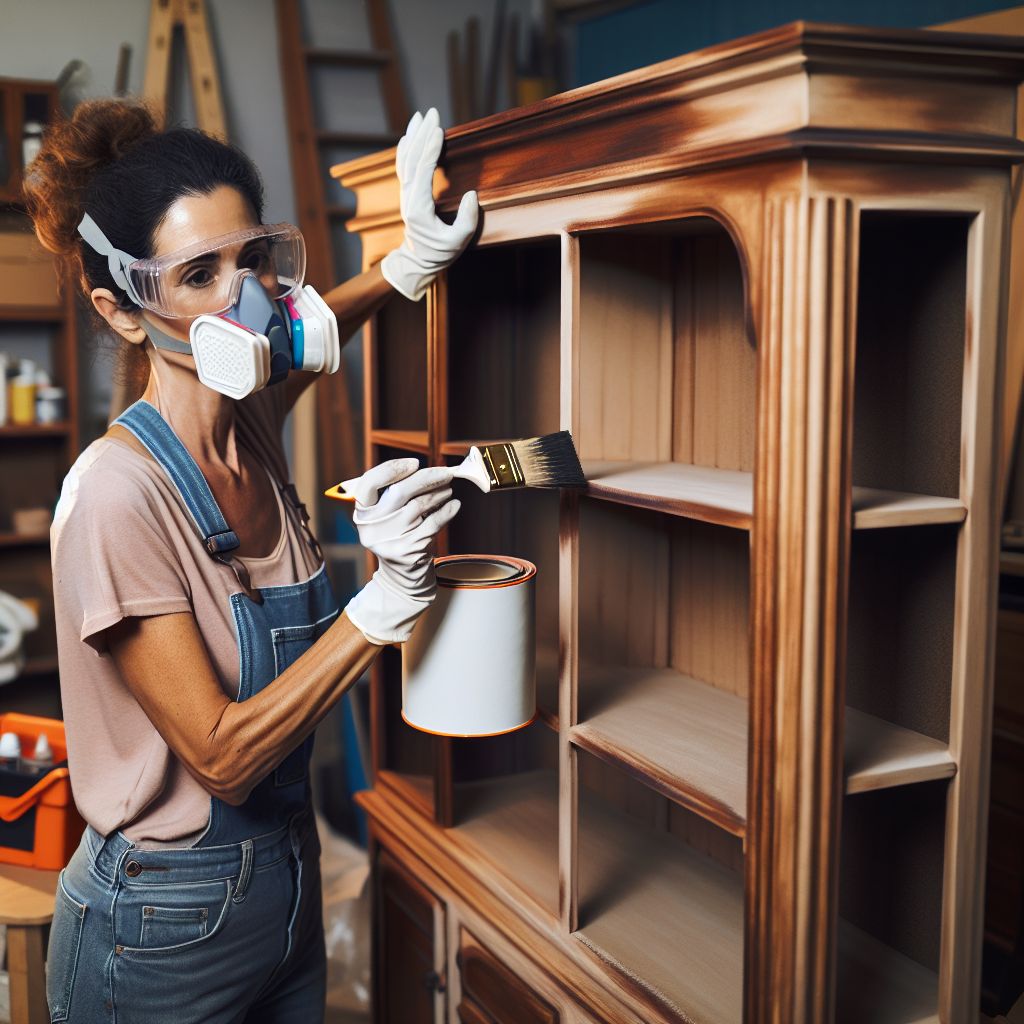
Breathing New Life into Old Shelves
There’s something incredibly satisfying about transforming a tired, old bookshelf into a stunning piece of home decor. With a little bit of elbow grease and some creativity, you can give your wood bookshelf a second life. Let’s get started!
Why Refinish Your Wood Bookshelf?
Before diving into the how-to, let’s talk about the why. Refinishing a wood bookshelf is not just about aesthetics; it’s about preservation. Wood furniture can last generations if cared for properly, and refinishing is a big part of that. It’s also a great way to personalize your space and create a piece that’s truly unique to you. It’s also eco-friendly—instead of buying new, you’re reusing and repurposing, which is good for the planet.
Tools and Materials You’ll Need
Now, let’s gather our tools and materials. Here’s what you’ll need:
- Sandpaper (coarse and fine grit)
- Wood filler
- Scraper or steel wool
- Primer
- Latex or oil-based paint, or wood stain
- Sealant (like polyurethane)
- Paintbrushes or a paint sprayer
- Clean rags
- Screwdriver (for disassembly)
- Drop cloths or plastic sheeting
- Protective gear (gloves, mask, eyewear)
Most importantly, make sure you have a well-ventilated area to work in. Safety first!
Getting Started
With your tools and materials ready, it’s time to set the stage for your refinishing project. Start by choosing a well-lit, well-ventilated workspace. Lay down drop cloths or plastic sheeting to protect the floor, and gather all your materials in one place so you don’t have to stop mid-project to look for something.
Setting Up Your Workspace
Make sure your workspace is free from dust and debris. Any particles left floating around could stick to your bookshelf during the refinishing process, causing imperfections in the finish. Also, keep your space organized. This will not only help you work more efficiently, but it will also prevent accidents and spills.
Dismantling the Bookshelf (If Necessary)
If your bookshelf can be taken apart, doing so might make it easier to work on. Use a screwdriver to carefully remove any shelves or backing. Keep all screws and hardware in a safe place—you’ll need them for reassembly. If your bookshelf is a solid piece, don’t worry; you can still achieve great results.
Step by Step Guide to Refinishing a Wood Bookshelf
Refinishing a wood bookshelf can breathe new life into an old piece of furniture and revitalize your space. This step-by-step guide simplifies the refinishing process, making it accessible to DIY enthusiasts of all skill levels.
Step 1: Surface Preparation
Now comes the essential part: surface preparation. This stage will largely determine the quality of your finished product. Start by cleaning your bookshelf thoroughly. A damp rag can remove most dust and dirt. If there are any sticky spots or old paint drips, a bit of mild detergent should take care of them.
Step 2: Stripping (if necessary)
If the bookshelf has a previous finish that needs to be removed, consider using a chemical stripper. Follow the manufacturer’s instructions carefully and work in small sections. Use a scraper or steel wool to remove the old finish.
Step 3: Sanding
Once the old finish is removed (if applicable), sand the entire surface of the bookshelf to smooth out imperfections and prepare the wood for staining or painting. Sanding is essential to provide a better surface for the new paint or stain to adhere to.
- Start with a coarse grit sandpaper to remove any remenants of the old finish.
- Switch to a fine grit to smooth the wood as you progress. Always sand in the direction of the grain to avoid scratches.
- After sanding, wipe down the bookshelf with a tack cloth or a slightly damp rag to remove all the dust.
Remember, thorough sanding is key to a flawless finish. Don’t rush this step!
Step 4: Applying Primer for Lasting Results
Before you apply your chosen paint or stain, start with a primer. Primer helps to ensure an even finish and better adhesion of your topcoat. It’s especially important if you’re painting over a darker color or if you’re working with raw wood.
Apply primer with a brush or roller, covering all surfaces evenly. If you’re using a paint sprayer, be sure to keep it moving to avoid drips and runs. Allow the primer to dry completely according to the manufacturer’s instructions before moving on to your topcoat.
Step 5: Choosing Your Finish
First, you’ll need to decide whether you want to paint or stain your bookshelf. Paint offers a wide range of colors and can completely transform the look of your bookshelf. Stain, on the other hand, enhances the natural beauty of the wood and can provide a more traditional finish. Consider the style of your room and the look you’re going for before making your choice.
When selecting paint, latex paint is a popular choice because it’s easy to work with and clean up. If you’re looking for durability, oil-based paint is a good option, though it can be trickier to work with. For staining, choose a stain that complements the wood’s natural color and grain.
After making your choice, gather your materials and get ready to apply the finish.
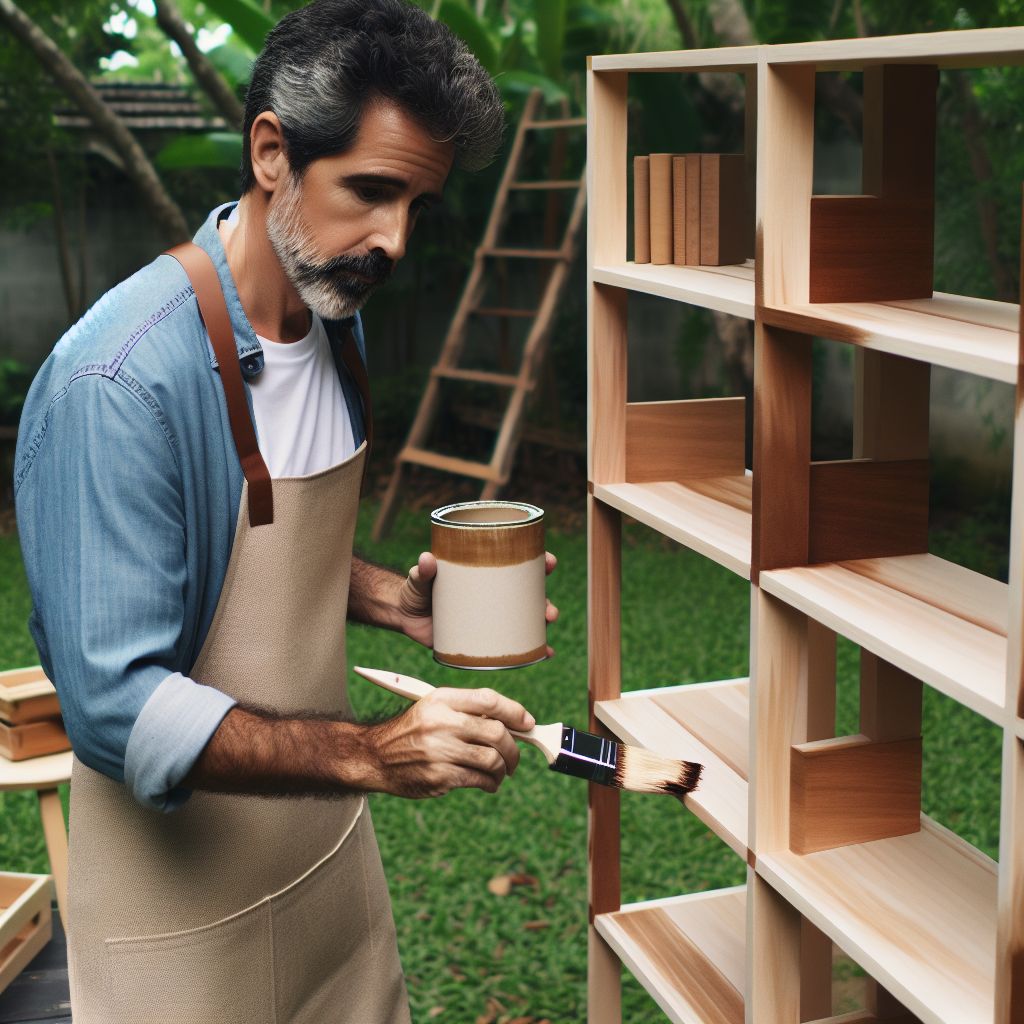
- Apply the stain or paint evenly with a brush or cloth, following the direction of the wood grain.
- Allow sufficient drying time between coats, and apply additional coats as needed to achieve the desired color or coverage.
Step 6: Sealing and Protecting Your Bookshelf
A sealant, like polyurethane, will protect your bookshelf from scratches and wear. Choose a clear varnish, polyurethane, or lacquer suitable for the type of wood and the desired level of sheen.
- Once the stain or paint has dried completely, apply the sealant with a clean brush.
- Follow the manufacturer’s instructions for drying times.
- Apply multiple thin coats, sanding lightly between coats for a smooth finish.
Be sure to work in a well-ventilated area and use even strokes.
Step 7: Reassembling and Styling Your Revamped Bookshelf
Once the sealant is dry, it’s time to put your bookshelf back together. Reattach any shelves or backing, and consider adding new hardware for an updated look. Finally, style your refinished bookshelf with books, plants, and decor to showcase your hard work and creativity.
Seeing your bookshelf come back to life with a fresh finish is incredibly rewarding. You’ve not only created a beautiful piece of furniture, but you’ve also honed your DIY skills in the process.
Mistakes to Avoid When Refinishing Wood
When it comes to DIY projects, learning from others’ mistakes can save you time, money, and frustration. Here are some common pitfalls to steer clear of:
- Skipping the prep work: Don’t underestimate the importance of cleaning, sanding, and priming. These steps are essential for a lasting finish.
- Using the wrong materials: Not all paints and stains are suitable for all types of wood. Do your research to find the best products for your bookshelf.
- Rushing the process: Good things take time. Allow paint and stain to dry fully between coats to prevent tackiness and peeling.
- Ignoring the grain: Always sand and stain in the direction of the wood grain to avoid unsightly scratches and uneven stain distribution.
Preserving Beauty and Functionality: Cleaning and Maintenance for Your Wood Bookshelf
Maintaining a refinished wood bookshelf is key to preserving its beauty and longevity. Here are some tips to help you keep your bookshelf looking its best:
- Regular Cleaning: Dust the bookshelf regularly with a soft, dry cloth to remove any surface dust and debris. Avoid using harsh chemicals or abrasive cleaners, as they can damage the finish.
- Avoid Water Damage: Keep the bookshelf away from areas of high humidity and moisture, as prolonged exposure to water can cause the wood to warp or the finish to deteriorate.
- Protect from Sunlight: Direct sunlight can fade and damage the finish of the bookshelf over time. Place the bookshelf away from windows or use curtains or blinds to block out UV rays.
- Use Furniture Polish: Periodically apply a small amount of furniture polish or wax to the bookshelf to nourish the wood and enhance its natural beauty. Be sure to follow the manufacturer’s instructions and test the product on a small, inconspicuous area first.
- Handle with Care: Avoid dragging or sliding heavy objects across the surface of the bookshelf, as this can scratch or dent the wood. Use felt pads or furniture sliders under heavy items to protect the surface.
- Inspect Regularly: Periodically inspect the bookshelf for any signs of wear or damage, such as scratches, chips, or loose joints. Address any issues promptly to prevent further damage and maintain the bookshelf’s integrity.
By following these maintenance tips, you can keep your refinished wood bookshelf looking beautiful and pristine for years to come, ensuring it remains a functional and stylish addition to your home.

Frequently Asked Questions
Can I Refinish a Laminate Wood Bookshelf?
Refinishing laminate is different from refinishing solid wood, but it’s not impossible. You’ll need to use a primer that’s designed to adhere to laminate surfaces. Then, you can paint over the primer with your choice of paint. Sanding laminate requires a gentle touch to avoid damage to the surface.
How Long Does It Take to Refinish a Wood Bookshelf?
The time it takes to refinish a wood bookshelf can vary greatly depending on the size of the bookshelf, the extent of damage, and the drying times for your chosen finishes. Generally, you can expect to spend a couple of days on the project, not including drying times which can add several more days.
Do I Need to Sand Down to Bare Wood before Refinishing?
If you’re painting the bookshelf, you don’t necessarily need to sand down to bare wood. However, you do need to remove the glossy finish and roughen up the surface so the new paint will adhere. If you’re staining, you’ll need to sand down to bare wood to ensure the stain absorbs evenly.
What Kind of Paint Should I Use for a Wood Bookshelf?
Latex paint is user-friendly and easy to clean up, making it a great choice for most bookshelf projects. If you’re looking for a more durable finish, oil-based paint might be the way to go, although it requires more ventilation and a longer drying time.
How Can I Achieve an Antique Look When Refinishing My Bookshelf?
To give your bookshelf an antique look, you can use techniques such as distressing, where you strategically sand off areas of paint to reveal the wood beneath. Glazing with a darker stain can also add depth and an aged appearance to the piece.


Leave a Reply